Asus VivoTab Note 8 DC Board Replacement
Duration: 45 minutes
Steps: 10 Steps
Replacing the DC board on your Asus VivoTab Note 8 is a straightforward process! The DC board plays a key role in delivering crisp audio from your device, so if it’s acting up, you might be missing out on some great sound. Don’t worry, though – this guide will walk you through every step, and no soldering or special skills are required. Ready to get started? Let’s fix that board and get your device back to sounding great!
Step 1

– First things first, pop out your pen and memory card if you’ve got them handy. They might get in the way when you’re cracking open your device.
– Now, grab your trusty plastic opening tool and gently work the edges of the cover loose. The memory card slot can come in handy as a little starting point here.
Step 2


– Glide your opening tool around the tablet’s edges and gently lift wherever you spot an opportunity. You might need to work your way all the way around to get that panel loose.
– Use your hands to carefully separate the sides of the case—just a little muscle and patience, and you’ll have it open.
Step 3

– Once you’ve pried off the panel, just set it aside for now. You’ll be back to it soon enough.
Step 4

– Disconnect the battery from the motherboard to start. Then, gently wedge something like a fingernail or a plastic pry tool under the connector and carefully lift straight up, perpendicular to the back of the device. Take your time—patience makes perfect! If you need a hand, you can always schedule a repair.
Step 5

– Grab your trusty Phillips #000 screwdriver and loosen the screws holding down the black plastic restraint that’s been keeping the motherboard in place.
– Now, gently ease that black plastic restraint off the motherboard. You’re almost there!
Tools Used

Step 6

– Use a Phillips #000 screwdriver to carefully remove the six screws holding the motherboard in place. Take your time, no rush – these screws are the key to unlocking the next step in your repair journey!
Tools Used
Step 7

– Carefully unplug any leftover ribbons and cables that are still connected to the motherboard. Take your time—no need to rush this part.
– Once everything’s detached, lift out the motherboard and set it aside. Mission accomplished for this step!
Step 8


– Unscrew the two Phillips #000 screws that are keeping the board in place.
Step 9

– Gently lift the board using the opening tool—think of it as giving your device a friendly little hug to start the process.
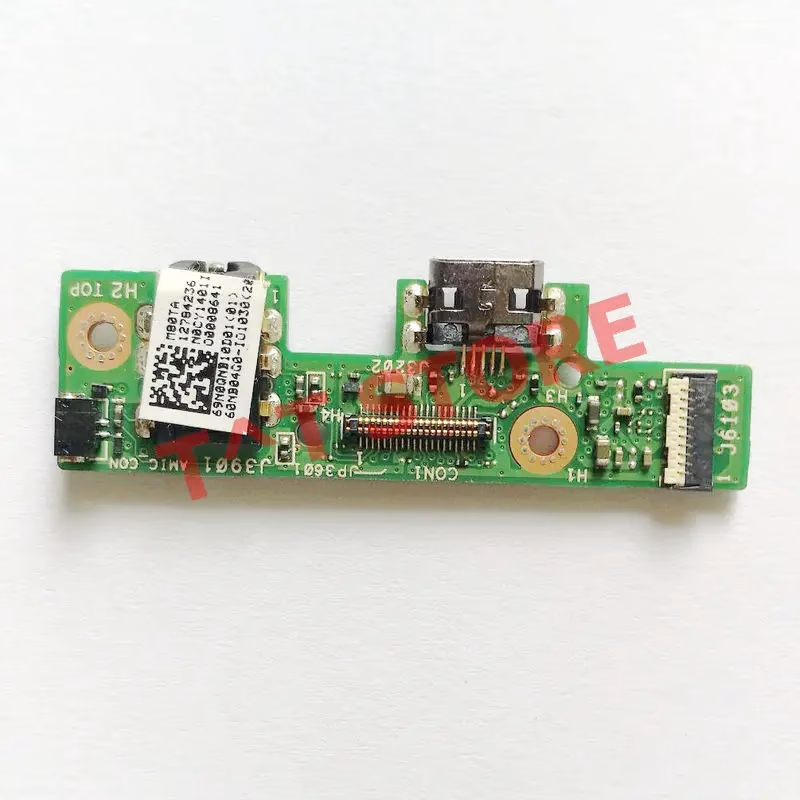
Step 10
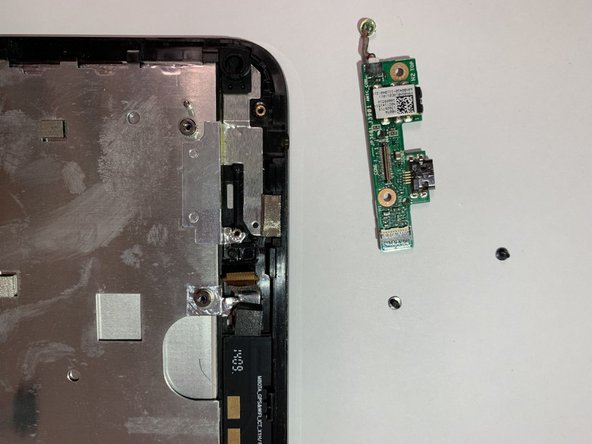

– Gently pull the DC board away while keeping a firm grip on the ribbon cable. Take care not to tug too hard—think of it as giving your device a gentle high-five as you disconnect that cable.
Success!