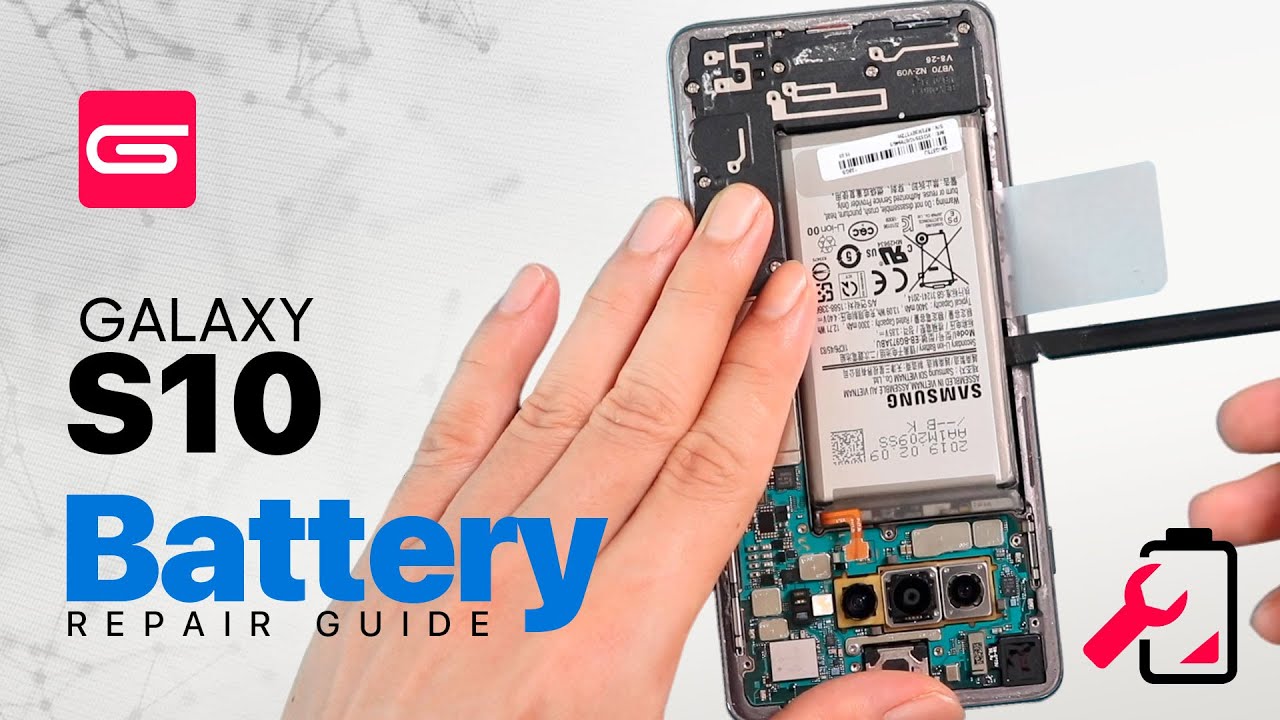
DIY Tutorial: Samsung Galaxy S10 Front Facing Camera Replacement Guide
Duration: 45 minutes
Steps: 13 Steps
Heads up! This step might be a bit tricky. Keep your cool, and remember, if you need help, you can always schedule a repair. You’ve got this!
Ready to give your Galaxy S10 a little upgrade? This guide will walk you through replacing the front-facing camera module. The trickiest part? Getting that back cover off, but don’t worry, you’ve got this! If you need help, you can always schedule a repair.
Step 1


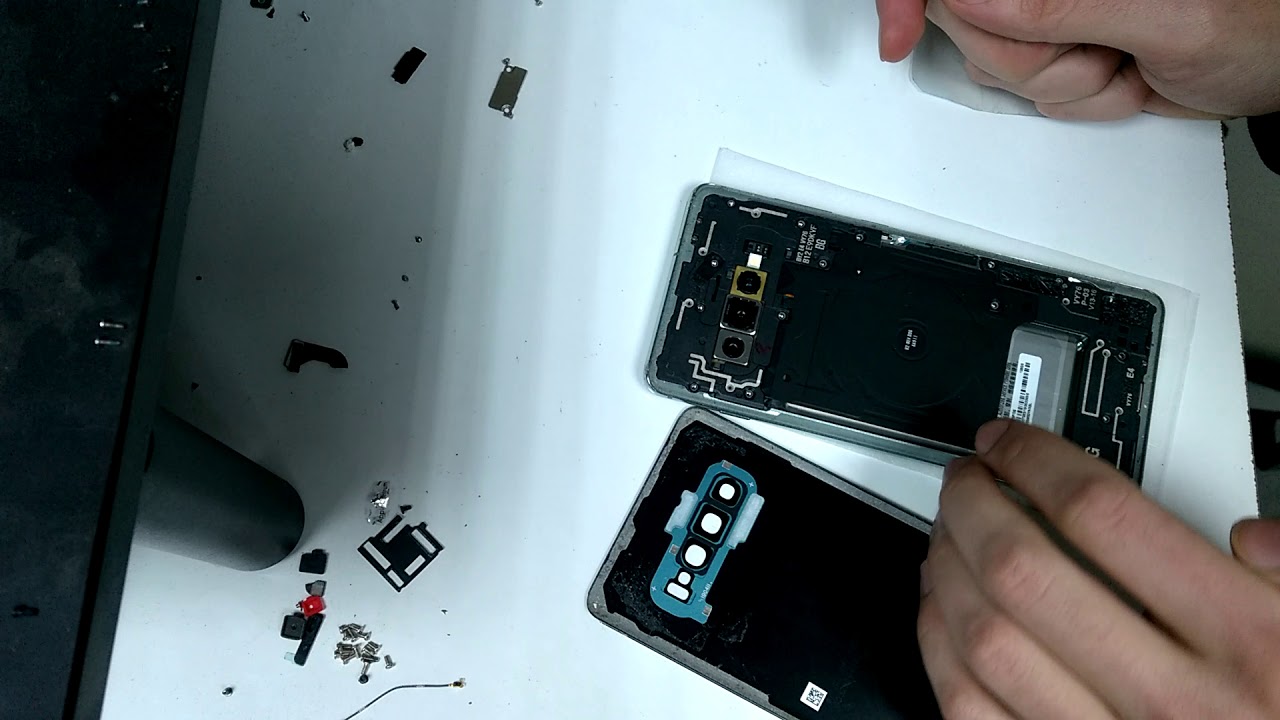
– Hey Buddy! Before we start having fun, make sure to power down your gadget and unplug it from any power sources. Then, grab our iOpener friend and warm it up, then apply it to the back cover’s right edge for about two minutes. When it’s nice and warm, take a peek at the picture we have here and check out where the back cover’s adhesive is hiding. If you ever need a hand, just remember you can always schedule a repair!
Tools Used

Step 2


– Prop up the heated right edge of the phone on something around 0.5 inches (13 mm) thick. This sets up the perfect angle for your opening tool.
– Hold the left edge of the phone steady with your fingers to keep it from slipping. Give the suction cup a firm pull.
– Press the edge of your opening tool into the gap between the back cover and the frame.
– Once the tool is in the seam, slide it back and forth along the seam to loosen the back cover. If you need help, you can always schedule a repair.
Step 3


Sometimes those tight spots and durable adhesives can be a little stubborn. Don’t worry if it takes a few tries to wiggle that opening pick in – you’ve got this!
– Grab your iOpener and give it a warm-up for about two minutes before placing it on the same edge of your phone. Keep it cozy!
– Next up, stick a suction cup onto the back of the phone, aiming as close to the center of the right edge as you can get—this is where the adhesive is feeling a bit shy.
– Give that suction cup a firm, steady pull to pop a little gap between the back cover and the frame. You got this!
– Now, slide the point of your trusty opening pick into that gap you’ve created. You’re making progress!
Tools Used
Step 4


– Gently glide that opening pick along the edge of your phone, effortlessly cutting through the sticky stuff holding it together.
– Keep a pick lodged in the seam to stop that adhesive from bonding again.
Step 5


– Give your phone some love by applying a warm iOpener to the bottom edge for a cozy two minutes.
– Slide an opening pick into the right edge, just by that bottom right corner.
– Gently glide the pick around the corner like a pro! Continue slicing along the bottom edge and around the bottom left corner.
– Pop an opening pick into the seam to keep that adhesive from making a comeback.
Tools Used
Step 6


When you’re slicing around those corners, make sure to give them a good warm-up first!
– Keep the heat going and gently slice around the rest of the phone’s edges. You’re doing great!
Step 7


– After you’ve made your way around the phone with your trusty tool, give an opening pick a little twist at one of the edges to help pop that back cover off the frame.
– Gently lift the back cover. If there’s any stubborn adhesive left, use those opening picks to slice through it.
– Say goodbye to the back cover as you remove it.
– Now’s a great time to power on your phone and check that everything’s working like a charm before sealing it back up. Just remember to turn it off completely before diving back in!
– Follow this guide to put the back cover back on, transfer and install the camera bezel, and replace that adhesive like a pro.
Step 8

– Start by taking out those eight 4 mm Phillips screws that are keeping the top midframe snug on your phone. You’ve got this!


Step 10


– Okay, tech guru! Let’s lift the midframe from those top corners and give it a fun sendoff from your phone. You’ve got this! Now, let’s welcome it back with open arms during reinstallation.
– Now that that’s out of the way, let’s give the top midframe a warm welcome back home! Don’t forget, whenever you need a little extra support, you can always schedule a repair!
Step 11


– Slip the flat end of a spudger right under the battery connector, snug as a bug, cozy with the motherboard beneath the rear-facing camera.
– Simply nudge up to disconnect the connector from its snug little socket.
– Give the battery’s flex cable a gentle push, urging it away from the motherboard socket to avoid any accidental rendezvous.
Tools Used
Step 12

To reattach those connectors, give them a gentle nudge! Start by aligning one side and press down until you hear that satisfying click. Then, do the same on the other side. Just a friendly tip: avoid pressing down in the middle. If things get misaligned, those little pins can bend, and we definitely don’t want that!
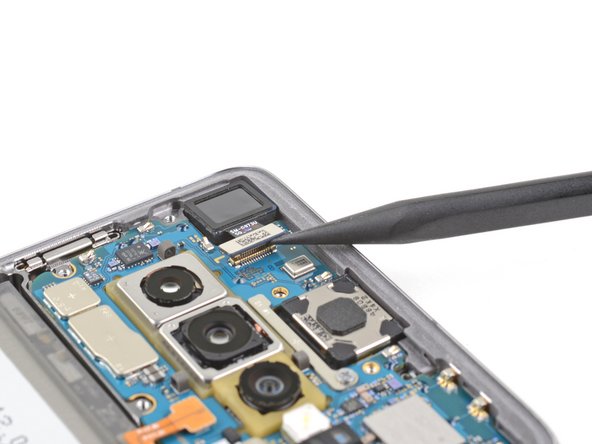
– Time to bust out your spudger! Gently pop off and disconnect the front-facing camera connector from its motherboard socket.
Tools Used
Step 13

– Time to say goodbye to that front-facing camera module! Let’s get it out of there.