Samsung Galaxy S9+ NFC Antenna & Charging Coil Replacement Guide – DIY Tutorial
Duration: 45 minutes
Steps: 11 Steps
Watch out for those waterproof seals—they’re delicate!
Your device should be back to its usual self in no time.
If things go south, it might lose its water resistance.
Don’t forget to grab some replacement adhesive!
Get ready to tackle the NFC antenna and charging coil removal on your Samsung Galaxy S9 Plus! Just a heads up, when you open up your device, those waterproof seals are going to take a hit. If you skip replacing the adhesive seals, your phone will still work like a champ, but it might lose its water resistance. No worries though! Make sure to grab some replacement adhesive to keep everything snug when you put it back together. And remember, if you need help, you can always schedule a repair.
Step 1

– First things first, let’s power down your phone. Safety first, right?
– Grab your trusty iOpener and let’s get to work on that stubborn adhesive hiding beneath the rear glass. Give it a good two-minute warm-up, and don’t hesitate to repeat this step a few times if the back cover is feeling particularly clingy.
That Galaxy S9+ glue is a real sticky situation! If you’re having trouble with the iOpener, a hair dryer, heat gun, or hot plate can work in a pinch. But be gentle—too much heat and you’ll end up with a melted screen or puffed-up battery. If you get in a bind, don’t sweat it; you can always schedule a repair.
Tools Used

Step 2

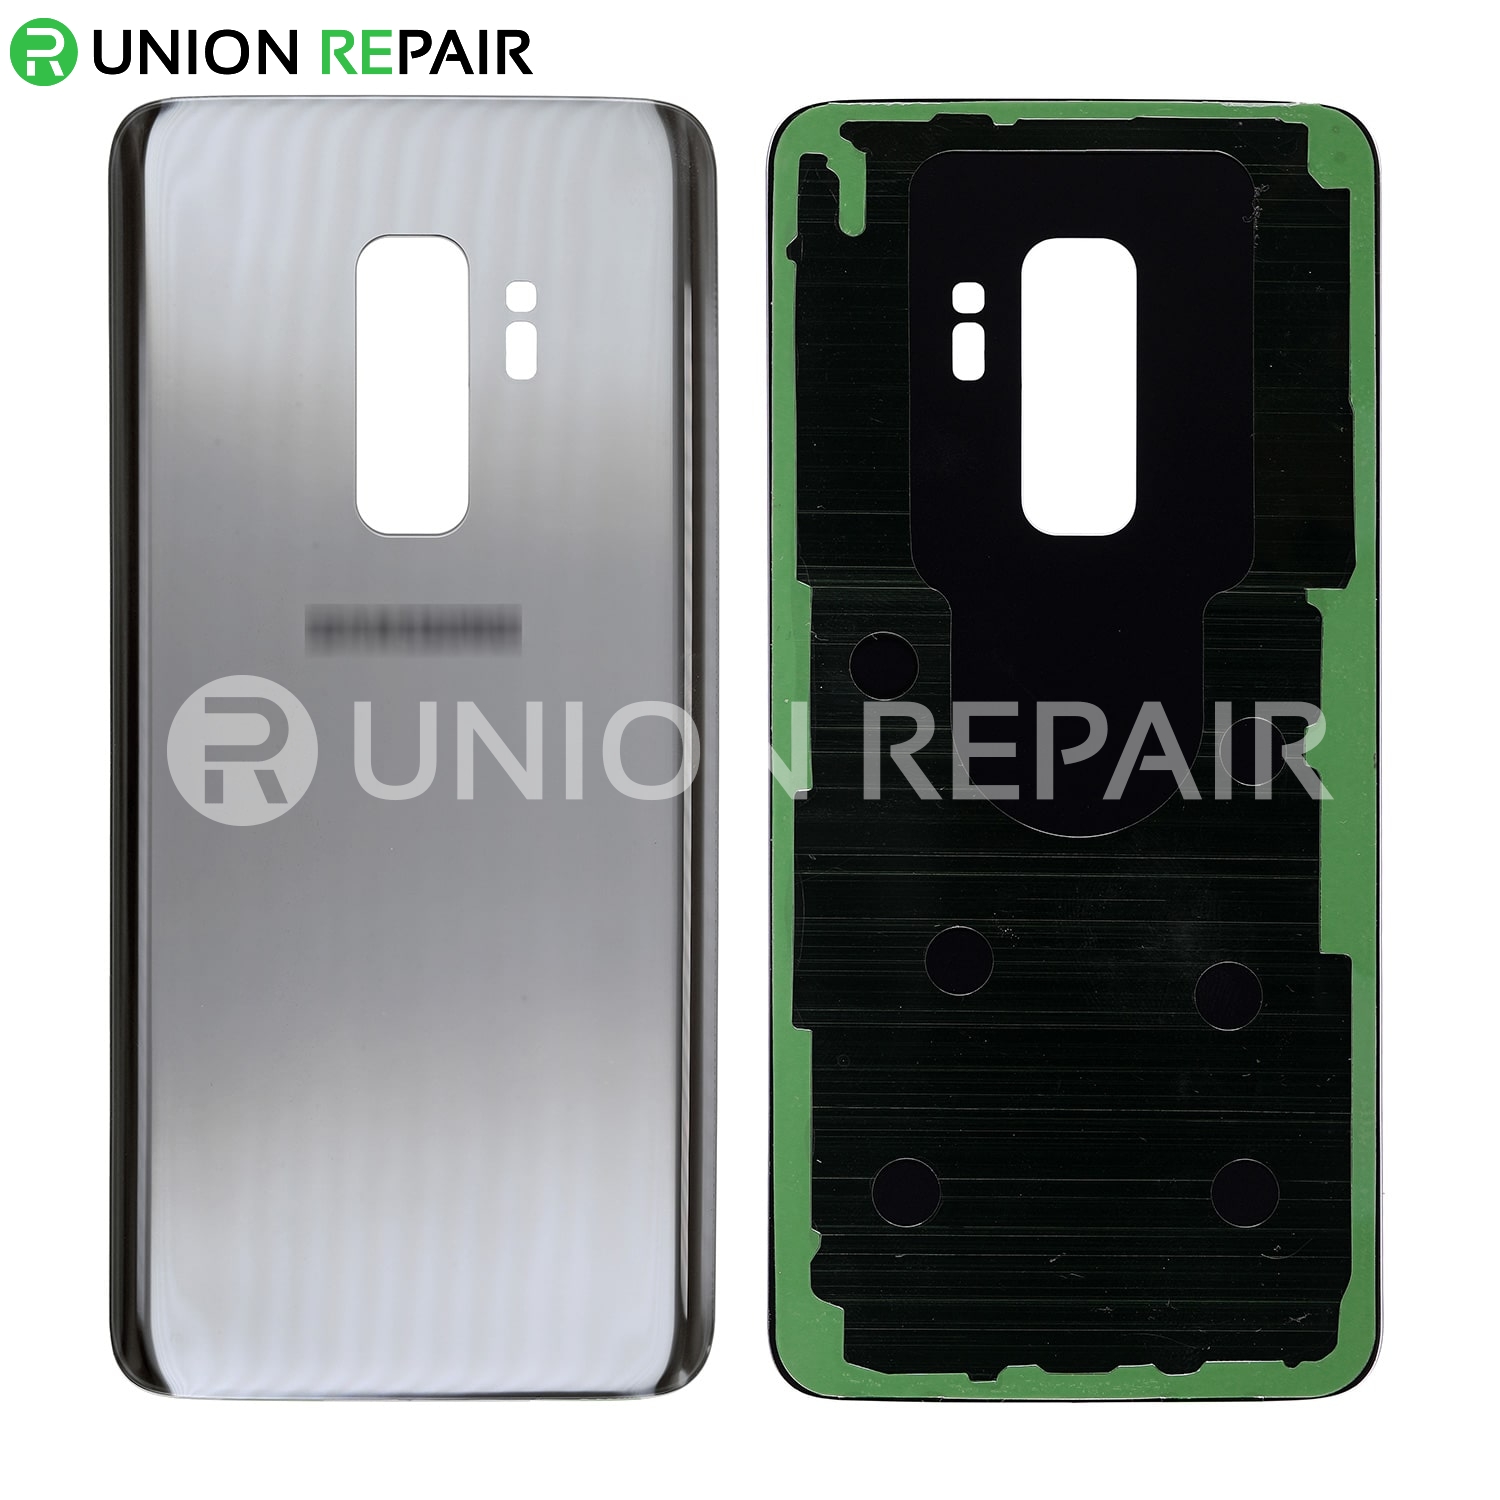
The adhesive inside the back cover is arranged just as you see in the image. If you need help, you can always schedule a repair.
– Alright, get ready to tackle this: you’ll be cutting through the adhesive holding the back cover in place.
– Focus on the areas shown to slice through the adhesive:
Step 3


If the rear glass on your phone is cracked, the suction cup might not stick. Try using strong tape to lift it, or secure the suction cup with superglue, let it dry, and proceed. If you need help, you can always schedule a repair.
– Get ready to have some fun by pressing a suction cup onto the back cover.
– Time to show off those skills! Lift the bottom edge of the back cover using your suction cup to create a cool gap between the back cover and the frame.
– It’s party time! Insert an opening pick into the gap and slide it over to the bottom right corner like a pro.
Step 4


– Pop in a second opening pick and glide it down to the bottom left corner.
– Now, throw in a third opening pick at the bottom of the phone. This one’s going to chill there during the rear glass removal to keep the adhesive from playing sticky again. If you need help, you can always schedule a repair
Step 5


– Begin by gently sliding the tip of your opening pick from the bottom left corner along the side of your S9 Plus. Take your time, it’s like giving your phone a little massage!
– Once you’ve cut through the adhesive halfway up the left side, leave that opening pick right where it is. It’s doing a great job holding the fort!
– Now, slide the opening pick from the bottom right corner halfway up the frame and let it chill there. You’re making great progress!
Step 6


Hold your horses! Don’t fully open the phone just yet. The flex cable for the fingerprint reader is still happily connected to the motherboard.
– Pop in a fourth opening pick on the right side of the frame and glide it up to the top right corner like a pro.
– Now, slide a fifth opening pick along the left side of the phone, making your way to the top left corner.
– Use that trusty opening pick to slice through the last bit of adhesive hiding under the upper section of the rear glass.
Step 7


– Gently lift the edge of the rear glass near the volume button, like you’re unveiling a surprise!
– Grab your trusty spudger and carefully pry up to disconnect that fingerprint sensor flex cable. You’ve got this!
Tools Used

Step 8

– Let’s kick things off by removing that rear glass.
– When you’re putting everything back together, just follow this guide to switch out the adhesive and reattach that rear glass like a pro.
– Thinking about swapping out your rear glass? No worries! This guide has got you covered for transferring the rear camera bezel and the fingerprint sensor.
Step 9

– Let’s start by unscrewing the nine 4 mm Phillips #00 screws.
Step 10


– Slip an opening pick under the right side of the plastic cover housing the NFC antenna and charging coil.
– Give it a twist to pop the cover out of its plastic clips.
– Continue around the plastic cover, prying to free the remaining clips.
Step 11

– Uncover the plastic shield housing the NFC antenna and charging coil with a sprinkle of repair magic!