How to Replace Samsung Galaxy S9+ Fingerprint Sensor and Camera Lens Cover Tutorial
Duration: 45 minutes
Steps: 12 Steps
Watch out for that waterproof seal – we don’t want to compromise its superhero abilities!
Keep things running smoothly and functioning like a champ.
Don’t let your device lose its water-fighting skills.
Time for some fresh adhesive to get things back on track!
Here’s your go-to guide to remove the fingerprint sensor and camera lens cover on your Samsung Galaxy S9+. Keep in mind, opening up your S9+ will mess with its waterproof seal. If you don’t replace the adhesive seals, your phone will still work just fine, but it won’t be water-protected anymore. You’ll need some new adhesive to put everything back together when you’re done. If you need help, you can always schedule a repair.
Step 1

The adhesive on the Samsung Galaxy S9 Plus is super sticky! If you’re having a tough time getting in, feel free to use a hair dryer, heat gun, or a hot plate to loosen things up a bit. Just remember to keep an eye on the heat—both the AMOLED display and the internal battery can be a bit sensitive, so let’s avoid turning them into a hot mess.
– First things first, let’s power down your phone. Safety first, right?
– Grab your trusty iOpener and gently warm up the adhesive hiding beneath that rear glass. Give it a solid two minutes of love. Feel free to repeat this step a few times to make that back cover removal a breeze!
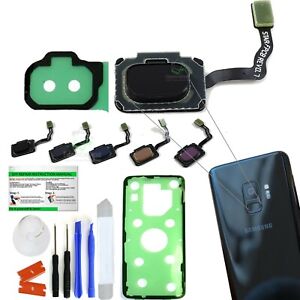
Tools Used

Step 2

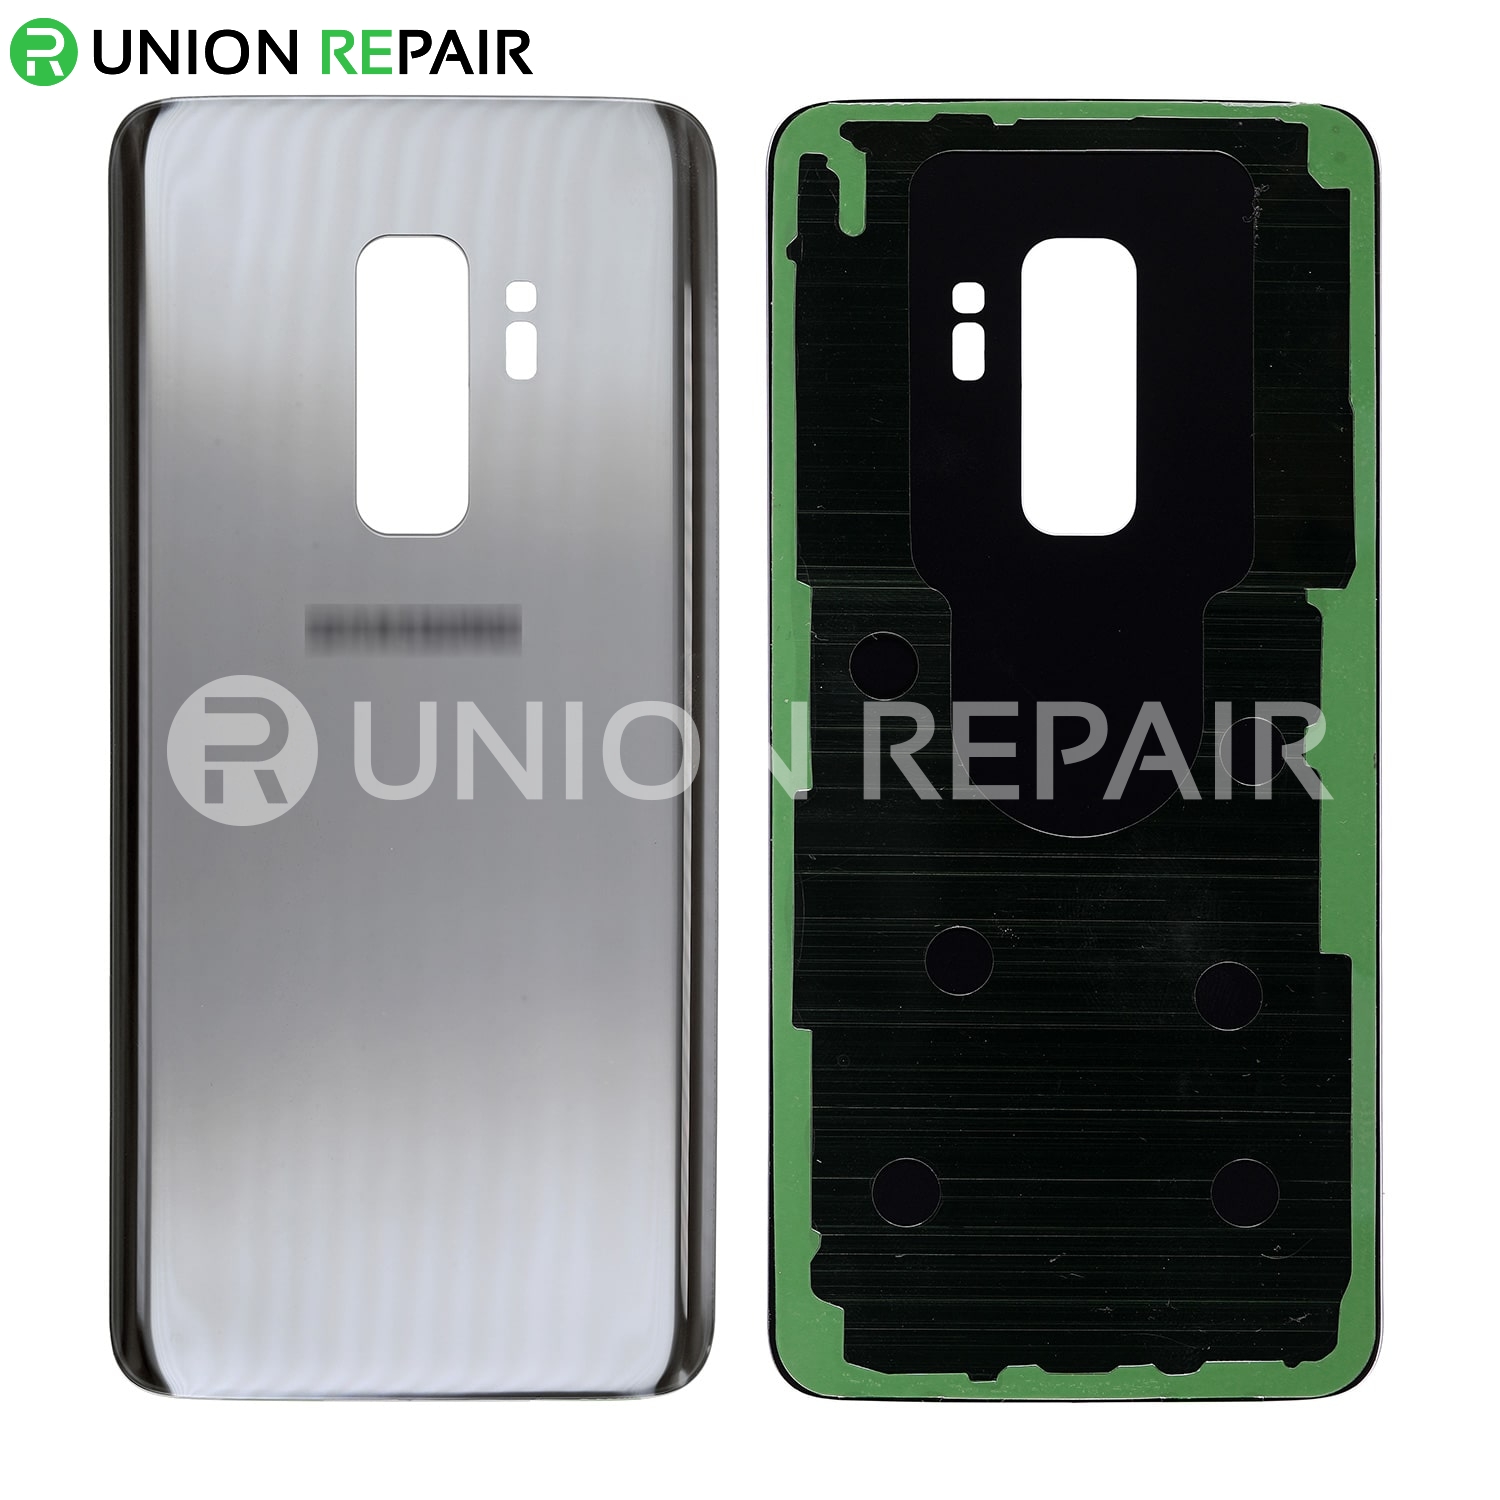
The adhesive on the inside of the back cover is arranged just like you see in the picture.
– Up next, you’ll be cutting through the adhesive holding the back cover.
– You’ll be slicing through the adhesive in the highlighted areas:
Step 3


If the phone’s rear glass is cracked and the suction cup won’t stick, try lifting it with some strong tape. Or you can superglue the suction cup in place and let it cure before proceeding. If you need help, you can always schedule a repair.
– Hey there, we’ve got your back! 💪 In today’s mission, let’s conquer that tricky back cover. First, place a cool, friendly suction cup on it, then gently lift that bad boy’s bottom edge. You’re doing great! 🚀 Now, slip in your trusty opening pick and slide it all the way down to the bottom right corner. Almost there, pal! Have more questions? You know the drill – just schedule a repair and we’ll be there pronto!
Step 4


– Pop in a second opening pick and glide it to the bottom left corner.
– Slide a third opening pick at the bottom end of the phone. Keep this pick in place during the rear glass removal to stop the adhesive from sealing back up.
Step 5


– Let’s kick things off by gently sliding the tip of your opening pick from the bottom left corner and along the side of the S9 Plus.
– Once you’ve sliced through that adhesive about halfway up the left side, just let the opening pick chill there.
– Now, glide your opening pick from the bottom right corner halfway up the frame and leave it resting comfortably.
Step 6


Hey, slow down there, Champ! The fingerprint flex cable’s still attached to the motherboard, so don’t break out the T-Rex quite yet. If you need help, you can always schedule a repair!
– Pop in a fourth opening pick on the right side of the frame and slide it up to the top right corner.
– Glide a fifth opening pick along the left side of the phone to the top left corner.
– Cut through the remaining adhesive under the upper part of the rear glass using the opening pick.
Step 7


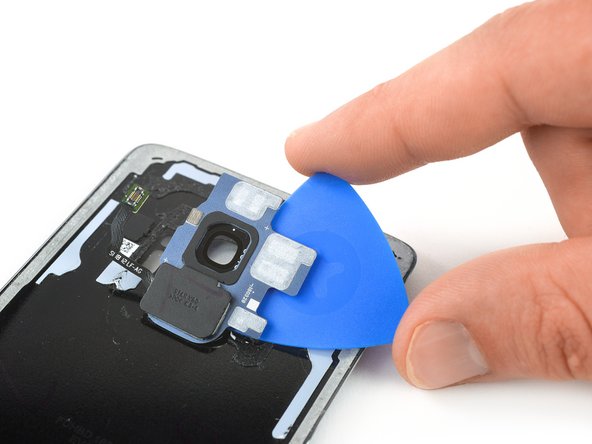
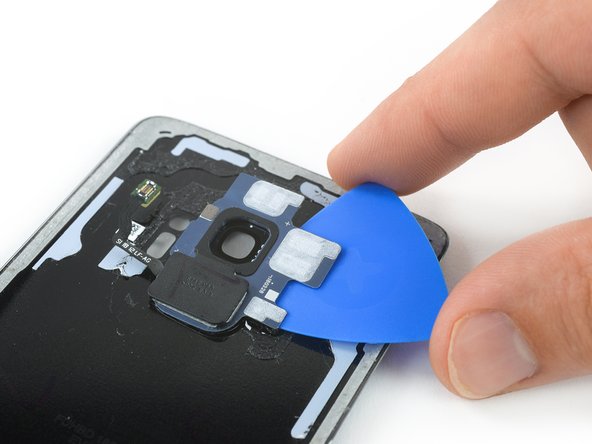
– Gently raise the edge of the back glass where the volume button hangs out.
– Grab your trusty spudger and use its edge to lift and disconnect that sneaky fingerprint sensor flex cable.
Tools Used

Step 8

– Pop off the rear glass.
– When putting it back together, use this guide to replace the adhesive and snap the rear glass back on.
– If you need to switch out your rear glass, follow this guide to transfer the rear camera bezel including the fingerprint sensor.
Step 9

– Give the rear camera lens cover a warm hug with the iOpener. Let it bask in the warmth for a solid two minutes.
Tools Used
Step 10


– Gently slide an opening pick between the top edge of the bezel and the rear glass.
– Now, let’s use the opening pick to gracefully cut the adhesive beneath the upper part of the bezel.
Step 11

– Slide that trusty opening pick right under the edge of the rear camera bezel on the right side.
– Gently glide the pick along the bezel to slice through the adhesive like a pro.
– Give the pick a little twist to lift up the rear camera bezel along with the fingerprint sensor. Easy peasy!
Step 12


– Grab a trusty pair of tweezers and carefully pop off the rear camera bezel, which is holding on tight with the fingerprint sensor. You’ve got this!
– Planning to add some fresh adhesive? First, say goodbye to any leftover sticky stuff on the bezel. Give those glued areas a good clean with isopropyl alcohol and a lint-free cloth to ensure a solid bond.
– For a smooth application of your new adhesive on the rear camera bezel and the rear glass, check out this handy Galaxy S adhesive guide. It’s got all the tips you need to nail this step!