Samsung Galaxy S9+ Display Replacement Step-by-Step Guide
Duration: 45 minutes
Steps: 22 Steps
Hey there! Before you dive into disassembling your phone, make sure to drain that battery below 25%. We want to keep things safe and sound because a punctured battery can be a bit dramatic—think fire or explosion! But don’t worry, the chances of that happening are way lower when it’s discharged.
Just a friendly reminder!
Be careful not to damage the waterproof seals.
Your device should function normally.
It might lose its water protection.
If the frame is looking a bit damaged or bent, take note!
Hey there! Wanna dig into a Samsung Galaxy S9 Plus display replacement that’ll have you saying ‘wha’?” Instead of simply replacing the cracked or broken screen, check out this guide to replacing the display while keeping the original frame, motherboard, and battery. And remember, some screen replacements may come with a new frame so make sure to double-check that you’ve got the right part before starting! If your replacement display doesn’t come with the adhesive, Tesa 61395 is the way to go. 😎 Don’t fret if you accidentally void that waterproof seal thingy – as long as you replace those adhesive seals, your phone’ll be just fine. Just a heads up: if the frame is damaged or bent, you may want to replace it too. The display and frame separation process can make your screen bite the dust, so only proceed if you’re all about that display replacement life. If you need help, you can always schedule a repair with the homies at Salvation Repair!
Step 1

The adhesive on the Samsung Galaxy S9 Plus is super strong! If the iOpener isn’t doing the trick, feel free to bring in a hair dryer, heat gun, or hot plate to help you out. Just remember, we want to keep things cool—both the AMOLED display and the internal battery can be a bit sensitive to heat. So, let’s keep it safe and sound while we get that device open!
– First things first, let’s power down your phone. Safety first, right?
– Grab your trusty iOpener and get ready to work some magic! Place it on the back glass to loosen that stubborn adhesive. Keep it there for at least two minutes. If things are still feeling a bit clingy, don’t hesitate to give it another go or two while you work on getting that back cover off!
Tools Used

Step 2

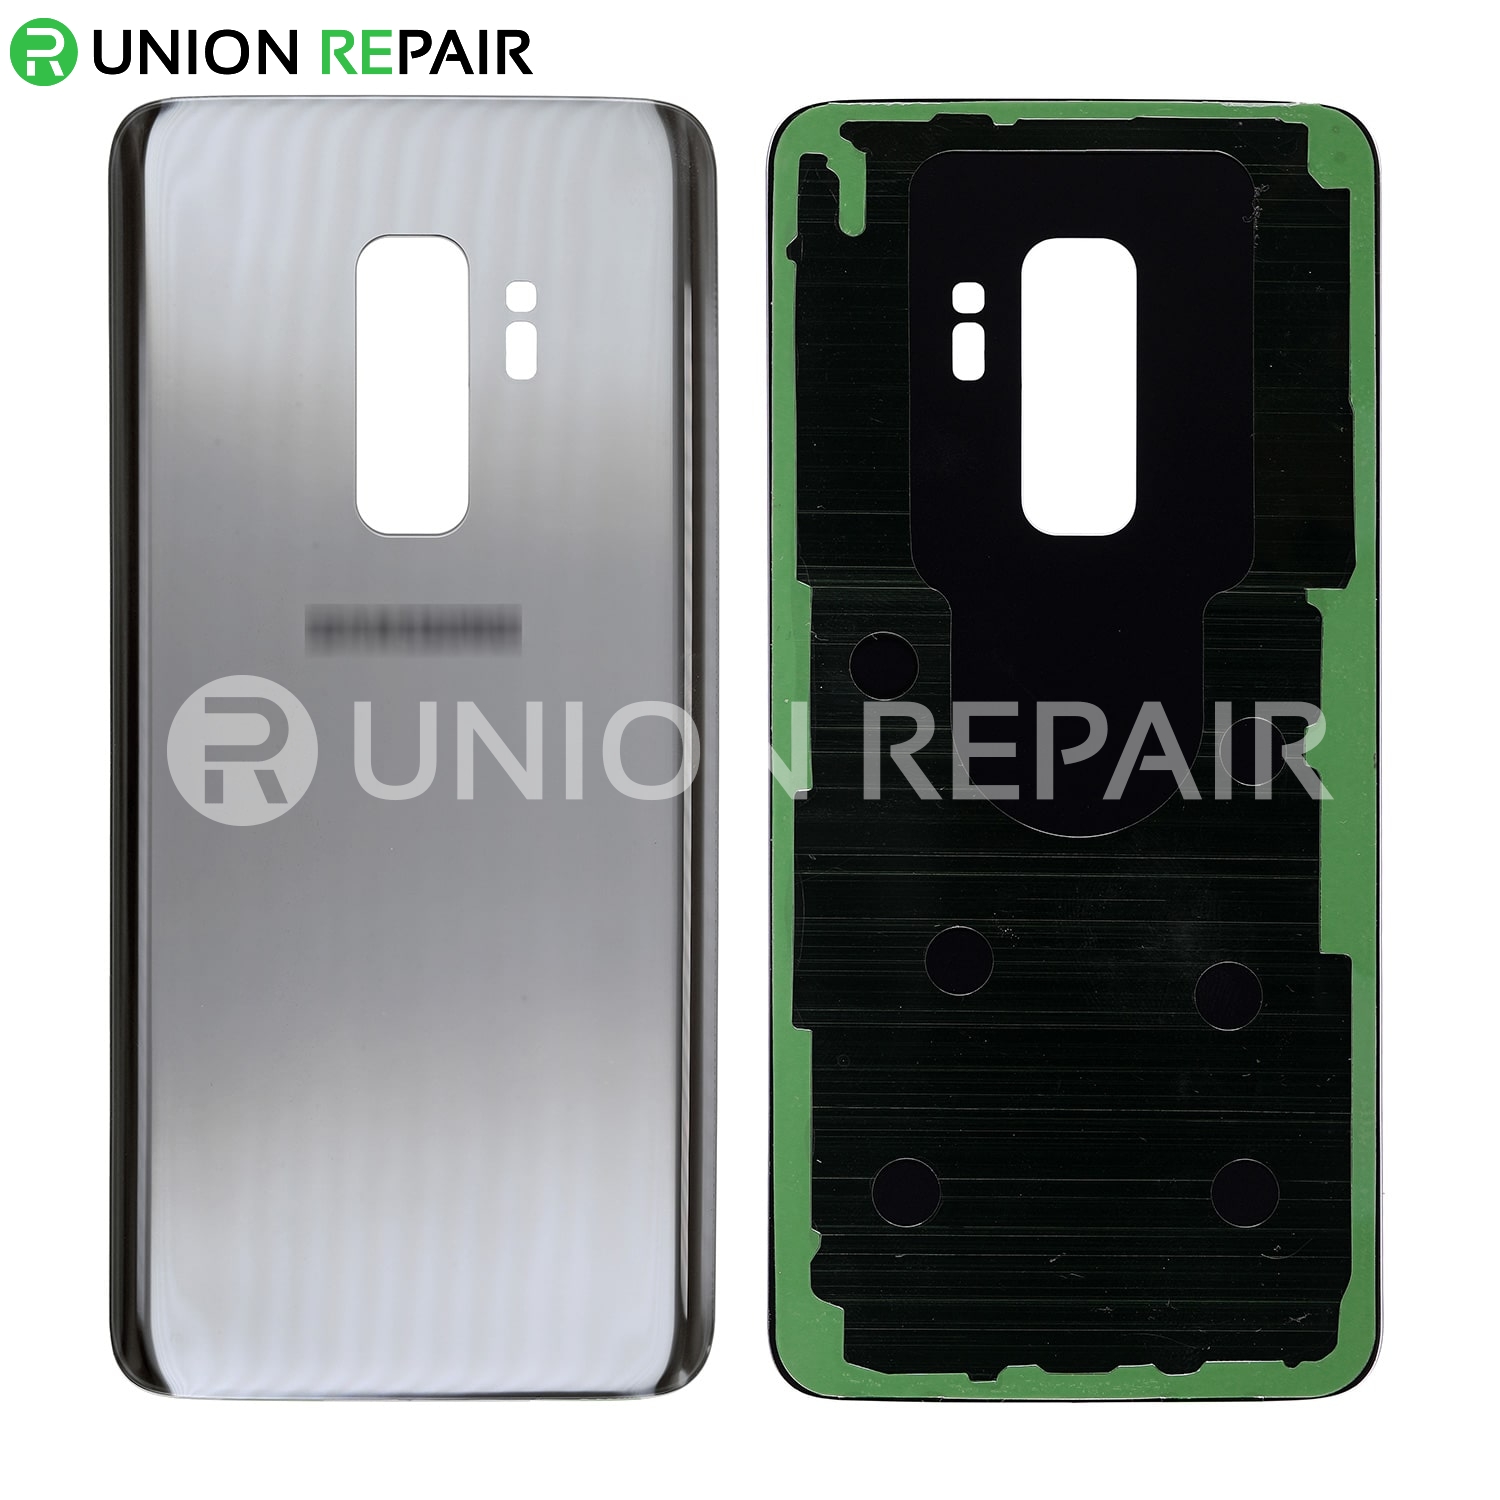
The adhesive on the inside of the back cover is arranged just like you see in the image.
– Alright, time to bust a move and cut through that adhesive holding the back cover tight. Grab your tools and get ready to slice through the sticky stuff. Here’s where you’ll be making those cuts:
Step 3


If your phone’s rear glass is looking a bit worse for wear and the suction cup just won’t stick, don’t sweat it! You can try using some sturdy tape to give it a lift, or if you’re feeling a bit crafty, superglue that suction cup in place and let it set for a while. You’ll be back on track in no time!
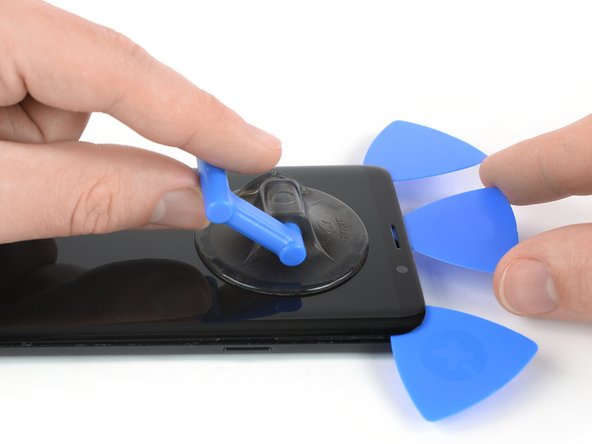
– Stick that suction cup right on the back cover.
– Pull up on the suction cup to create a gap between the back cover and frame.
– Pop in an opening pick, slide it to the bottom right corner.
Step 4


– Slide in a second opening pick and glide it down to the bottom left corner like a pro.
– Now, pop in a third opening pick at the bottom of the phone. This little guy is going to hang out there while you work on removing the rear glass, keeping that pesky adhesive from sealing back up.
Step 5


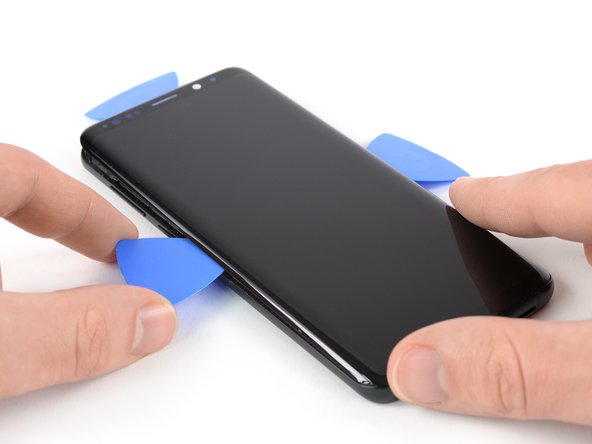
– Begin by gently sliding the tip of your opening pick from the bottom left corner along the side of the S9 Plus. Take your time, you’ve got this!
– Once you’ve cut through the adhesive halfway up the left side of the phone, leave the opening pick right where it is. It’s doing a great job!
– Now, slide that opening pick from the bottom right corner halfway up the frame and let it rest there. You’re making progress!
Step 6


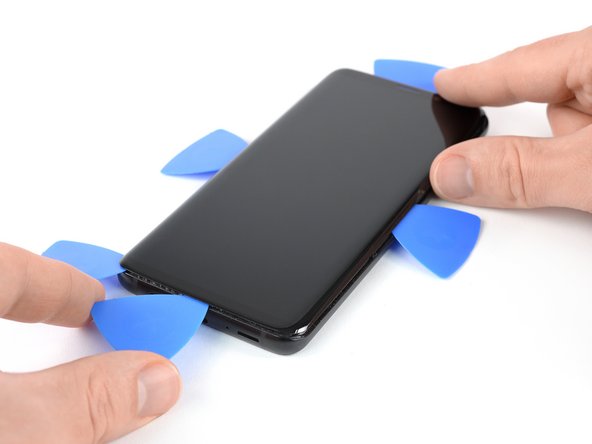
Hold your horses! Don’t open the phone all the way just yet. The flex cable for the fingerprint reader is still snugly connected to the motherboard.
– Pop in that fourth opening pick on the right side of the frame and glide it up to the top right corner.
– Now grab the fifth pick, slide it along the left side of your phone all the way to the top left corner.
– Use that trusty opening pick to slice through the remaining adhesive under the upper part of the rear glass.
Step 7


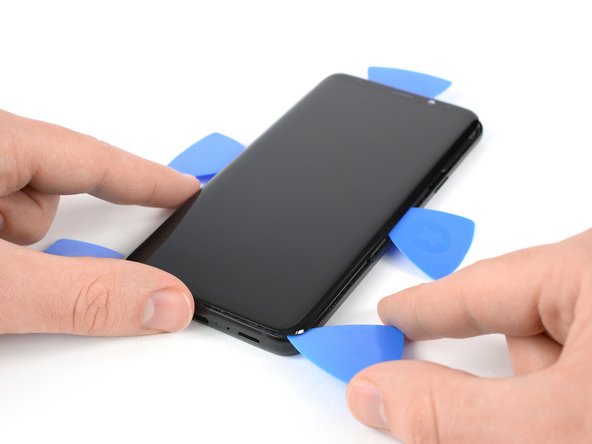
– Let’s tackle this step with a grin! Gently elevate the side of the rear glass near the volume button.
– Time to show that fingerprint sensor flex cable who’s boss! Slide an edge of the trusty spudger underneath to disconnect it.
Tools Used

Step 8

– First up, let’s get that rear glass off! Easy peasy.
– Now, when it’s time to put things back together, just remember to follow this guide to reapply that adhesive and snugly fit the rear glass back in place.
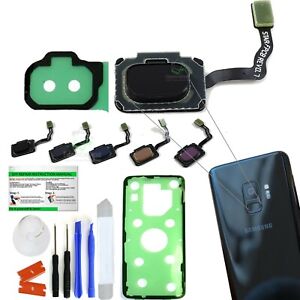
– Thinking about giving your rear glass a little makeover? This guide has got your back for transferring the rear camera bezel along with the fingerprint sensor.
Step 9

– Unscrew those nine 4 mm Phillips #00 screws with a smile!
Step 10


– Slide an opening pick under the right side of the plastic cover housing the NFC antenna and charging coil.
– Twist the pick sideways to pop the cover out of its plastic clips.
– Keep working your way around the cover, gently prying to release the rest of the clips. If you need help, you can always schedule a repair.
Step 11

– Pop off the plastic cover that holds the NFC antenna and charging coil.
Step 12

– Grab your trusty spudger and gently slide the flat end underneath the battery flex cable. Give it a little lift and disconnect that cable like a pro!
Tools Used
Step 13

– Unscrew those two 4 mm Phillips #00 screws like a pro!
Step 14

– Take off that plastic cover from the motherboard like a pro!
Step 15


– Get your hands on that trusty spudger and give that display flex cable a gentle disconnect. Let’s show that cable who’s boss!
Tools Used
Step 16

If your display glass has taken a hit and is cracked, grab some tape to keep those pesky shards in check and make your repair a little safer. You’ve got this!
Step 17


– Get that screen nice and cozy by warming it up a bit, then gently attach a suction cup to the upper edge of your device.
– Slide an opening pick into the gap and groove, and let’s start trimming that adhesive by smoothly gliding it towards the top left corner.
Step 18

– Slide another opening pick into the top right corner of the phone like you’re opening a treasure chest.
– Pop in a third opening pick to keep that sneaky adhesive from sealing back up while you’re working on removing the display.
Step 19

– Begin by gently sliding the right opening pick about halfway down the side of the frame to break the adhesive seal. You’ve got this!
– If things get a bit sticky, don’t sweat it! Just reheat and pop that iOpener back in action.
– Now, slide the left opening pick halfway down the frame and leave it there, giving you a helping hand while you continue the repair.
Tools Used
Step 20


Hey there! The screen’s flex cable hangs out right below the midpoint close to the power button, and might get in the way of your cutting tool.
– Pop in a fourth opening pick on the left side of the frame and gently slide it down to the bottom left corner to slice through that adhesive like a pro.
Step 21

– Alrighty, now put a fifth opening pick on the right side and slide it down toward the bottom right corner, cutting the remaining adhesive on the bottom end of the display screen. If you need help, you can always schedule a repair!
Step 22


– After you’ve carefully sliced through the adhesive all around the phone, gently lift the display upwards to set it free.
– Before you pop in that shiny new display, make sure to wipe away any remnants of the old adhesive from the frame. Grab some isopropyl alcohol (over 90% is best) and a lint-free cloth to give those glued areas a good clean.