How to Replace Samsung Galaxy S8 Plus Back Glass Tutorial
Duration: 45 minutes
Steps: 13 Steps
Hey there! Just a heads up, it’s time to tackle the next step in this awesome repair journey. Stay cool and keep up the great work! If you need help, you can always schedule a repair
This beginner-friendly guide will show you how to replace the sweet back panel glass on the Samsung Galaxy S8 Plus! If your new part doesn’t come with any adhesive, don’t stress, just grab yourself some pre-cut goo or that high-bond tape from your pals at schedule a repair. You’ve got this!
Step 1

– Grab your iOpener and warm up the back of the phone along its left edge for about two minutes. This little warm-up dance will soften the adhesive holding the back cover in place, making your job easier and smoother!
Yup, freeing your smartphone’s heart might mean saying bye-bye to its watery shield. Make sure you’ve got some fresh-hearted glue on hand before we continue this journey, or take all the wet steps extra cautiously if you decide to replace your smartphone’s soul without that fresh, new goodness. If you’re unsure, you can always schedule a repair
Tools Used

Step 2


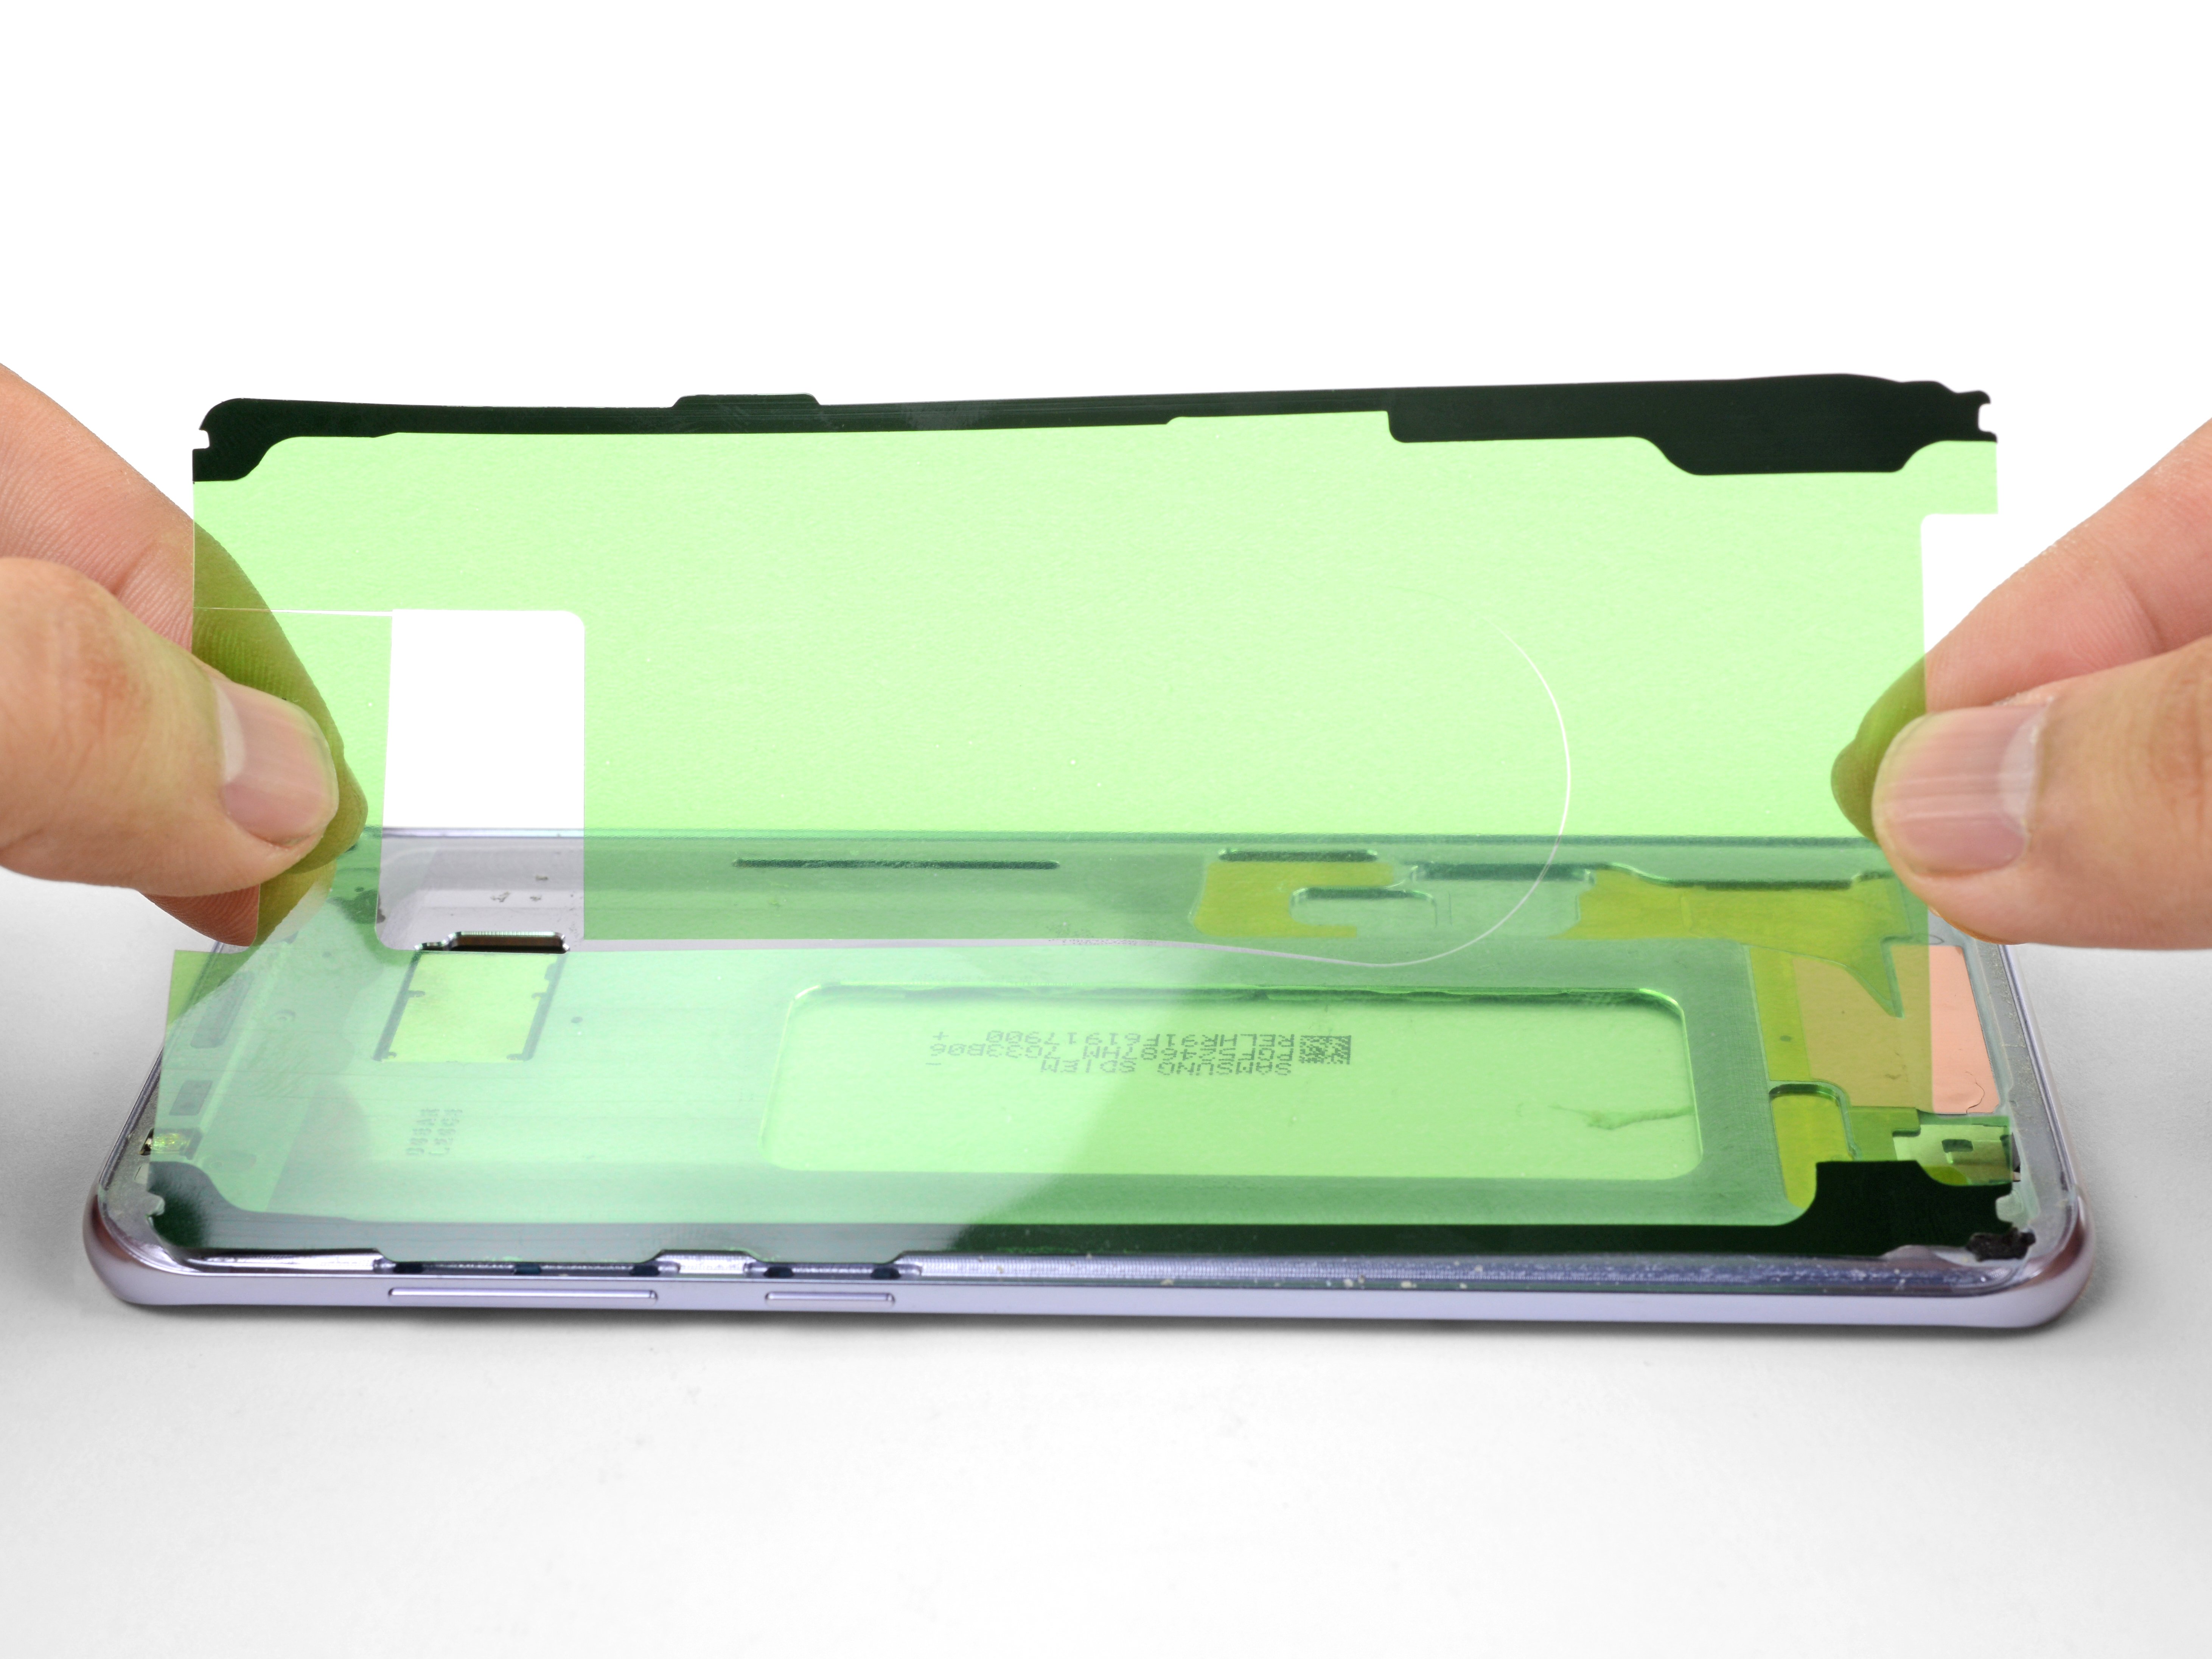
Go ahead and place the adhesive just like in the first snapshot. It’s the one showing what the cover looks like once it’s off.
– Get ready to get your hands a little sticky! In the upcoming steps, we’ll be cutting through the adhesive that’s holding the back cover in place.
– From the outside of your phone, you’ll want to slice through the adhesive in the specific areas shown here:
Step 3


– Grab a suction cup and stick it onto the back cover, getting as close to that warmed-up edge as you can.
– Gently pull up on the left side of the back cover with your suction cup to create a tiny gap between the back cover and the frame.
Step 4


Hey there! Just a heads up, the rear glass is delicate, so go easy on it. Using too much force or metal tools could lead to a not-so-happy cracking situation!
If you feel like it, once you’ve slipped the pick in, a few drops of isopropyl alcohol in the gap can make the next steps a breeze by loosening the adhesive. If you need help, you can always schedule a repair
– Slide an opening pick into the gap.
Step 5


Once you’ve got that pick in there, it can be super helpful to keep it in place and grab a second one as you move on to the next step. Keeping the first pick inserted is a great way to stop that pesky glue from sticking back together. Keep it up!
– Gently glide your trusty opening pick down the left side of the phone to cut through the sticky stuff holding the back cover in place. Keep it steady and you’ll be in in no time!
Step 6


– Keep slicing through that stubborn adhesive along the bottom edge of your phone. You’re doing great!
– Pro tip: It might be handy to keep that opening pick in place and grab another one for the next step. You’re on the right track!
Step 7


Be careful not to poke too deep with your pick in this step, or you might end up damaging the fingerprint sensor’s flex cable. Take your time and check out the diagram in step 2 for some handy guidance.
– Cruise through the remaining adhesive running along the top edge and right side.
Step 8


Hold your horses before attempting to take off the back cover completely.
– Gently lift the back cover from the left edge and swing it open just a bit. Easy peasy!
Step 9


– Grab your trusty spudger and gently pop off the fingerprint sensor flex cable. If you need help, you can always schedule a repair
Tools Used

Step 10


Take your time and practice a little. No need to rush or try to jam the connector in place.
– Alright, it’s reassembly time! To get that fingerprint sensor cable back in action, start by tilting the back cover into place until the connector is perfectly aligned over its socket. You’re doing great!
– Next up, grab your trusty spudger and use the flat end to gently press down on the connector. Just a little push straight down, and you’ll hear that satisfying snap as it locks into place. You’re almost there!
Tools Used
Step 11

If you’d like, you can pop the back cover back on without swapping out the adhesive. Just make sure to clear away any big bits of glue that might stop the cover from sitting nicely. Once it’s back on, give it a little heat and some pressure to lock it in place. It might not be waterproof, but don’t worry—the adhesive usually has enough sticking power to keep things together.
– Start by gently popping off the back cover. You’ve got this!
– Ready to put on a snazzy new back cover? Let’s get to it!
– If you’re reattaching the back cover or using one without sticky stuff, just follow this handy guide.
– Oh, and if your new part needs the camera bezel from the old one, no worries! Check out our camera bezel replacement guide for that extra help.
Step 12


If you’re having a tough time pushing out the fingerprint sensor, try adding a bit more heat, and/or gently run a pick along the sensor’s edge to loosen some of the adhesive.
– When you’re swapping in a shiny new rear glass panel, don’t forget to move over the fingerprint sensor to your new panel like this:
Step 13

– If the fingerprint sensor adhesive is still in good shape, you can reuse it. But if it’s seen better days, go ahead and peel off the old stuff and get ready to stick on some fresh adhesive.
– Once you’ve tossed the old adhesive, grab some high concentration isopropyl alcohol (at least 90%) and give the edges of the fingerprint sensor a nice clean-up. After that, it’s time to apply the new adhesive and make everything snug again!