DIY Tutorial: How to Replace Samsung Galaxy S7 Active Screen – Step-by-Step Guide
Duration: 45 minutes
Steps: 4 Steps
Heads up! You’re about to dive into some repair fun! Just remember, if things get tricky or you need a hand, feel free to schedule a repair. You’ve got this!
Alright, time to dive in and tackle the screen disassembly of the super cool Samsung Galaxy S7 Active! Let’s get those tools ready and unleash our repair wizardry. Ready, set, go!
Step 2
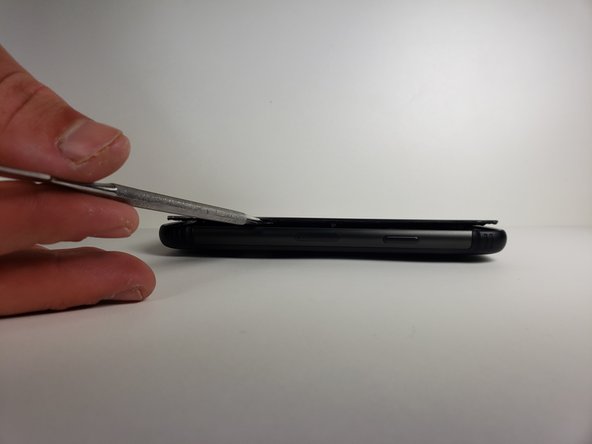
Using multiple metal spudgers can make it way easier to separate the screen from the sealing adhesive on the frame.
Keep in mind that reassembling your phone might affect its water resistance. If you need help, you can always schedule a repair
– Slip that trusty metal spudger between the screen and the frame to kick off the separation process. Let’s get it done!
Tools Used
Step 3
Applying heat with a blow dryer to the area you’re working on can make it easier to slide your metal spudger into place. If you need help, you can always schedule a repair
– Give that metal spudger a fun little dance around the phone at least once.
Tools Used
Step 4
Make sure to give those hands a good scrub with warm water and soap after you’re all done!
– Gently lift the screen upward using both hands.


