Samsung Galaxy S7 Active Rear Camera Replacement Guide: DIY Tutorial
Duration: 45 minutes
Steps: 13 Steps
Hey there! Just a friendly reminder: make sure you’re working in a cozy spot with good lighting. A well-lit area is your best buddy when it comes to repairs! And remember, if you hit any bumps along the way, no worries! You can always schedule a repair and let the pros take over.
Ready to get your Samsung Galaxy S7 Active back in action? This guide will show you how to swap out that pesky rear camera with ease. Let’s get going!
Step 2
Pro tip: Using more than one metal spudger can make it a breeze to separate the screen from the sealing adhesive on the frame.
Heads up: Your phone might not be watertight after you put it back together. If you need help, you can always schedule a repair.
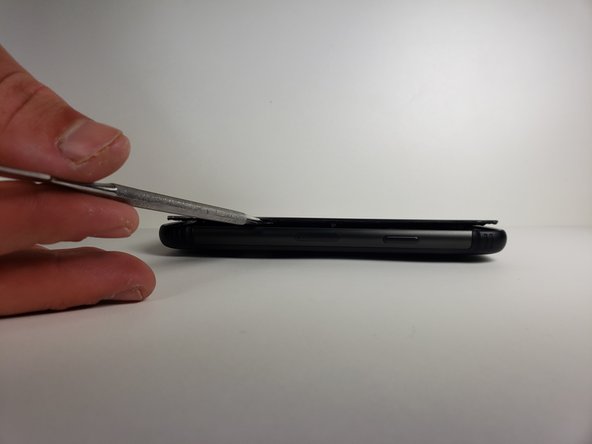
– Gently slide the metal spudger between the screen and the frame to kick off the separation process. You’ve got this!
Tools Used
Step 3
To make your spudger glide like a pro, give it a little warmth by aiming your blow dryer at the area where you’re working. You’ll be amazed at how much smoother it goes!
– Make sure to glide that metal spudger around the phone at least once for a smooth start!
Tools Used
Step 4
Hey there, don’t forget to wash up with some soapy tunes when you wrap up! We want you to have a sparkling clean experience, so let’s keep those paws clean! If you need help, you can always schedule a repair.
– Gently raise the screen using your hands like you’re lifting a delicate treasure.
Step 5
– Grab your trusty Phillips #000 screwdriver and carefully remove that single screw. If you need help, you can always schedule a repair
Tools Used
Step 8
– Grab your trusty Phillips head #000 and carefully remove the eleven screws highlighted in the picture. You’ve got this!
Step 9
– Grab your trusty tweezers and carefully unplug the highlighted pieces from the motherboard. You’ve got this!
Tools Used
Step 10
– Grab some tweezers and delicately remove the middle button along with its connection to the motherboard.
Tools Used
Step 11
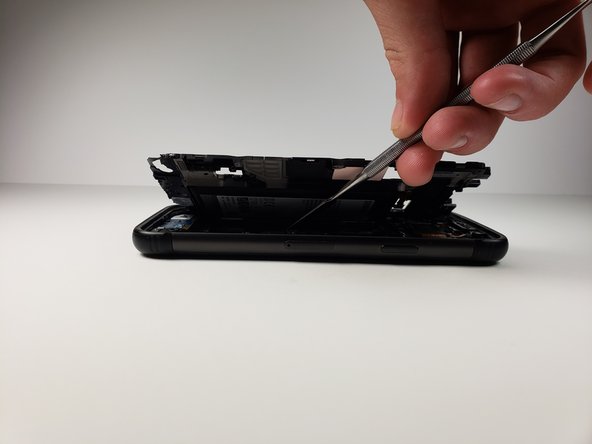
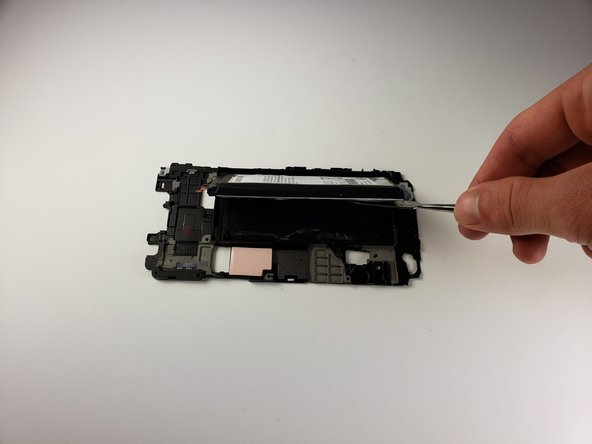
– Grab a metal spudger and gently pry away the mid frame and battery from the motherboard. You’ve got this!
Tools Used
Step 13
You’ve got this! Unsnap that connector, just like snapping together your favorite lego pieces. You’re a repair pro on the rise!
– Grab your trusty tweezers and gently disconnect the front camera from the battery. You’ve got this!
Tools Used


