DIY Guide to Replace Samsung Galaxy S7 Edge Rear Glass
Duration: 45 minutes
Steps: 7 Steps
Heads up!
Let’s get your Samsung Galaxy S7 Edge looking sharp again by replacing the glass back. Just a heads-up: the curved edge and strong adhesive can make this a bit tricky. Stay calm, keep heating and pulling, and the adhesive will eventually give in. If you need help, you can always schedule a repair
Step 1

When you open up your phone, its waterproof seals won’t be the same. Make sure you have replacement adhesive ready, or be extra careful to keep it dry if you’re reassembling without fresh adhesive. If you need help, you can always schedule a repair.
– Warm up your iOpener and give your phone’s long edge a cozy two-minute spa treatment. If you need help, you can always schedule a repair.
Tools Used

Step 2

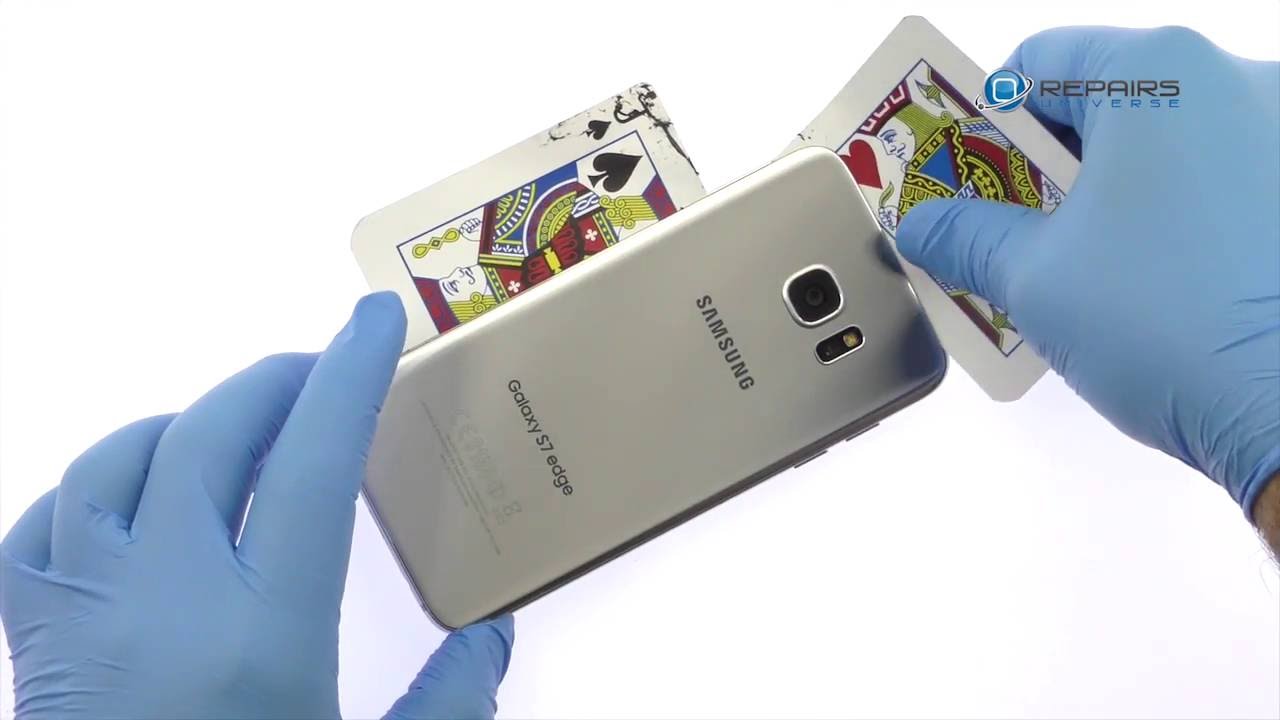
– When the back panel starts feeling warm, get your trusty suction cup and stick it near the warm edge of the phone. Make sure to steer clear of the curved areas.
– Gently lift using the suction cup and slip an opening pick beneath the rear glass.

Step 4


Take your time, and keep that tip snug in the seam! If things get a bit tricky, just give it another heat-up and stick that iOpener back in there.
– Gently slide the pick along the side of the phone to loosen the adhesive.
– Keep the pick in place and grab a second one for the next step. Leaving the pick inserted helps stop the glue you just separated from sticking again.
Tools Used
Step 5


– Repeat the previous heating and slicing step for the remaining three sides of the phone.
– Leave an opening pick on each side as you move on to the next to stop the adhesive from resealing.
Step 6


– Gently lift the glass and pop it off the phone like a pro!
Step 7


Need to spiff up your device? No worries, you can pop that back cover back on without replacing the adhesive. Just make sure to clear out any big adhesive bits that might mess with that snug fit. Once it’s back on, give it a little heat and some good ol’ pressure to keep it in place. It might not be waterproof, but that glue is tough as nails!
– Let’s get that new back cover in place! If you’re putting the old one back on or using a cover that doesn’t come with adhesive, just follow this handy guide.