How to Replace Samsung Galaxy S6 Midframe Assembly Step-by-Step Guide
Duration: 45 minutes
Steps: 15 Steps
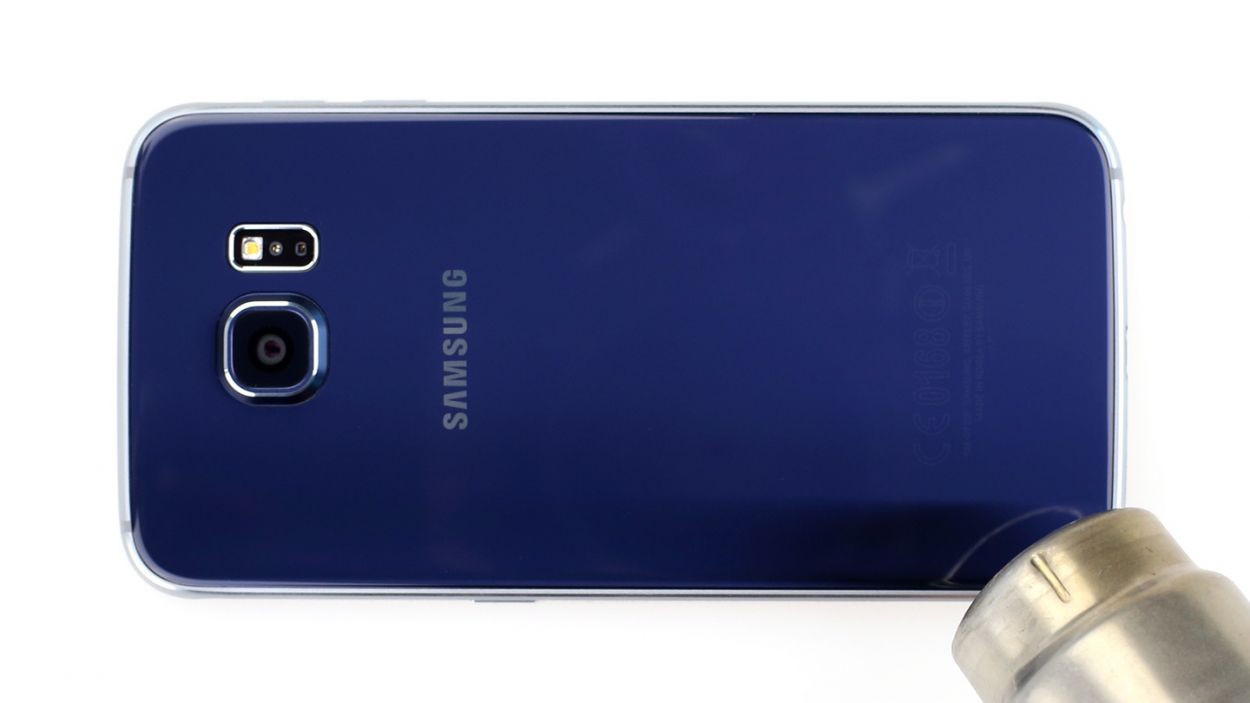
Ready to give your Samsung Galaxy S6 a makeover? Let’s swap out that old midframe assembly! Inside, you’ll find the induction coil, power and volume buttons, camera lens, and speaker all cozy together. This repair involves a little game of ‘remove the rear glass’ – but watch out, it’s sticky business! All set? Follow along to pop that rear glass back in place and voilà – your S6 will be looking fresher than ever!
Step 1


– Grab a paperclip or a SIM eject tool and pop it into the hole located on the side of the phone where the power button hangs out.
– Give it a gentle push to slide out the SIM card tray with style.
Step 2

– Pop that SIM card tray out of your phone like a boss!
Step 3


Before getting started, let’s show that microwave who’s boss! Give it a good cleaning first to prevent any gunk from sneaking onto your iOpener.
– Pop the iOpener right in the middle of the microwave.
Tools Used

Step 4

Keep an eye on that iOpener! Overheating can lead to some serious drama, like bursting. Let’s keep it cool and avoid temperatures over 100˚C (212˚F).
If the iOpener looks like it’s been working out and is a bit swollen, give it some space!
If the middle of the iOpener is still too hot to handle, hang tight and let it cool down a bit more before giving it another heat-up. A well-heated iOpener should stay cozy for about 10 minutes.
– Give your iOpener a quick warm-up in the microwave for thirty seconds.
– As you work through the repair, keep an eye on your iOpener. If it starts to cool down, pop it back into the microwave for another thirty seconds. You’ve got this!
Tools Used
Step 5

Get ready to handle the sizzling iOpener like a pro! Consider using an oven mitt if things get too toasty.
– Get ready to rescue your device! Take out the iOpener from the microwave, making sure to hold it by one of the two flat ends to steer clear of the hot center.
Tools Used
Step 6


No microwave? No problem! Just pop that iOpener in some boiling water and you’re good to go!
– Fill a pot or pan with enough water for your iOpener to take a bath.
– Get that water boiling hot, then turn off the heat and let it relax.
– Gently drop your iOpener into the warm water and let it chill for 2-3 minutes, making sure it’s all covered.
– Fish out the now toasty iOpener with some tongs.
– Give your iOpener a good towel dry, make sure it’s cozy and dry.
– Your iOpener is primed to shine! If it needs a little more warmth, just heat up that water, let it chill for 2-3 minutes, and you’re good to go.
Tools Used
Step 7


A hair dryer, heat gun, or hot plate can work too, just be cautious not to overheat your phone—the OLED display and internal battery are heat-sensitive. If you need help, you can always schedule a repair.
Popping open your phone will mess up its waterproofing. Make sure you’ve got some replacement adhesive on hand before you dive in, or be super careful to avoid any spills if you’re putting it back together without new adhesive. If you need help, you can always schedule a repair.
If your screen’s shattered, slap some packing tape over the whole thing to keep it from falling apart while you’re working on it. If you need help, you can always schedule a repair.
– Place the heated iOpener on the rear panel for around two minutes to ease up the adhesive along the glass edges.
– Move the iOpener to warm up the remaining section of the panel for another two minutes.
Tools Used
Step 8


If you’re feeling adventurous, once you’ve slid that pick in, sprinkle in a few drops of isopropyl alcohol into the gap. It’ll help loosen up that pesky adhesive for the steps ahead. You’re doing great!
– Get that rear glass nice and toasty, then stick a suction cup close to the bottom edge like a boss.
– Give that suction cup a little love tap to make a tiny gap under the rear glass, then slide in an opening pick like a pro.
Step 9


For some extra help, consider keeping the pick in place and grabbing a second one as you move on to the next step. Leaving the pick inserted can prevent the glue you just separated from re-adhering.
To keep things smooth, re-heat the rear glass as necessary to avoid the glue from cooling and hardening.
– Gently glide your pick along the bottom edge of the phone to cut through the adhesive holding the rear glass in place.
Step 10


– Hop back to the heating and cutting routine for the remaining trio of sides on your device.
– Friendly tip: Pop an opening pick beneath each edge to keep the adhesive from sneaky resealing.
Step 11


– Grab your trusty opening pick and carefully glide it through any stubborn adhesive that’s still holding on.
– Now, gently lift off the rear glass like you’re unveiling a surprise gift.
Step 12


– Get ready to install that shiny new rear glass:
– If you’re putting the old rear glass back on, or using glass that doesn’t already have adhesive, just follow this guide.
Step 13

– Take a moment to locate and remove those thirteen 3.5mm Phillips #00 screws holding the midframe snugly in place. You’ve got this!
Step 14


Before diving into this step, just a friendly reminder to pop out that SIM card tray!
– Grab the edge of the midframe assembly like a pro.
– Gently lift the midframe assembly while giving the battery a little push down to help it pop away from the rest of the phone.
– If you’re finding it tough to separate the midframe, don’t hesitate to warm things up with an iOpener on the edges of the display to loosen that pesky adhesive.
Tools Used
Step 15

– Gently lift the midframe assembly to free it from the rest of the phone.