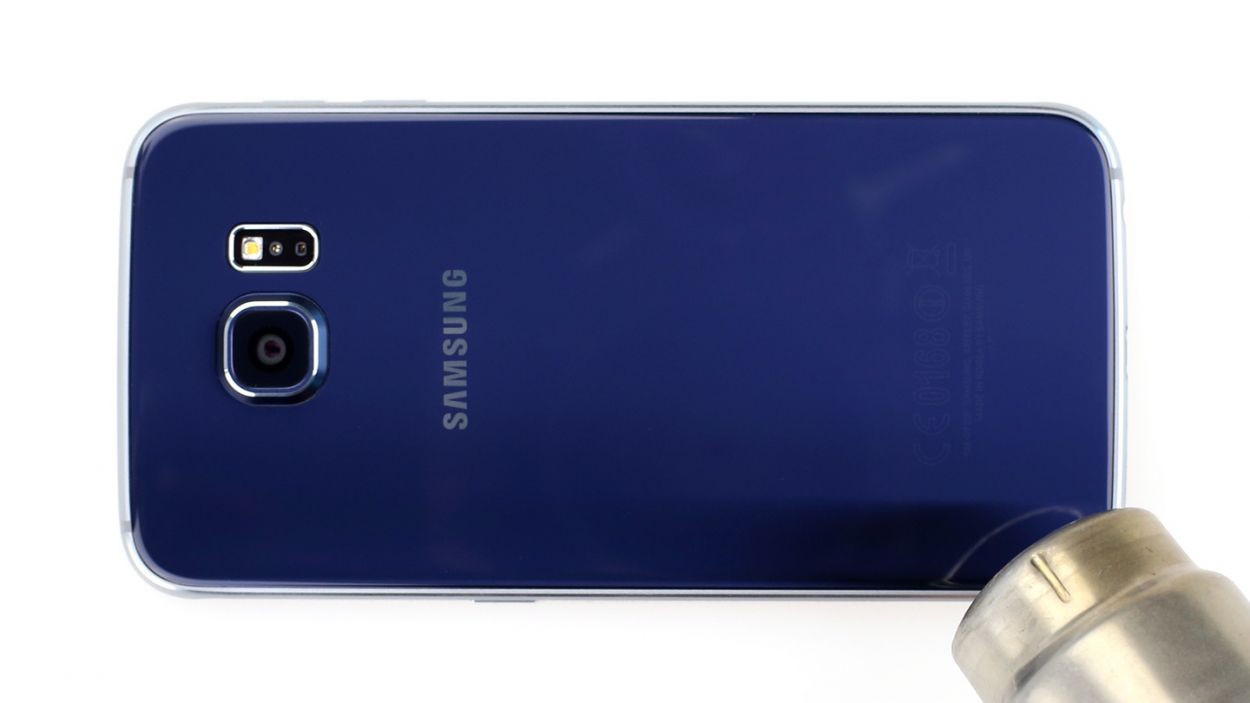
How to Replace Samsung Galaxy S Earpiece Speaker Assembly Guide
Duration: 45 minutes
Steps: 18 Steps
Before you start, make sure you’ve got the right tools for the job. If you need help, you can always schedule a repair
Ready to swap out that earpiece speaker assembly? This cool component has your speaker, microphone, IR blaster, and ambient light sensor all in one. Heads up, we’ll be removing the rear glass, and it’s a bit of a sticky situation—literally! The adhesive holding it down will be toast. Don’t worry, follow this guide to get that rear glass back on track.
Step 1


– Grab a paper clip or SIM eject tool and pop it into the hole in the SIM card slot on the power button side of your phone.
– Give it a good press to release the SIM card tray.
Step 2

– Pop out that SIM card tray from your phone like a pro!
Step 3


Before you get started, give your microwave a quick clean. Any leftover gunk on the bottom might end up on the iOpener.
– Pop that iOpener right in the middle of the microwave, and let it warm up a bit!
Tools Used

Step 4

Watch out not to overheat that iOpener! Going over 100˚C (212˚F) can make it burst. Let’s keep things cool.
If it looks swollen, hands off the iOpener!
If the middle of the iOpener is still too hot to touch, give it a bit more time to cool before reheating. A well-heated iOpener should stay warm for up to 10 minutes.
– Pop that iOpener in the microwave for thirty seconds to get it nice and toasty!
– As you work through the repair, keep an eye on your iOpener—it might cool down on you. When it does, just give it another thirty seconds in the microwave to keep the good vibes going.
Tools Used
Step 5

Hey there! The iOpener’s going to be piping hot, so take it easy and keep that mitt on handy. We wouldn’t want any burnin’ mishaps, right? If you’re feeling extra unsure, you can always schedule a repair and let the pros handle it!
– Carefully take the iOpener out of the microwave, grabbing it by one of the flat ends to dodge that hot spot in the middle.
Tools Used
Step 6


No microwave? No problem! Just pop that iOpener in some boiling water to get it warmed up.
– Grab a pot or pan and fill it up with enough water to give your iOpener a nice, warm bath.
– Bring that water to a boil and then turn off the heat – we don’t want to keep it too hot!
– Carefully pop the iOpener into the hot water for about 2-3 minutes, ensuring it’s fully submerged. We want it to soak up all that warmth!
– Use some tongs to safely fish out your heated iOpener from the water.
– Give the iOpener a good towel dry – it deserves to be pampered!
– And voilà! Your iOpener is all set for action! If it cools down and needs a refresher, just repeat the heating process: boil the water, turn off the heat, and let it soak for another 2-3 minutes. If you need help, you can always schedule a repair.
Tools Used
Step 7


Be cautious when using heat sources like hair dryers or heat guns, as phones are heat-sensitive and overheating can cause damage to the OLED display and battery. Need help? You can always schedule a repair!
Opening up your phone can let water in, so those waterproof seals will be saying goodbye! Make sure you’ve got some replacement adhesive on hand before you dive in, or be extra careful to keep it dry when putting things back together.
If your screen’s looking a bit like a jigsaw puzzle, slap some packing tape over the whole panel to keep it intact while you get to work on the removal. You’ve got this!
– Get cozy, lay that warm iOpener gently over the back panel and let it work its magic for a sweet two minutes. This will help the adhesive loosen up around the edges of the glass.
– Now, give that iOpener a little shimmy-shimmy to the rest of the panel and let it heat things up for another cool two minutes. Be patient, you got this!
Tools Used
Step 8


Feeling extra brave? Try adding a few drops of isopropyl alcohol to the party once your pick is ready. This added flair will help weaken the adhesive as you rock on with the next steps! If you need help, you can always schedule a repair.
– When the back glass is warm to the touch, place a suction cup near the bottom edge of the glass.
– Gently lift the suction cup to create a small gap under the back glass, and slide an opening pick into the gap.
Step 9


For an extra helping hand, consider leaving the pick in place and grabbing a second pick as you move on to the next step. Keeping the pick inserted can prevent the glued parts from re-sticking.
Make sure to re-warm the rear glass when necessary to avoid the glue from cooling and solidifying.
– Gently glide the pick along the bottom edge of the phone to cut through the adhesive that’s holding the rear glass in place. You’re almost there!
Step 10


– Get ready to rock and roll by repeating the heating and cutting groove for the remaining three sides of the phone.
– Don’t forget to slide an opening pick under each edge to keep the adhesive from throwing a surprise sticky party.
Step 11


– Grab your trusty opening pick and gently glide it through any stubborn adhesive that’s still hanging on.
– Carefully lift off the rear glass and set it aside.
Step 12


– To pop in your new rear glass:
– If you’re putting back the old rear glass, or using rear glass without pre-installed adhesive, check out this guide.
Step 13

– Let’s start by unscrewing the lucky thirteen 3.5mm Phillips #00 screws that are keeping the midframe firmly attached to your beloved device.
Step 14


Hey there, quick heads-up! Before you jump into this step, make sure you’ve popped out that SIM card tray. You got this!
– Grab the edge of the midframe assembly with a firm grip.
– Gently lift the midframe assembly while giving the battery a little push down to help separate it from the rest of your device.
– If you’re finding the midframe separation a bit tricky, consider warming things up with an iOpener along the display edges to help loosen that stubborn adhesive.
Tools Used
Step 15

– Time to lift the midframe assembly up and separate it from the rest of the phone – you’ve got this, rockstar!
Step 16


– Grab the flat end of the spudger and gently pop off the battery connector from its cozy little socket on the motherboard. If you need help, you can always schedule a repair.
Tools Used

Step 17

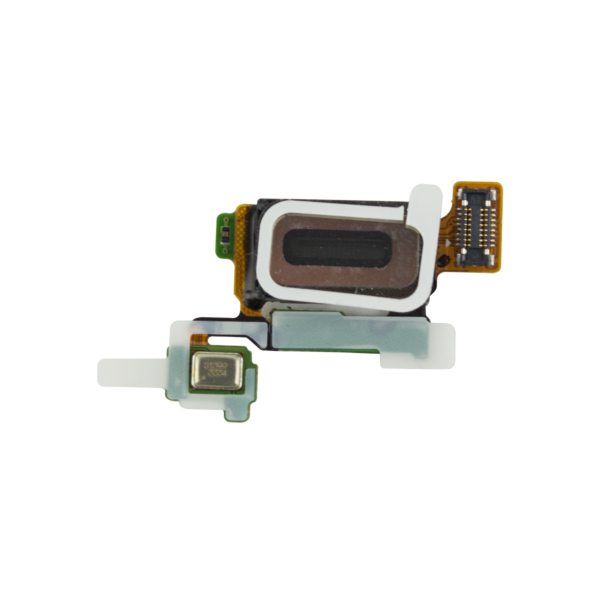
– Gently pry off the earpiece speaker assembly using a spudger. You’ve got this!
Tools Used
Step 18

This assembly is packed with a speaker, microphone, IR blaster, and ambient light sensor—each cleverly nestled on its own PCB.
– Use tweezers to carefully lift the assembly out once it’s been pried loose. If you need help, you can always schedule a repair.