Apple Watch SE Battery Replacement
Duration: 45 minutes
Steps: 19 Steps
Let’s get that battery drained below 25% to prep for the next step. If you need help, you can always schedule a repair.
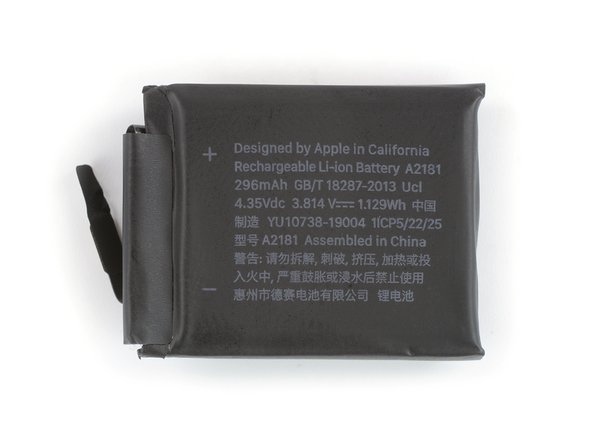
Ready to swap out that tired Apple Watch SE battery? Make sure you've got the right replacement—good news, the Series 5 battery works perfectly here. If your battery’s looking a little puffy, use some extra care. Before you crack things open, let your battery drain below 25%. This helps keep things safe in case there’s a mishap. You’ll also want fresh adhesive for putting everything back together. Take your time, and if things get tricky, you can always schedule a repair.
Step 1


- Before you dive in, unplug your watch from the charger and turn it off—give it a quick nap before surgery.
- Screen cracked and can’t get it to power down? No sweat—there’s a backup shutdown trick just for that.
Step 2


Keep those fingers safe and sound by staying clear of the knife! If you're feeling a bit unsure, toss on a sturdy glove, like a leather shop glove or a gardening glove, to keep your hand protected.
Remember, don't go all Hulk on that knife! Too much pressure could make it slip and cause a cut or even damage your gear.
Safety first! Rock those safety goggles. You never know when the knife or glass might decide to break and send little pieces flying.
Feel free to pop on or off the watch band as needed! This little tweak gives you a bit more freedom while you tackle those repairs. Let's get to it!
- Since the gap between the screen and watch body is super slim, you’ll need a sharp blade to pry them apart. Heads up: check out the next warnings before you dive in.
Step 3

Get ready to give the iOpener a little extra love! You might find yourself reheating it and repeating this process a few times until that display adhesive decides to soften up and cooperate!
- Grab your trusty iOpener (or a hair dryer if that's more your jam) and warm up the front of the watch to help loosen that pesky display adhesive.
- Let the iOpener chill on the watch for a solid two minutes. This will make sure the screen gets nice and toasty, softening the adhesive that's keeping it stuck to the case.
Tools Used

Step 4
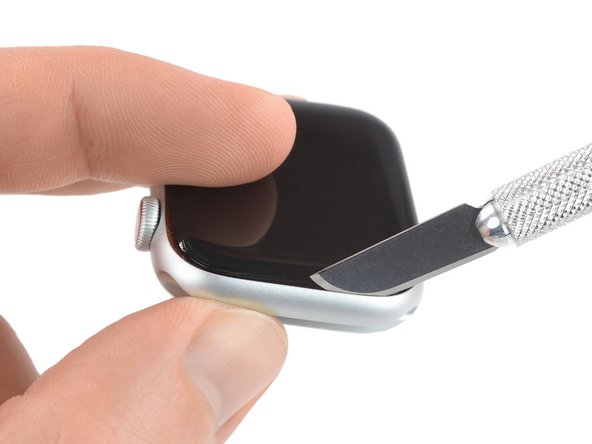
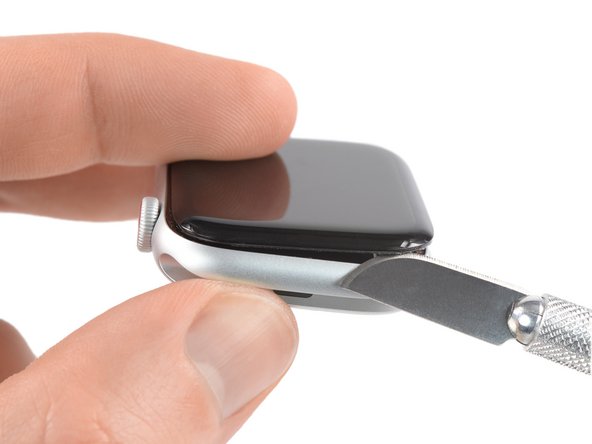
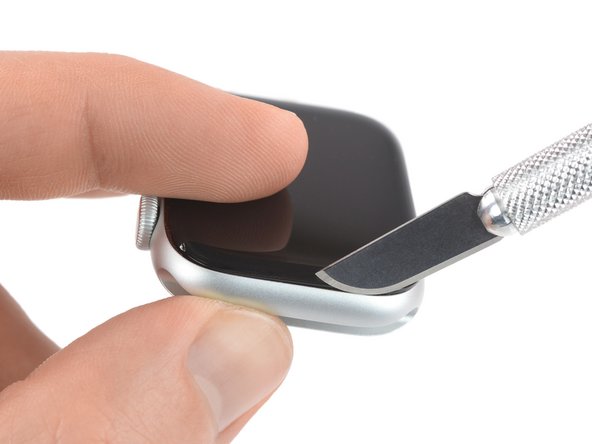
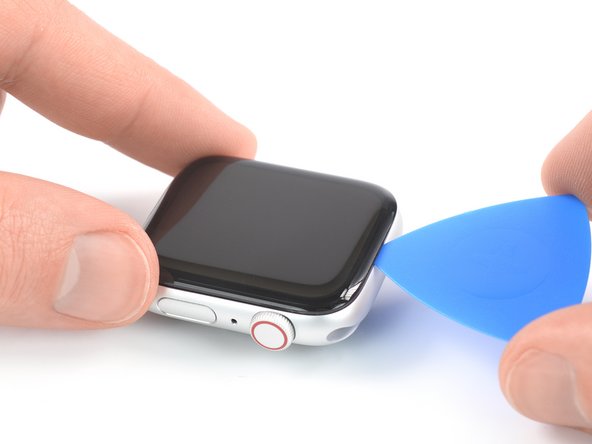
- Gently slide the edge of your curved blade into the slim gap between the display and the outer case. Begin at the shorter side of the display, right by the digital crown.
- Press down firmly and straight into that gap.
- Once the blade is in, give it a little tilt to help pry the display open just a tad.
Step 5


- Gently slide your opening pick into that sneaky little gap you've made.
- Now, run that pick along the short edge of the watch to slice through the adhesive like a pro!
Step 6


Hey there! When you're getting close to the crown, make sure your opening pick doesn't dive deeper than 1/16th of an inch (~2 mm). Keep it light and breezy!
- Gently slide the pry tool along the corner and down the long edge where the crown sits to loosen the display adhesive. Keep it steady and patient—you're just unwinding the glue's grip. If you need a hand, you can always schedule a repair.
Step 7


- Glide your trusty pick along the corner like it’s sliding into the last slice of pizza—cut the leftover glue on the short edge farthest from the crown.
Step 8


When working near the crown, keep your opening pick shallow—don’t go deeper than 1/16th of an inch (~2 mm). It’s a delicate area, so take it easy!
- Set the watch down on a flat surface, then grab an opening pick and carefully slice through any leftover adhesive.
- Gently slip an opening pick under the edge of the display opposite the crown—just take it slow and keep things steady.
Step 9

Hey there! Just a quick heads-up: let's not go yanking that display off just yet—it's still happily connected to the watch assembly.
- Pop that opening pick back in on the short edge of your watch, right by the crown. You're doing great!
- Give the opening pick a twist to gently lift the display away from the watch case. Keep it up!
Step 10


Watch out for those display cables—don't let them stretch out when you swing the screen to the side.
- Gently lift the display and pull it towards you, away from the short edge that's furthest from the crown.
- Now, swing the display open to a vertical position, like you're giving it a little stretch.
Step 11

- Grab your iOpener (or fire up a hair dryer or heat gun) and warm up the back of your watch to help loosen up that sticky battery adhesive. Let the heat do its thing for at least two minutes.
Tools Used
Step 12
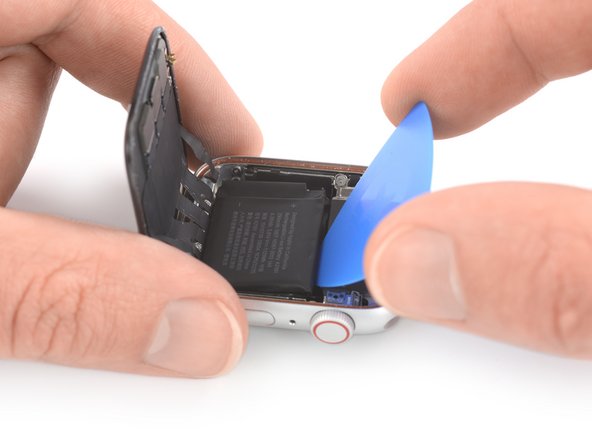

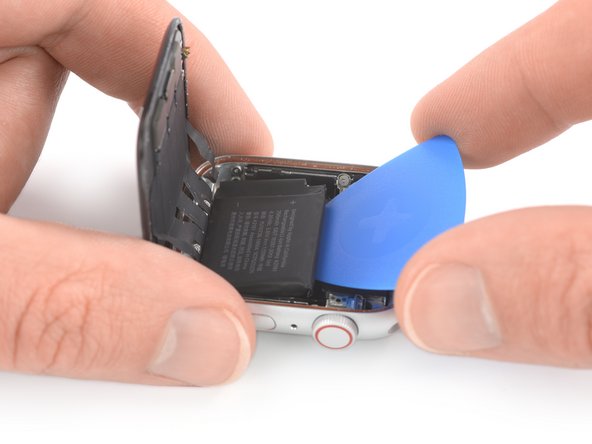
- Gently lift the screen to create enough room to access the battery. Take your time here—no need to rush!
- Slide an opening pick between the battery and the Taptic Engine. A little wiggle goes a long way!
Step 13

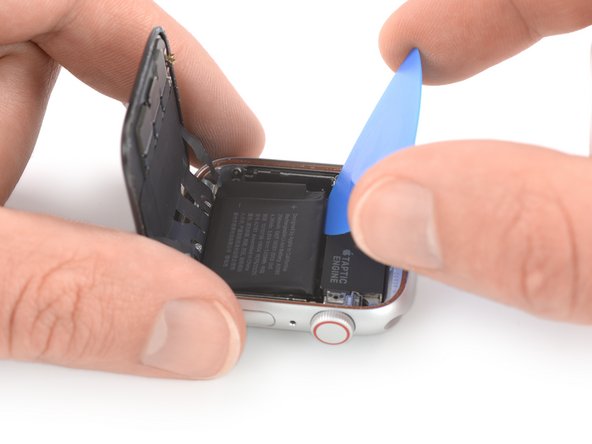
Be gentle with those display cables—especially the force touch one that hugs the battery corner—it's delicate! Watch out not to puncture or bend the battery; a damaged battery can be a fiery situation or even explode. And hold off on pulling the battery all the way out just yet—it's still snugly connected to the watch assembly, so take your time.
The battery adhesive is on the softer side, but if it’s putting up a fight, go ahead and place a warm iOpener on the back of your watch for a couple of minutes. That should help loosen things up and make battery removal way less stubborn.
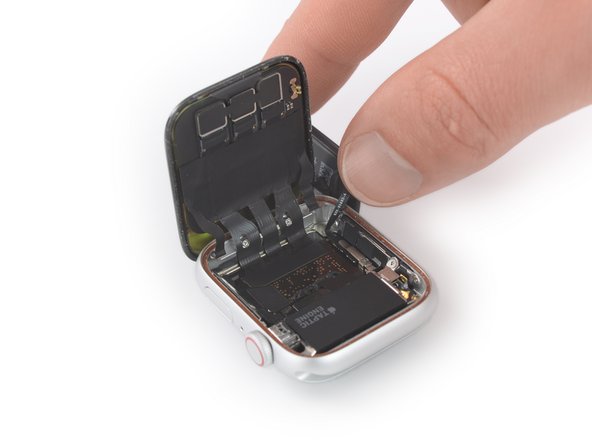
- Gently glide that opening pick along the battery's edge to break free the adhesive's grip.
- Apply steady pressure and slowly lift the battery away, freeing it from the sticky stuff holding it to the mainboard.
Tools Used
Step 14

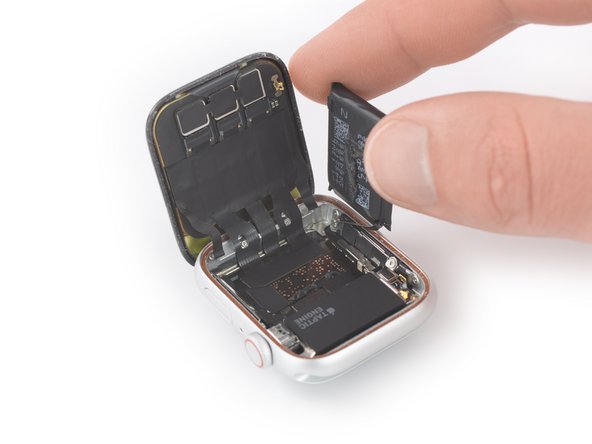
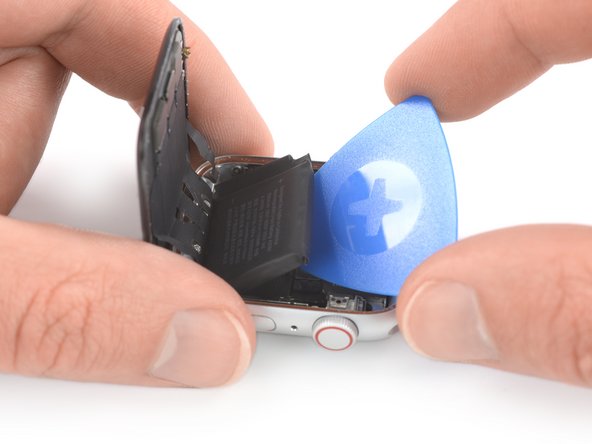
The battery flex cable is long enough to let you gently lift the battery out of its cozy little home outside the watch case. Just remember to be kind to the cable and avoid any unnecessary tugging while you do it!
- Gently lift the battery and swing it out of its cozy spot. You've got this!
Step 15

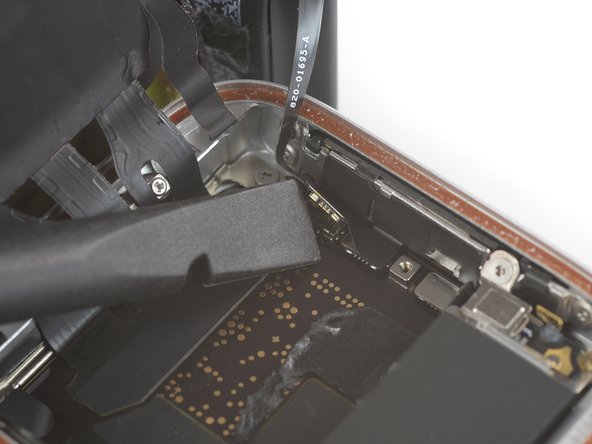
- Grab a Y000 driver and gently unscrew the 1.1 mm screw securing the battery connector. If you need a hand, you can always schedule a repair.
Step 16

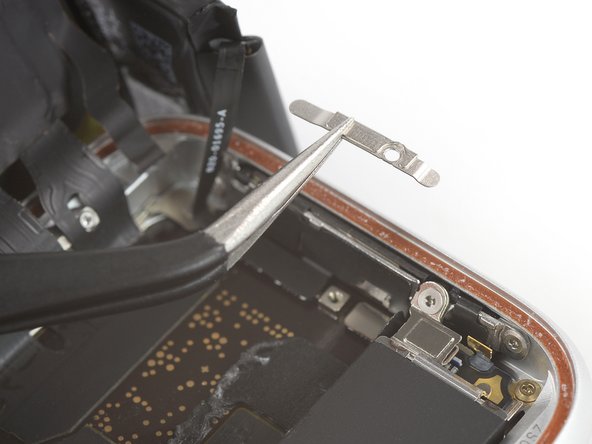
- Grab your trusty tweezers and gently lift off the metal plate that’s hiding the battery connector. You're doing great!
Tools Used

Step 17

- Time to get this repair started! Use the flat end of a spudger to carefully pry up and disconnect the battery flex cable.
Tools Used

Step 18

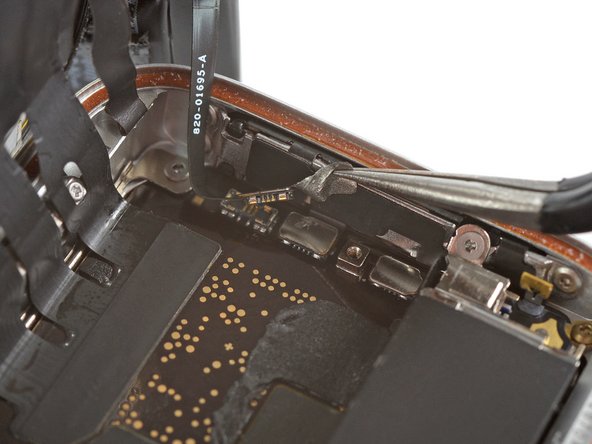
- Grab your tweezers and gently lift the battery connector, peeling back that little bit of foil that's in the way.
Tools Used
Step 19

Avoid reinstalling a damaged or misshapen battery—it's a safety no-no. Better to get a new one and keep things safe and sound.
If you're giving your old battery a second chance, you can reuse the existing adhesive to keep it in place. But if you're starting fresh, remove the old adhesive with some high-isopropyl alcohol and a lint-free cloth, then secure your battery with a small piece of double-sided tape like Tesa 61395 or a dab of liquid adhesive like E6000.
- Power on your device for a quick check before sealing everything up with new adhesive.
- To secure your new battery, use pre-cut adhesive or double-sided tape. Stick the adhesive to where the old stuff was—on the device, not the battery itself—then press the battery into place.
- To put your Apple Watch Series SE back together, just reverse the steps. Clean off any leftover sticky bits from the edges of the case and screen using a Q-tip with a bit of isopropyl alcohol (>90%) or a cleaning pad before adding fresh adhesive.
- For best battery life, calibrate your new battery after you're all done.
- Got old parts? Recycle them at an R2 or e-Stewards certified recycling center.
- If things aren’t working as planned, check out some basic troubleshooting or swing by our Answers community for support. Still stuck? You can always schedule a repair with us.