DIY Tutorial: Samsung Galaxy S5 Neo Display Replacement Guide
Duration: 45 minutes
Steps: 6 Steps
Heads up, partner! Make sure you’ve got your tools ready and your workspace clear. Let’s make this repair a smooth ride!
Get ready to replace that broken or non-functioning display on your Samsung Galaxy S5 Neo! Follow these steps to fix your screen, and you’ll be in a better spot to continue with further teardown if you need to do other repairs. If you need help, you can always schedule a repair.
Step 1
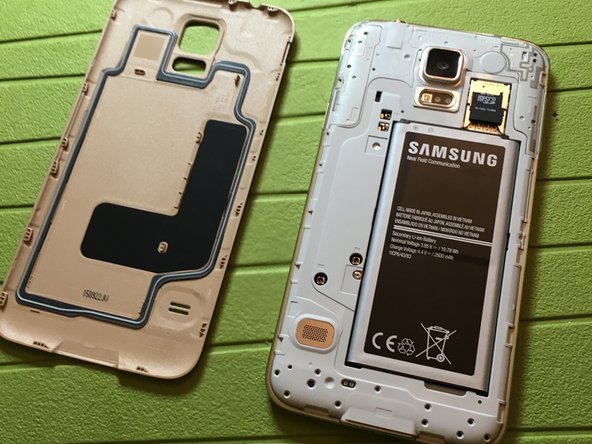
– Gently slide your fingernail or a trusty pry tool under the edge of the rear plastic cover and give it a little tug to pop it off. You’re doing great!
Step 2


– Pop out that battery!
– Take out the SIM card and SD card. If you need help, you can always schedule a repair
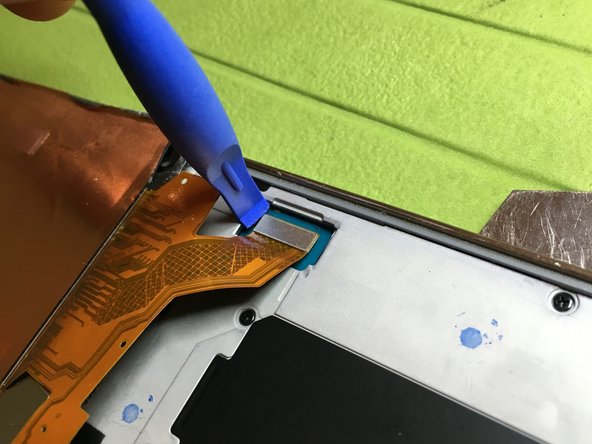
Step 3


– Warm up the display edges to a toasty 80 degrees Celsius (176°F). Then, carefully slide those flat opening tools between the display glass and the frame to pop it off.
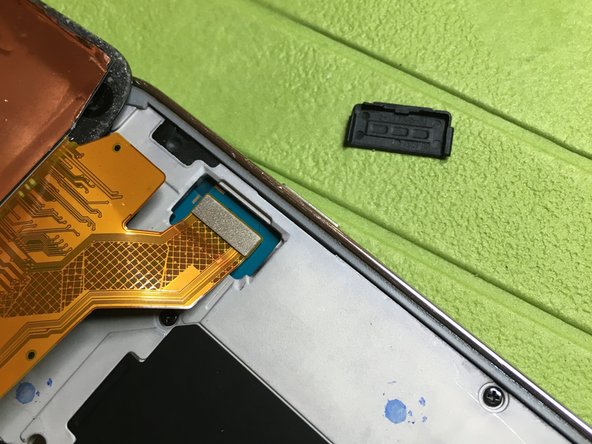
– Watch out for the flat cables hiding under the lower part of the phone, near the button. You don’t want to accidentally rip those.
– Keep an eye out for the flat display connectors under the upper part of the phone, too. Be gentle and avoid tearing them.
Step 4


– Whoa there! Just a heads-up: The display is also glued down in the middle with some seriously strong double-sided adhesive. If your display is still intact, handle with care or you might find yourself shopping for a new one!
– If you’re just popping off the display to get inside your phone for other fixes, be super careful with that central adhesive. Make sure to give it some gentle heat love.
– Those pink strips? Yeah, they’re part of the mega-strong adhesive that might just crack your display if you’re not careful.

Step 6

– Time to shine! Swap out that old display for a brand new one.