How to Replace Samsung Galaxy S5 Mini Front-Facing Camera
Duration: 45 minutes
Steps: 15 Steps
Hey there! Just a friendly reminder: make sure to handle your device with care during this repair process. If you run into any hiccups or need a helping hand, don’t hesitate to schedule a repair. You’ve got this!
Let’s dive in and swap out the front-facing camera on your trusty Samsung Galaxy S5 mini. Buckle up for a fun little repair adventure with Salvation Repair. If you need a hand, don’t be shy to schedule a repair to set things right!
Step 1


As the plastic snaps come apart, they’ll create a satisfying popping sound. Just a little reminder that things are moving along nicely!
– Slide a fingernail or a plastic opening tool into the notch above the power button.
– Carefully pop off the back panel of your phone.
Step 2


– Time to give your phone a little boost! Slip a fingernail or a plastic opening tool into the slot at the bottom of the battery.
– Give that battery some breathing room by gently prying it away from the phone. Easy does it!
– When your new battery is ready to step in, make sure those contacts are aligned just right. Press down gently – it’s all about finesse. Remember, the battery is a flexible friend, so don’t rush it. It’ll find its place. Patience is key!
Step 3


– Grab your phone and flip it over, placing it gently on a flat surface with the back side up.
– Take a spudger or a plastic opening tool to carefully lift up the connector of the home button cable and disconnect it.
– When putting everything back together, slide the home button cable connector into the open slot on the display assembly.
– Warm up your iOpener and use it to soften the adhesive under the display.


Step 4


Keep that opening pick under 1/8 inch, okay? We’ve got some sensitive components in there that might not appreciate a poke too deep.
– Turn your phone around to show its back—like it’s taking a nap!
– Wedge a plastic opening tool or pick into the crevice between the screen and frame, then skate it along the right edge to weaken that sticky adhesive.
– Carefully pry up the display just enough to see a gap, and park that trusty first pick in the bottom right corner near the home button to hold things open.
– Pop in another pick and whisk it to the top left corner, cruising beneath the display to further loosen the adhesive’s grip.
Step 5


– Warm up your phone’s display with the iOpener, paying extra attention to the top and left side. It’s like giving your phone a mini spa day!
– Pop in a third opening pick and skate it gently towards the top left corner. Watch out for the selfie cam and the speaker—don’t want to disrupt their vibe!
Tools Used
Step 6


– Grab a fourth opening pick and glide it to the bottom left corner, right next to the home button.
– Flip the pick in the top right corner to lift the display. If it’s still sticky, just move the four picks around the frame like you did before to catch any leftover adhesive.

Step 8


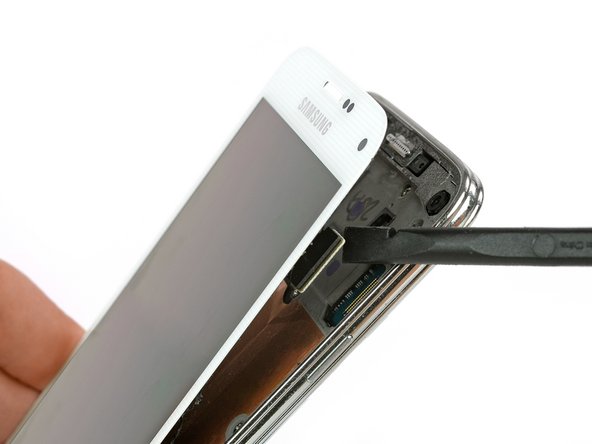
– Grab your trusty suction handle and give that display a gentle lift off your phone. Make sure the home button cable says ‘see ya!’ and sneaks through that tiny gap in the mid frame. If it plays hard to get, just coax it with a tweezer.
– Time to part ways with the display assembly! Just pull it away from the phone, and voilà, it’s off!
Step 9

– Unscrew the twelve 4 mm Phillips #00 screws that are holding the midframe in place. Let’s get those little guys out of there!
Step 10

– Alright, let’s get started! Turn that phone over and place it on a nice, flat surface with the back side facing up, just like a turtle sunbathing.
– Now, grab your Phillips #00 screwdriver and unscrew that 4 mm screw next to the battery slot—let’s get that party started!


Step 13


– Whip out your Phillips #00 screwdriver and remove that pesky 3 mm screw securing the daughterboard to the motherboard assembly. It’s just one little screw, you got this!
– Now, grab a plastic opening tool or a spudger and gently convince the daughterboard to leave its cozy socket. It’s like coaxing a cat out from under the bed—patience is key!
– Finally, use some tweezers to delicately unplug the cables connecting the daughterboard from the motherboard. Think of it as defusing a bomb in a spy movie, but way cooler because you’re actually fixing something!
Tools Used
Step 14


– Let’s kick things off by unscrewing that pesky 3 mm Phillips #00 screw that’s keeping the motherboard snug in its frame.
– Once that’s done, gently pull out the motherboard and place it on a flat surface where it can relax for a bit.
Step 15
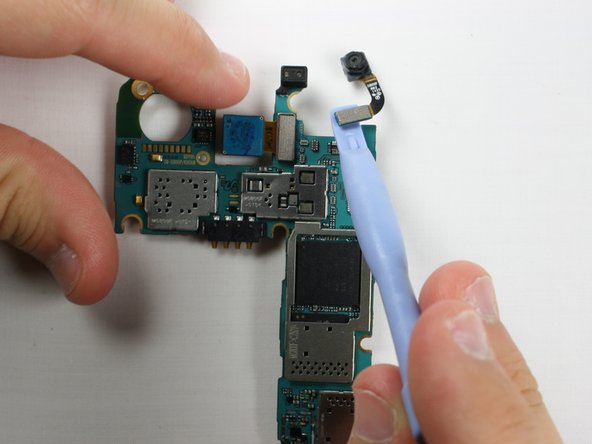


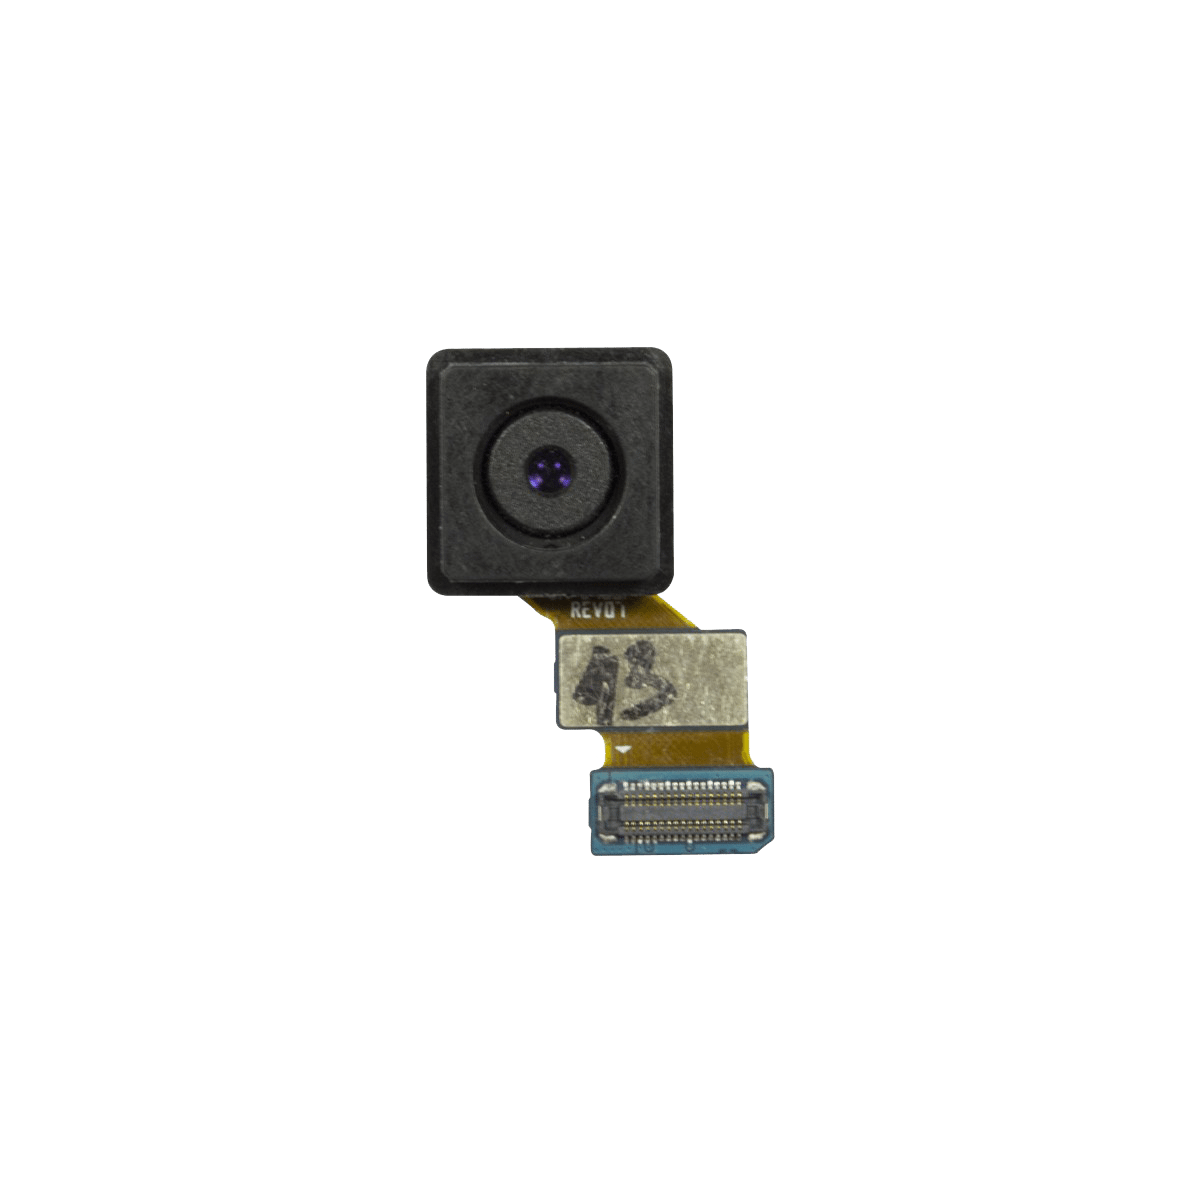
– Now, grab a trusty plastic opening tool or spudger and gently pry off the front-facing camera from the motherboard. If you’re unsure, don’t hesitate to schedule a repair for expert assistance!
Tools Used