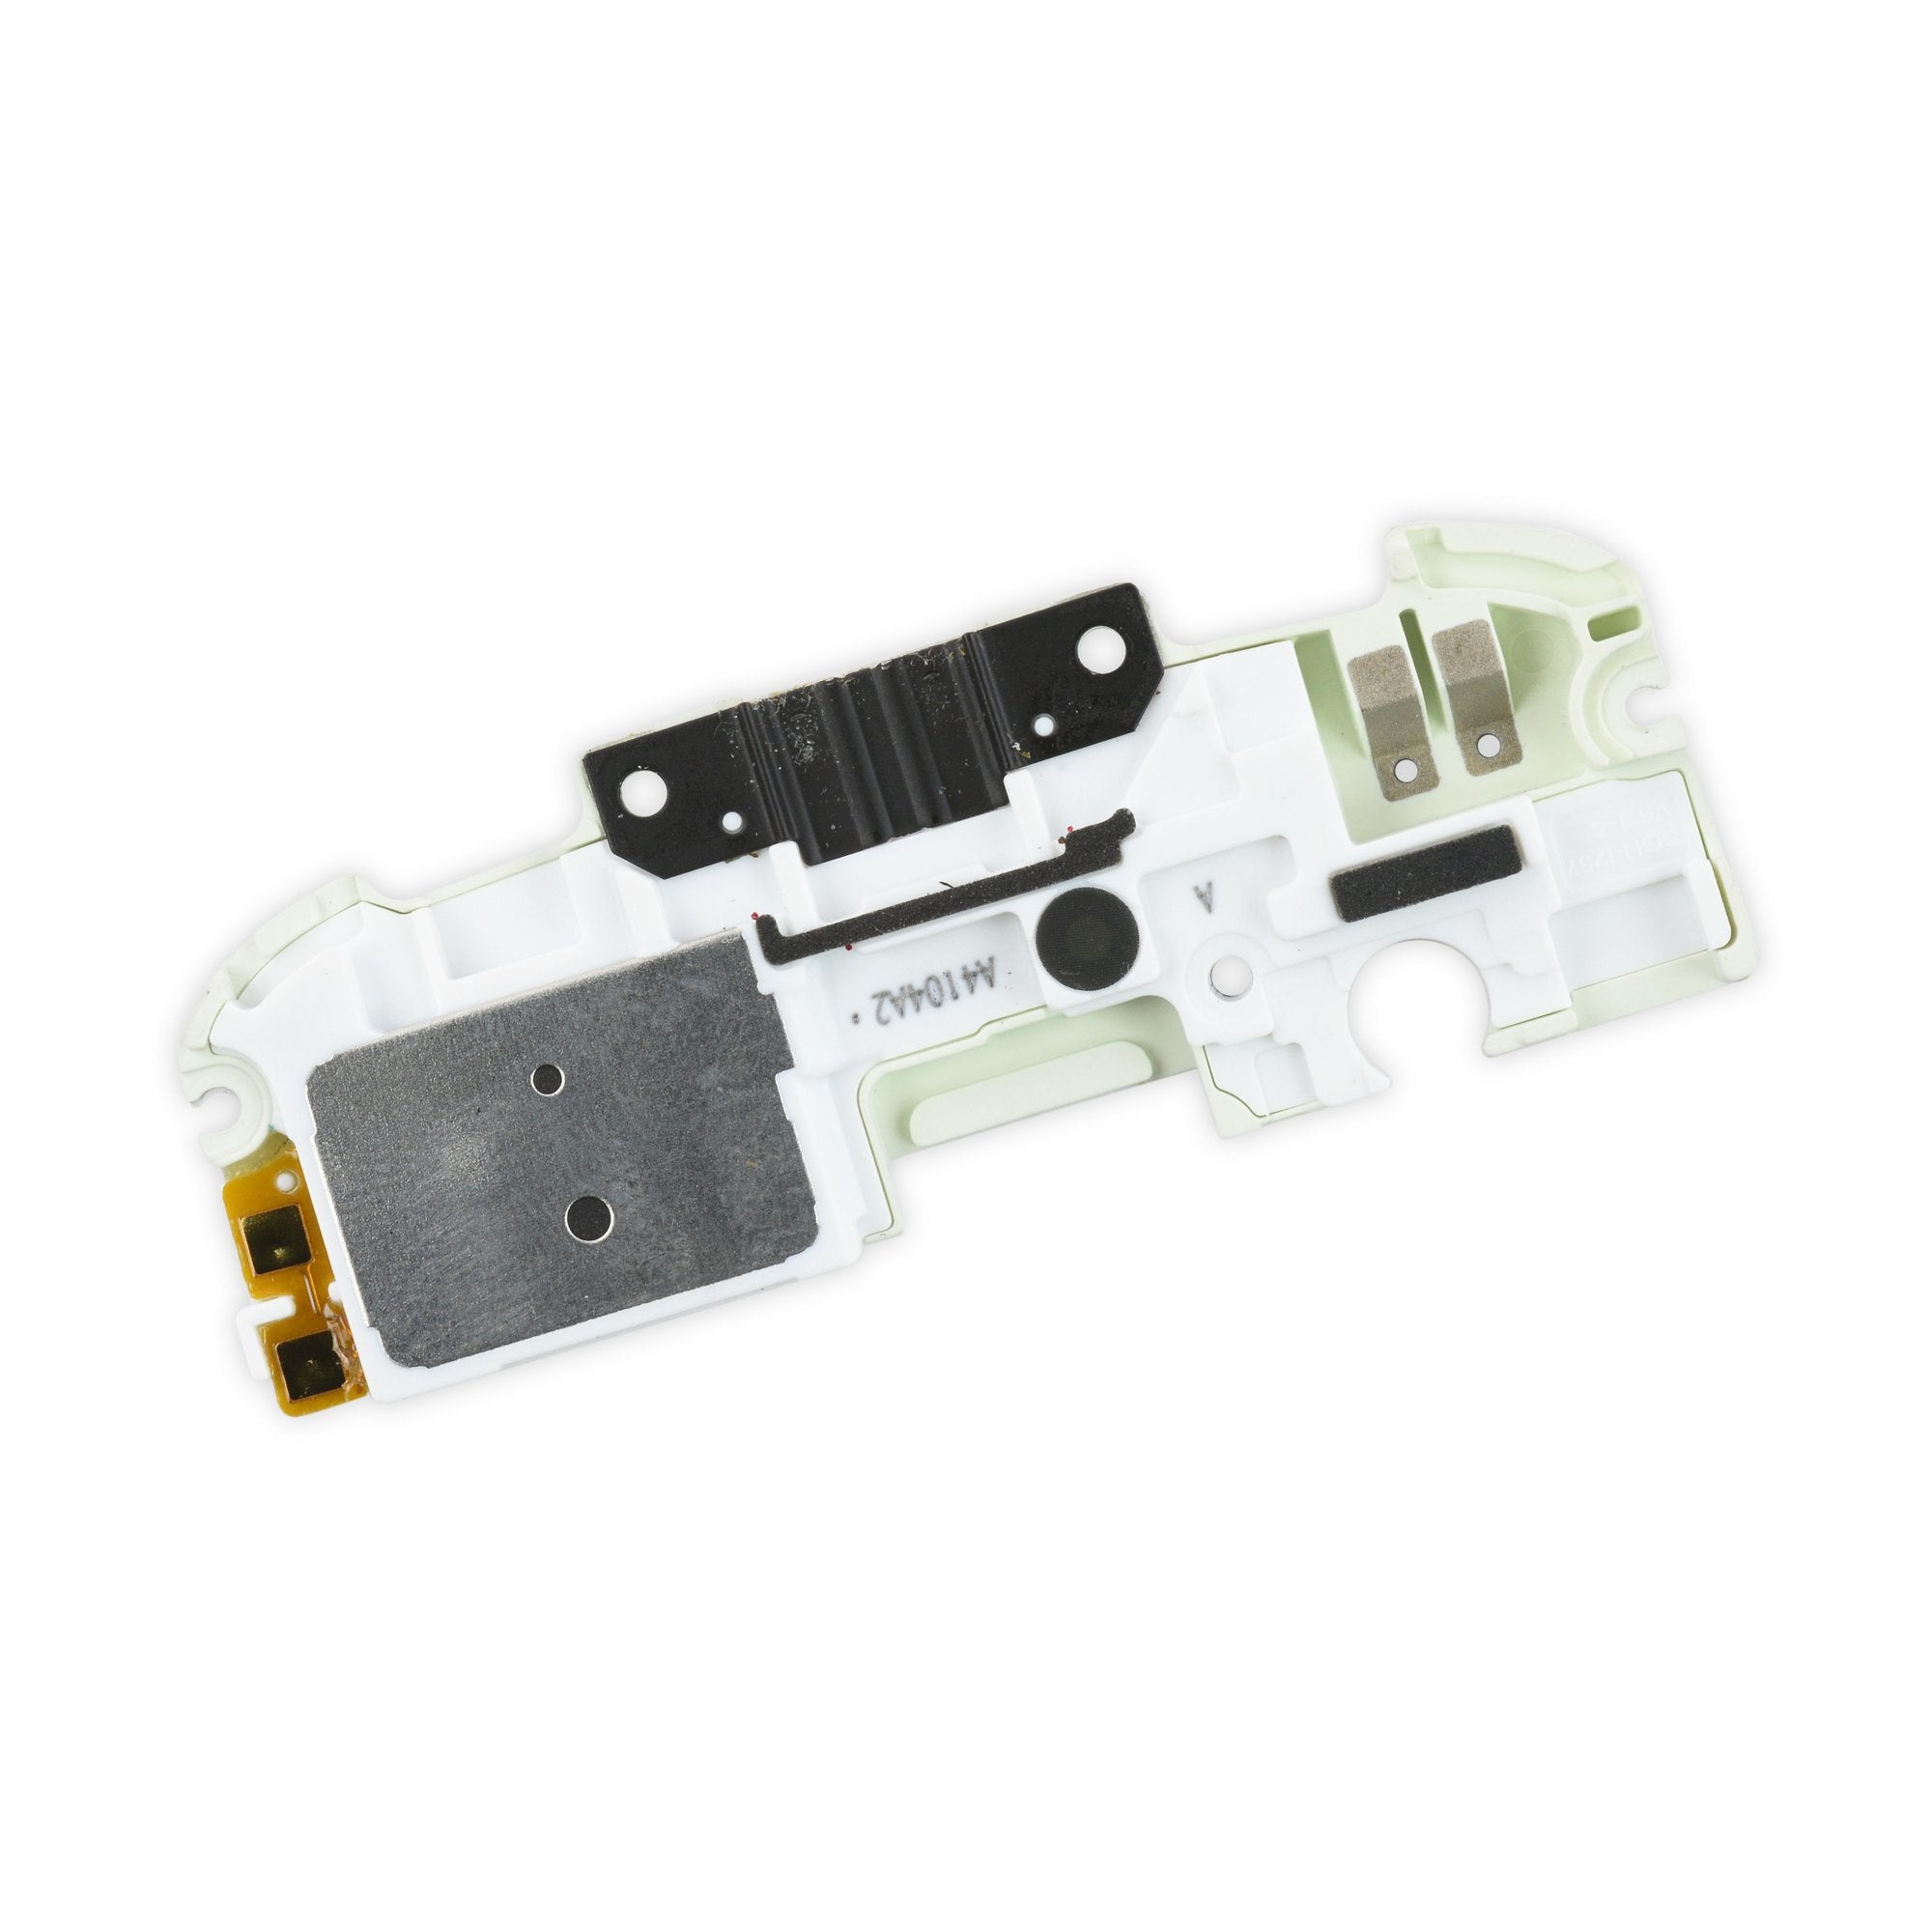
DIY Guide to Replace Samsung Galaxy S Charging Assembly
Duration: 45 minutes
Steps: 11 Steps
Heads up! Make sure you’ve got your tools ready and your game face on. We’re diving into this fix together!
Feeling like your device is on a charging strike? No worries! This guide will help you swap out that charging assembly so you can get back to powering up in no time. If you need help, you can always schedule a repair.
Step 1
– Give that END key a good press and hold it to shut your phone down like a pro!
Step 5
– Grab your trusty nylon spudger and give a gentle push through the hole at the top of the memory card holder to slide it out with style.
Step 6
– Use your #00 Phillips screwdriver to take out the 10 4.0 mm Phillips screws from the back of the phone. You got this!
– While not necessary, tweezers can make the job easier by helping you grab the screws from their little holes. Those tiny screws can be quite a challenge!
Tools Used
Step 7
– Let’s start at the USB port with a plastic tool in hand. Gently slide it around the phone’s perimeter, giving the rear housing some space to breathe. Feel the clips release as you make your way around. It’s a dance of precision and care, so keep grooving!
Step 8
– Gently pry apart the rear housing from the mid-frame to uncover the inner workings of your phone.
Step 9
– Now it’s time to carefully remove the 2 flex cables that connect to the USB board. A pair of trusty tweezers will come in handy here – they’ll help you get the job done with ease. If you need help, you can always schedule a repair
Tools Used
Step 10
– Carefully slide your plastic opening tool under the charging port to loosen it from its sticky tape sanctuary. Let’s lift it up gently, like lifting a slice of your favorite pizza!
Step 11
– Once you’ve freed it, give a gentle lift to the main board and whisk away the USB board with the charging port. Easy peasy!


