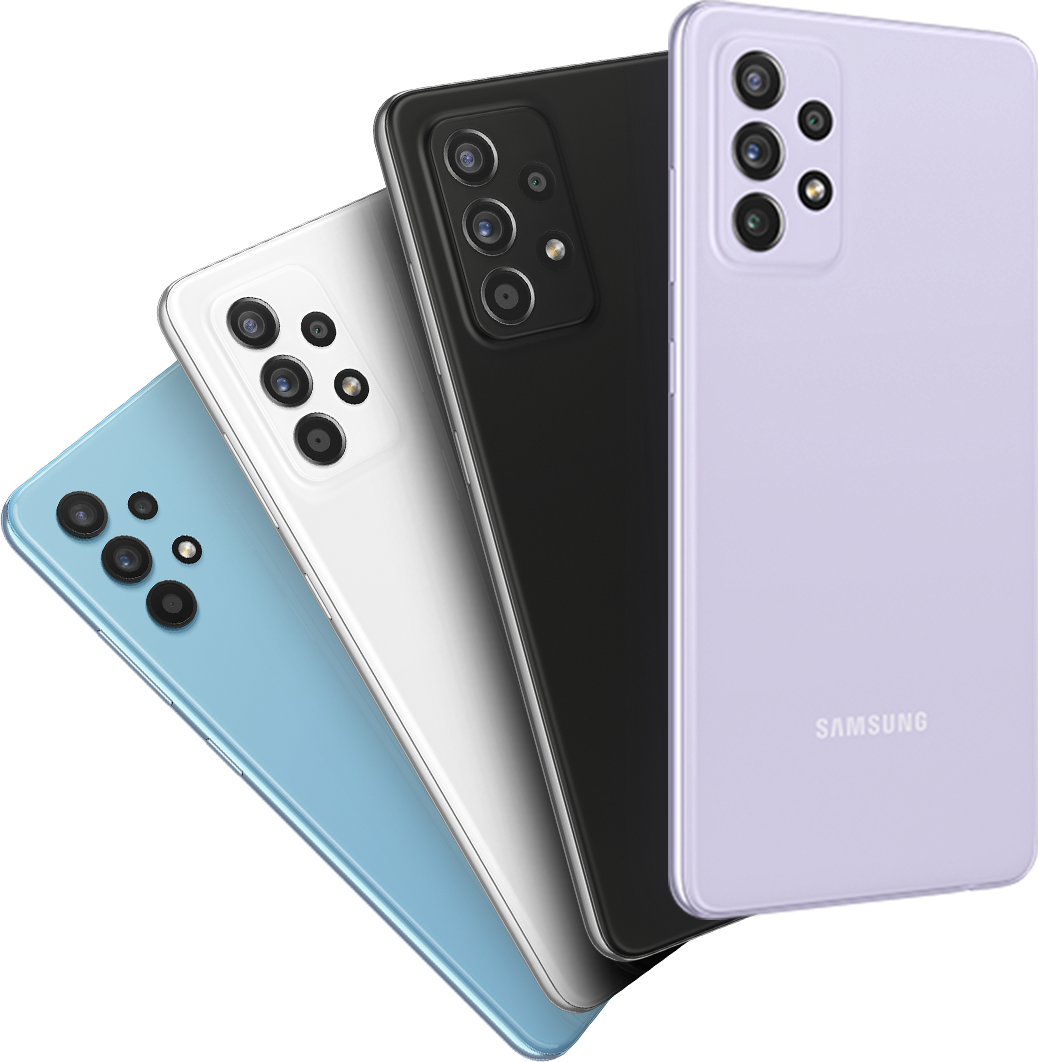
Replace Samsung Galaxy S Rear Camera: Step-by-Step Guide
Duration: 45 minutes
Steps: 10 Steps
Heads up, tech warrior! Make sure you’re handling those components with care. Remember, if things get tricky, you can always schedule a repair with us!
To successfully complete this step, you’ll need to know how to disassemble the phone all the way down to the motherboard. It’s like being a tech wizard, but cooler!
Step 1


– Use a plastic opening tool, or even your fingernail, to gently pry at the small notch next to the rear-facing camera, right by the power button.
– Grasp the corner nearest to the notch of the rear case and lift it off the phone to remove it. Voila, you’re doing great!
Step 2

– To get started, grab a plastic opening tool or use your trusty fingernail. Gently push the microSD card a bit further into its slot until you hear a satisfying click. Once you hear that click, let go of the card, and voilà! It will gracefully pop out on its own. Time to bid farewell to the microSD card.
Step 3

– Pop a plastic opening tool, or even just a finger, into the notch of the battery compartment. Give it a gentle lift to free the battery from its cozy home.
Step 4

– Give that SIM card a gentle nudge deeper into its cozy slot using a plastic opening tool or even your fingernail, until you hear a satisfying click.
– Once you hear that click, let go and watch the magic as the card springs out of its slot like a jack-in-the-box.
– Now, simply grab and remove the SIM card. Easy peasy!
Step 5

– Grab your spudger and show those four metallic pads in each corner who’s boss by popping them off.
– Whip out your Phillips #00 screwdriver and unleash its power on the 12 screws holding the midframe to the device. It’s screw-removing time!
Tools Used


Step 6

– Grab that plastic opening tool and let’s give the midframe a little nudge all around its edges. Just work it around gently to pop it off the front case. You got this!
Step 7


– Grab the flat end of your trusty plastic opening tool and gently unplug the USB board connector.
– Ease out the front-facing camera cable connector with a gentle touch.
– Carefully detach the earpiece speaker assembly cable connector.
– Gently disconnect the headphone jack assembly cable connector.
– Unhook the display/digitizer cable connector with care.
– Lastly, disconnect the antenna cable connector smoothly.
Step 8

– Loosen and remove that 2.4 mm Phillips #00 screw from the motherboard assembly. If you need help, you can always schedule a repair

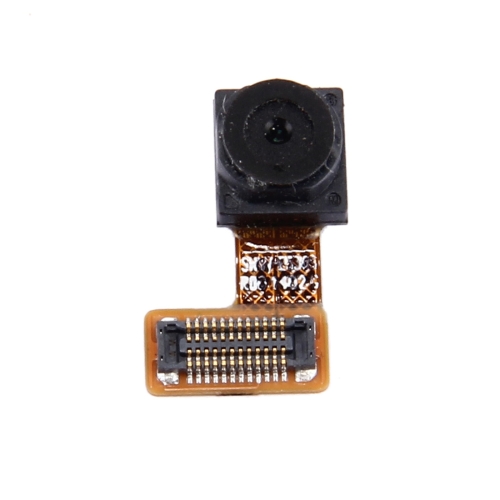
Step 10

– Grab the flat end of a spudger and gently pop off the rear-facing camera connector like a pro.