PAL Super Nintendo Teardown
Duration: 45 minutes
Steps: 8 Steps
Ready to peek inside your PAL Super Nintendo? This step-by-step guide will walk you through taking it apart, so you can access or swap out the main PCB. Let’s get started and bring some retro magic back to life!
Step 1

– European, Asian, and Australian consoles share the same look, which is a bit different from the North American model. You’re good to go with this guide for all versions, except for American consoles and Japanese ones made before 1995.
Step 2


You’ll spot a shield covering some capacitors up top. Before you pop it off, make sure those capacitors are discharged! They can hang onto a charge for ages—flipping the power switch on (while it’s unplugged) usually does the trick.
– Grab your 4.5mm Gamebit screwdriver and unscrew the six screws hiding underneath the system.
– Flip the unit upright and gently lift off the top cover—like opening a treasure chest.
– Spot the front panel? It’s connected with a ribbon cable that you’ll need to unplug.
– You’ll see part of the cartridge ejecting mechanism hanging out here.
Step 3

– There’s a tiny spring holding the mechanism in place. It’s not super tight, but keep an eye on it—don’t let it bounce away! Also, remember how it’s positioned for reassembly later.
– To remove the mechanism, gently lift the axle from the right side and pull it out. Simple as that!
Step 4
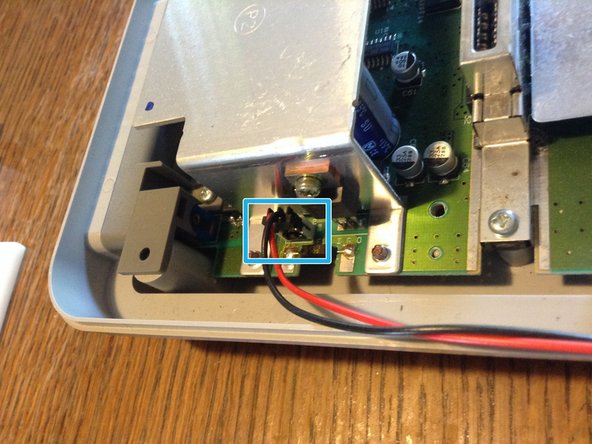

Be gentle with those wires! Instead of tugging on them, grab the plastic socket and give it a little pull. It’ll save you from accidentally causing any damage.
– Grab your Phillips #2 screwdriver and unscrew a couple of those pesky screws. Easy peasy.
– It’s attached to the main board with a tiny plastic socket. Just give it a gentle pull, and it’ll come right off.
Tools Used

Step 5

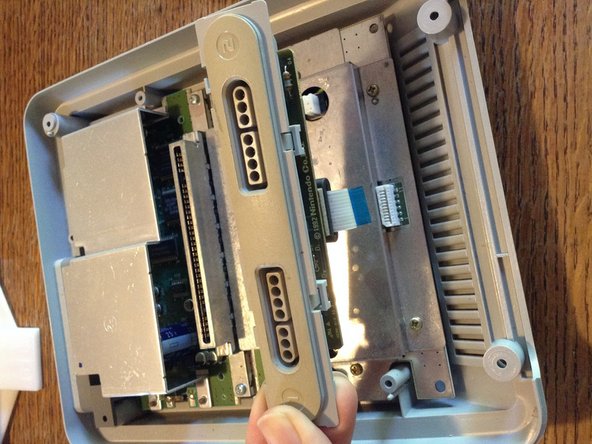
– The front panel is secured to the main board by a ribbon cable. Gently disconnect it from the socket, taking care not to tug too hard.
– Once the ribbon cable is free, you can lift the front panel right off.
Step 6


– You’ll find 4 Phillips #2 screws holding down the shield—grab your screwdriver!
– Gently lift the shield by the area near the cartridge slot to pop those vertical prongs free.
– Underneath, you’ll spot the CPU and some other important chips.
Step 7


– Right now, the main board is hanging in there with just 5 Philips #2 screws.
– Gently grab the caps shield and lift the main board out—nice and easy!
Step 8


Capacitors can hold a charge longer than you might expect, so handle with care and avoid surprises. If you need help, you can always schedule a repair.
– Start by removing the Phillips #2 screw from the side of the shield—just one to kick things off.
– Flip the board over and take out the three Phillips #2 screws holding things down.
– And just like that, you’re done!
Success!