How to Replace Samsung Galaxy SIII Mini VE Power Button Guide
Duration: 45 minutes
Steps: 6 Steps
Heads up, tech whiz! Make sure you’ve got your tools ready and your workspace clear. This guide’s got your back, but a tidy space is your best pal for a smooth repair ride!
Follow this nifty guide to jazz up your Galaxy SIII Mini VE with a new power button!
Step 1


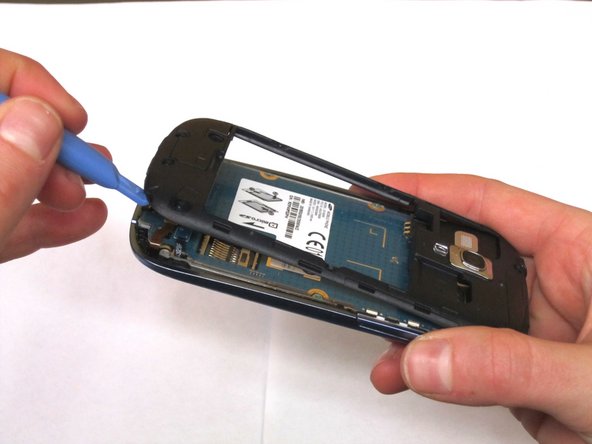
– Turn your phone around to face its stylish backside.
– Spot the little notch up top and give it a gentle nudge with your finger or a slick opening tool to pop off the rear casing.
Step 2


– Grab your trusty opening tool or just use your finger to gently coax the battery out of its cozy phone home.

Step 4

– Grab your opening tool and let’s pop off that plastic framing with a bit of pizzazz. Gently now, we’re not making a salad!
Step 5


– Pop off the two electrical connectors at the bottom of your phone using your fingernail or a trusty spudger.
– Now, grab your spudger and tweezers and gently wiggle out the speaker from the top of the phone.
– After freeing the 3 components, the circuit board is almost ready to come out, hanging on by just one sneaky connection underneath.
– Use the spudger to disconnect that final holdout and fully free the circuit board.
Tools Used

Step 6


– Hey there, just gently hoist the power button off your phone. It’s just chilling there, held down by two plastic pals. Get your fingers in there and lift it up like you’re picking up a tiny crown. Easy peasy!
