How to Replace Samsung Galaxy S One Display Touch Screen
Duration: 45 minutes
Steps: 7 Steps
Heads up, tech adventurer! Make sure you’ve got your tools ready and your workspace clear. It’s time to dive into the repair with some good vibes and steady hands. If you hit a snag, just remember, help is just a click away at schedule a repair.
Step 1


– Here’s the scoop on the Samsung Galaxy S3 mini with a busted LCD. The touchscreen is still kicking, but it’s a whole lot easier to swap out the entire assembly.
– Kick things off by popping off the battery door and yanking out the battery.
– Next up, unscrew all the screws on the bottom. Heads up: all these screws are the same length, so no need to worry about mixing them up!
Step 2


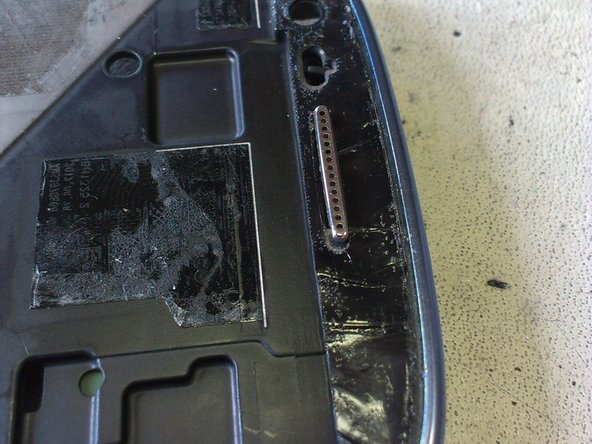
– Alright, grab your flat screwdriver or that nifty plastic triangle and gently pry apart the rear case from the front case. It’s like opening a treasure chest!
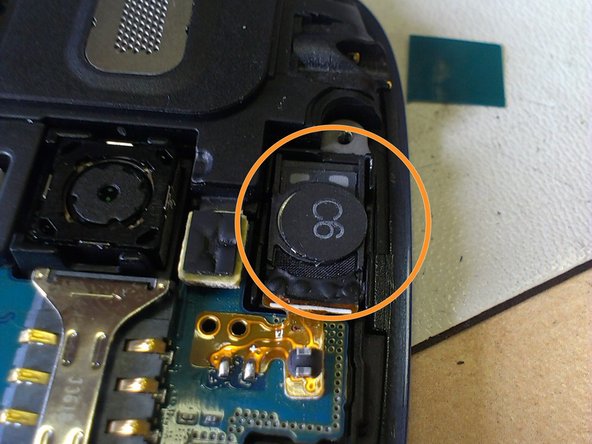
– Next up, the call speaker! It’s snugly glued to the front. You’ll either need to gently peel it off or desolder those two pesky knobs on the flex cable. Choose your adventure!
Step 3


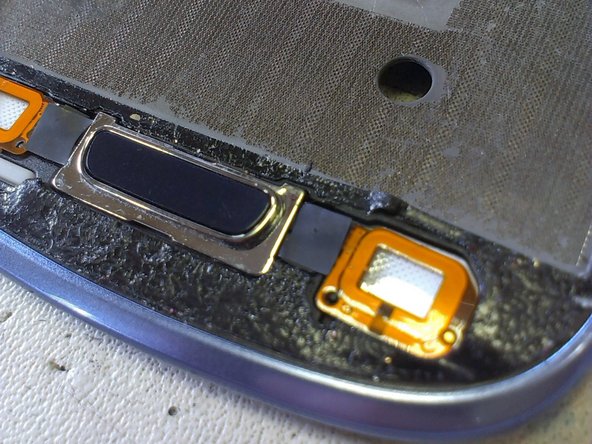
– Pop out those volume and power buttons with gusto.
– Unhook the lower buttons and MicroSD connectors with a smooth move.
Step 4


– Alright, let’s gently lift the board from the right side. Watch out for the LCD connector hiding underneath!
– It’s time to bring out the big guns – the HOT STATION! Don’t have one? No worries, a hairdryer or heat gun will work wonders too.
– Oops, no photos of this step, my bad! You’ll want to evenly heat up the entire LCD, paying extra attention to the top and bottom edges.
– Heads up! Be extra careful with the two lower buttons connected by that sneaky orange flat cable!
– As you can see, the LCD is a goner, but hey, it was already on its way out before we started.

Step 6


– Time to jazz it up a bit – gently place the new module on the chassis, making sure to give those flex cables some extra love!
– Let’s reverse engineer this bad boy – put everything back together in reverse order, and hey, don’t forget to give those volume and power buttons a cozy spot!
– And now for the grand finale – pop that speaker back in place, like a puzzle piece finding its home.
Step 7


– Hook up all the connectors back to the main board, pop the rear case on, and get those screws snug! 🛠️
– BOOM! You nailed it!! 🌟

