Samsung Galaxy S One Speaker Replacement Tutorial: DIY Guide
Duration: 45 minutes
Steps: 4 Steps
Hey there, just a heads-up! Keep all the tiny screws in order because mixing them up could turn your fix into a jigsaw puzzle. Stay sharp!
Rock out with the speaker on the back of your phone! This bad boy lives in its cozy inner plate fort and steps up to pump out your jams and handle speakerphone duties when your headphones are taking a break.
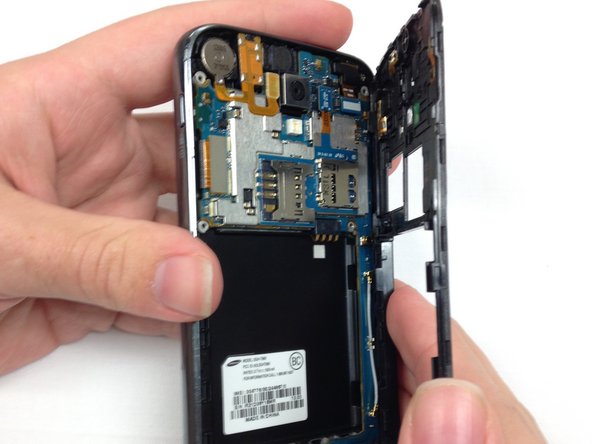
Step 1


– Spot the tab surrounded by a red outline to kick off the removal of the rear cover.
– Now, with a bit of a fingernail flair, gently pop that rear cover off.
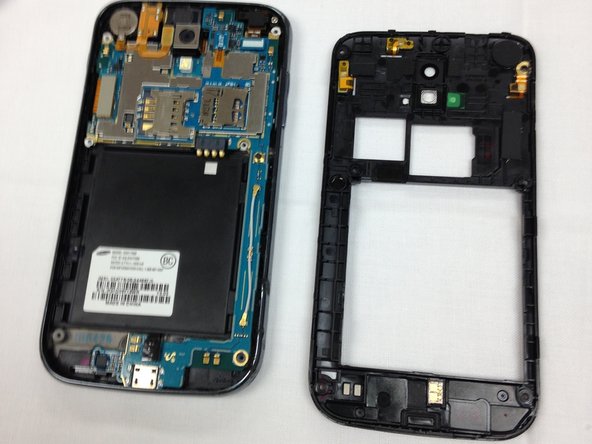
Step 2


– Alrighty, gear up to unscrew six tiny rascals! These screws are 1/16 of an inch (1.6 mm) and they’re snugly holding the inner plate.
– Grab your trusty Philips head precision screwdriver and show those screws who’s boss!
– Don’t let those sneaky screws roll away into oblivion. Park them on a magnetic mat or tuck them into a plastic bag for safekeeping.
Step 3

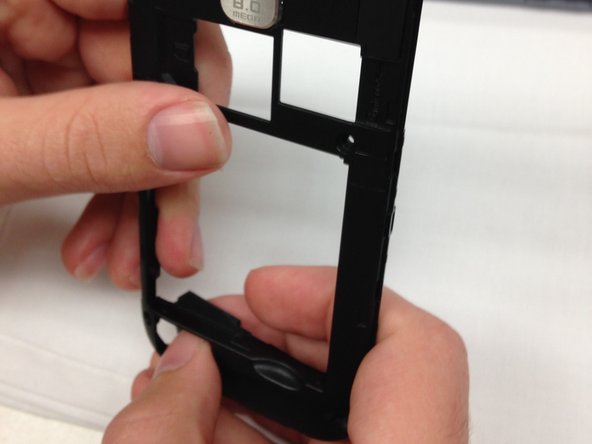
Before you dive into the removal of the inner plate, make sure your device is chilling on a grounded surface, or just strap on an anti-static wristband to keep things zappy-free and cool.
– Once you’ve zapped those screws out, the only tricksters left are some sneaky plastic tabs clinging onto the phone’s frame.
– Give the edge a solid pinch, as seen in our snazzy photo, and coax that plate away from its framey friend.
– Struggling to snag that stubborn inner plate? Whip out the spudger and gently persuade it to pop out.
Step 4

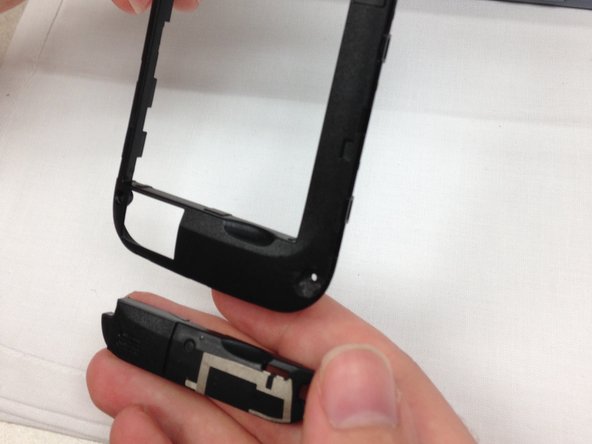
You might need to muster some superhero strength for this step—just make sure to stabilize the frame to keep it from meeting an untimely demise!
– Hey there! Spot the speaker in the zone marked by the red rectangle.
– Ready to remove the speaker? Just hold the frame steady with one hand and gently push out the speaker with the other. You’ve got this!