
Samsung Galaxy S One Motherboard Replacement Guide | DIY Tutorial
Duration: 45 minutes
Steps: 8 Steps
Heads up! Make sure you’ve got your tools ready and your workspace clear. Let’s make this repair a smooth ride!
Hey there! Ready to dive into the heart of your phone? The motherboard is the boss of the operation, managing every click and swipe you make. If it gets cranky, you might just need a new phone! So, let’s tread carefully. Make sure you’re stationed on a sturdy surface. And hey, keep tapping that phone frame to zap away any pesky static. Remember, even a tiny shock is a big no-no for our motherboard friend!
Step 1


– Spot the little tab marked with a red outline to begin the adventure of removing the rear cover.
– Pop that rear cover off with your fingernail, like a pro.
Step 2


– Look for the media card in the area highlighted by the red rectangle. It’s a sneaky little black card that might be playing hide and seek!
– Once you spot the card, give it a gentle nudge to the right with your fingers until it’s free from the metal embrace.
Step 3


– Spot the small white rectangle chillin’ in the red zone—that’s your SIM card.
– To bid farewell to your SIM card, give it a gentle press and scoot it to the left until it’s free from the clutches of the metal.
Step 4


Hey there! Make sure to power off your device before popping out the battery.
– To get that battery out, give a gentle upward nudge to the bottom right corner, just like the red rectangle suggests. You’re basically giving it a little lift-off!
– Once it starts to pop up, use your hand to grab it and pull it out. You’ve got this!
Step 5


– The inner plate is secured by six teeny-tiny screws, each one 1/16 of an inch (1.6 mm) in size. Sneaky little things!
– Whip out your trusty Philips head precision screwdriver and show those screws who’s boss!
– Now, let’s keep those screws safe! Pop them onto a magnetic mat or tuck them into a plastic bag. Losing them is not an option!
Step 6

Hey there, rockstar! Before you dazzle with your repair skills, make sure your device is chilling on a grounded surface or rock that anti-static wristband. Safety first, fun always!
– Once those screws are out of the way, the inner plate is just hanging on by some snazzy plastic tabs integrated into the phone’s frame.
– Give the edge a good pinch, like you see in the photo, and gently coax the plate away from the frame.
– Having trouble getting a grip on that inner plate? No worries! Whip out a spudger to pry that bad boy out.
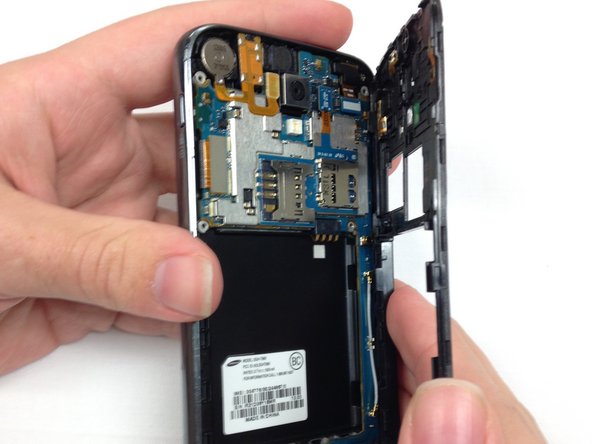
Step 7


The motherboard is like the star of a rock band, super important and a bit delicate. Be gentle when handling it to avoid turning this repair into a farewell tour for your device’s components!
– Start by releasing the motherboard. Gently detach the three clips highlighted in red, using a small flat-head screwdriver or simply your thumbnail.
– Once you’ve managed the top three, don’t forget the fourth clip located at the bottom of the phone, which also needs to be opened.
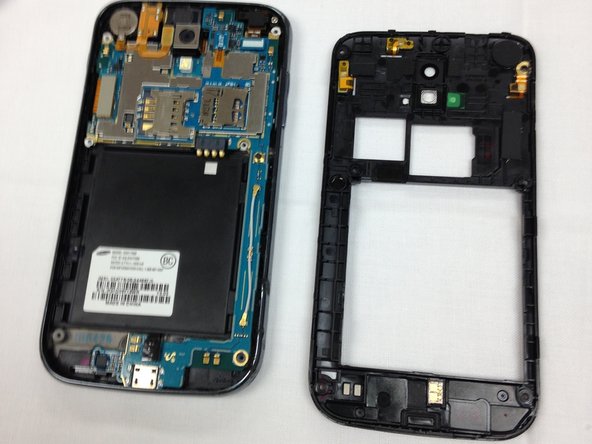
Step 8


– Once all the tabs are disconnected, gently press down on the edges of the motherboard and lift it up.
– If the motherboard seems stuck, try giving it a little jiggle left and right to loosen it from the corners where the case screws used to be.