Samsung Galaxy S One Inner Plate Replacement Guide
Duration: 45 minutes
Steps: 6 Steps
Heads up, tech whiz! Make sure you’ve got your tools ready before diving into this repair adventure.
Before diving into the heart of your device to swap out goodies like the motherboard or the snazzy camera, you’ll need to whisk away the inner plate. This trusty sidekick shields all the fragile circuits and sparky bits from bumps and bruises!
Step 1


– Spot the little tab with the red outline? That’s your target for removing the rear cover!
– Now, whip out your trusty fingernail and gently coax that rear cover off. You’ve got this!
Step 2


– Spot that tiny white card chillin’ in the red zone? That’s your SIM card!
– Wanna set it free? Just press down and slide it left until it disconnects from the metal. Easy peasy!
Step 3


– Look for the media card in the area marked by the red rectangle. It’s a sneaky little black card, so keep your eyes peeled!
– Once you spot the card, use a gentle touch and slide it to the right until it’s free from the metal embrace.


Step 5


– Alrighty, team! There are six tiny screws securing the inner plate, each one a minuscule 1/16 inch (1.6 mm).
– Grab your trusty Philips head precision screwdriver and show those screws who’s boss!
– Now, let’s keep those little escape artists from disappearing. Pop them onto a magnetic mat or tuck them safely into a plastic bag.
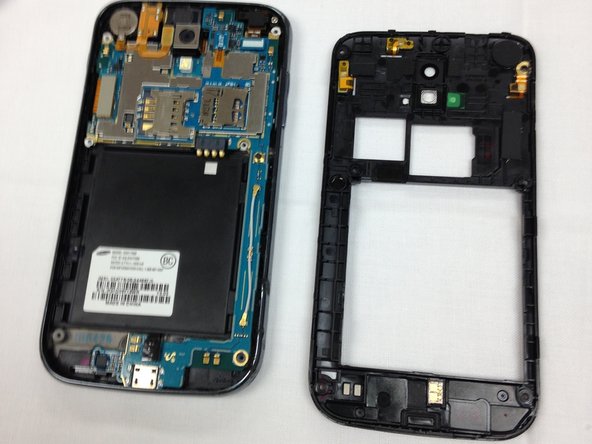
Step 6
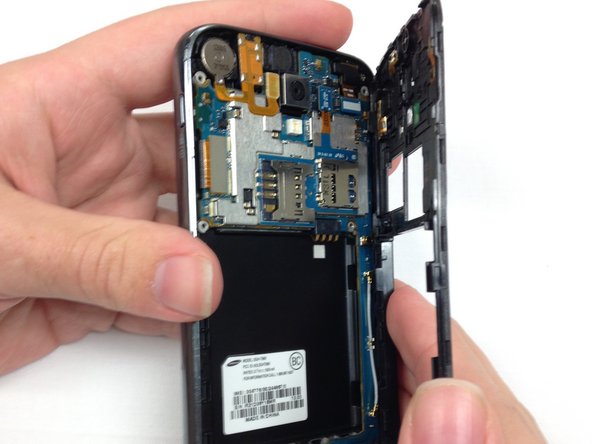

While whipping out the inner plate, make sure your device is chilling on a grounded surface or get yourself an anti-static wristband to keep things shock-free and groovy!
– Once you’ve unscrewed those pesky screws, the only thing keeping the inner plate snug are a few plastic tabs integrated into the phone’s frame.
– Grab the edge firmly as illustrated, and give the plate a gentle tug away from the frame.
– Struggling to get a good grip on the inner plate? No worries, just use the spudger to pry that plate right out.