DIY Step-by-Step Samsung Galaxy S One Front Camera Replacement Guide
Duration: 45 minutes
Steps: 11 Steps
Heads up, tech whiz! Make sure you’ve got your tools ready and your workspace clear. It’s time to bring that gadget back to life!
The selfie camera, a tiny trooper compared to the main shooter, is snugly secured by a plastic bar that’s screwed onto the case. Keep it cool and steady as you work your magic on this little gem!
Step 1


– Spot the tab with the red outline to start waving goodbye to the rear cover.
– Pop that cover off with a flick of your fingernail—gently does it!
Step 2


Power down your gadget before popping out the battery, safety first!
– To free the battery from its cozy spot in your phone, simply give the bottom right edge a gentle push upwards, as shown in the red rectangle. It’s like giving it a little lift to say, ‘Hey, time to come out!’
– Once the battery starts to pop up, use your hand to give it a friendly hold and lift it out. You’ve got this!
Step 3


– Spot the tiny white rectangle chilling in the red zone? That’s your SIM card!
– Ready to yank it out? Press it down and shimmy it left until it’s free from the metal embrace.
Step 4


– Look inside the area highlighted by the red rectangle to find the media card. It’s a small, black card and might be a bit tricky to spot.
– Once you’ve found the card, just use your fingers to gently slide it to the right until it’s free from the metal contact.
Step 5


– Six tiny screws, each 1/16 inch (1.6 mm), are bravely holding the inner plate in place.
– Unscrew these little heroes with a Philips head precision screwdriver.
– Keep the screws safe from the black hole of your workspace by placing them on a magnetic mat or tucking them into a plastic bag.
Step 6
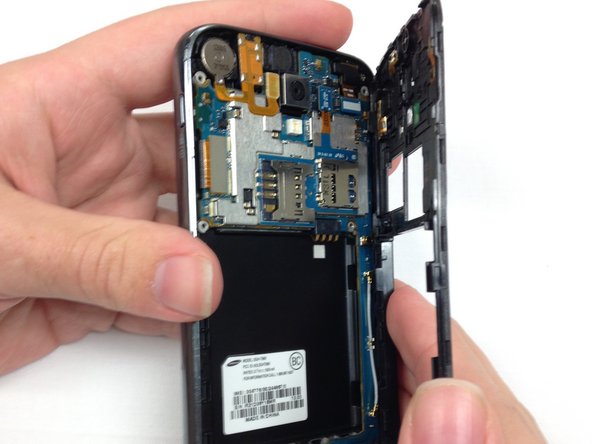

While liberating the inner plate, park your device on a grounded runway or strap on that anti-static wrist bling!
– Once all screws are out, the only thing keeping that inner plate snug is a few crafty plastic tabs integrated into the phone’s frame.
– Give the edge a strong pinch as shown in the image, and wiggle that plate free from the frame.
– Having trouble snagging the inner plate? Whip out the spudger to pry it up and lift it away gently.
Step 7


The motherboard is the party host of your device, housing all the sensitive tech celebs. Handle it with care to keep the party going without a hitch!
– Begin by detaching the motherboard; start with the three clips outlined in red. You can use a small flat-head screwdriver or even your thumbnail to do this.
– After the top three clips, don’t forget the fourth one at the bottom of the phone, which also needs to be released.
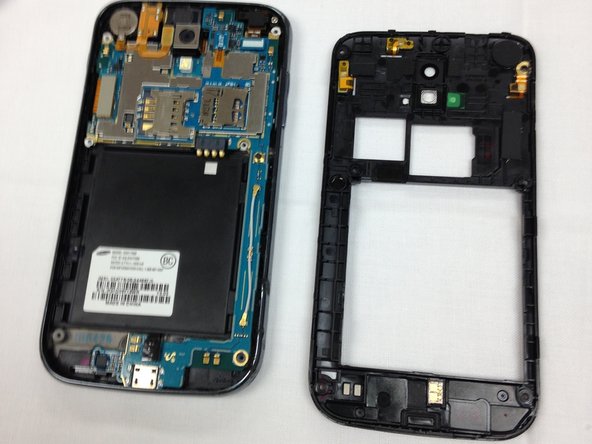
Step 8


– Once all the tabs are free, gently push on the motherboard edges and give it a lift. Up and away it goes!
– Stuck motherboard? No problem! Just jiggle it a bit left and right to loosen those stubborn corners from their hidey-holes.
Step 9


– Alright, to get that front camera out, start by removing the screw highlighted in red. It’s a tiny one, just 1/16 of an inch (1.6 mm).
– Once the screw is out, you can easily take off the cover plate.
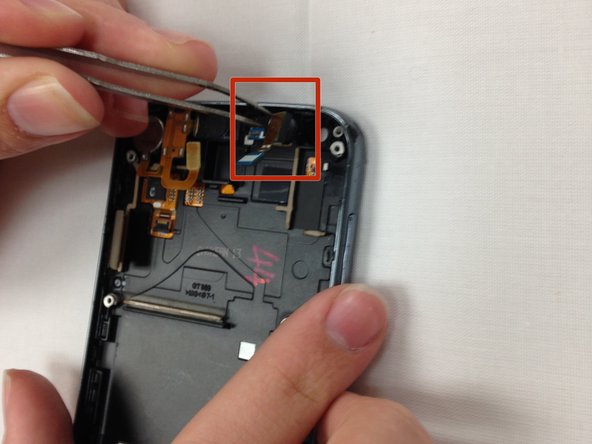
Step 10
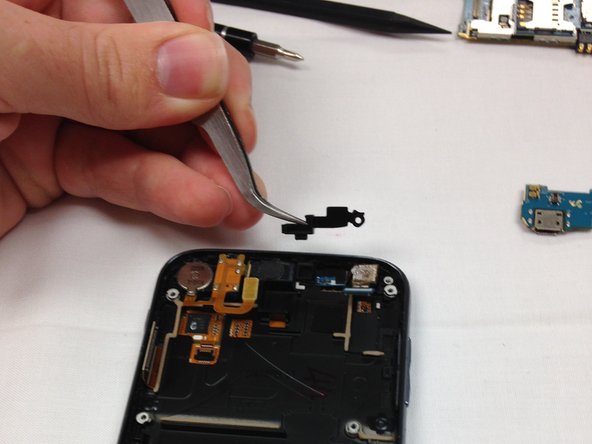

– Grab your tweezers and gently lift out the plastic bar that’s keeping the camera snug as a bug.
Step 11
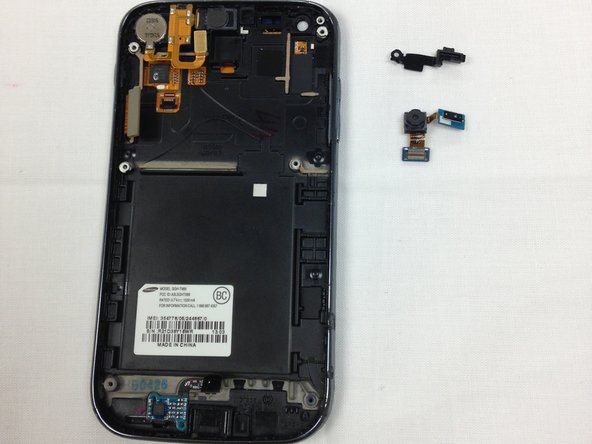

– Ahoy there! Your camera just got some spotlight!
– Now, gently hoist the camera out with your trusty tweezers.