Samsung Galaxy S4 Active Vibrator Replacement
Duration: 45 minutes
Steps: 10 Steps
Dive into this guide to discover how to swap out a faulty vibrator on your Samsung Galaxy S4 Active. Let’s make your phone buzz with joy again!
Step 1


– Gently pry open the phone using a plastic opening tool or your fingernail, right in the little notch to the left of the rear camera, near the power button.
– Lift up the back cover from the corner closest to that notch and carefully remove it from the device.
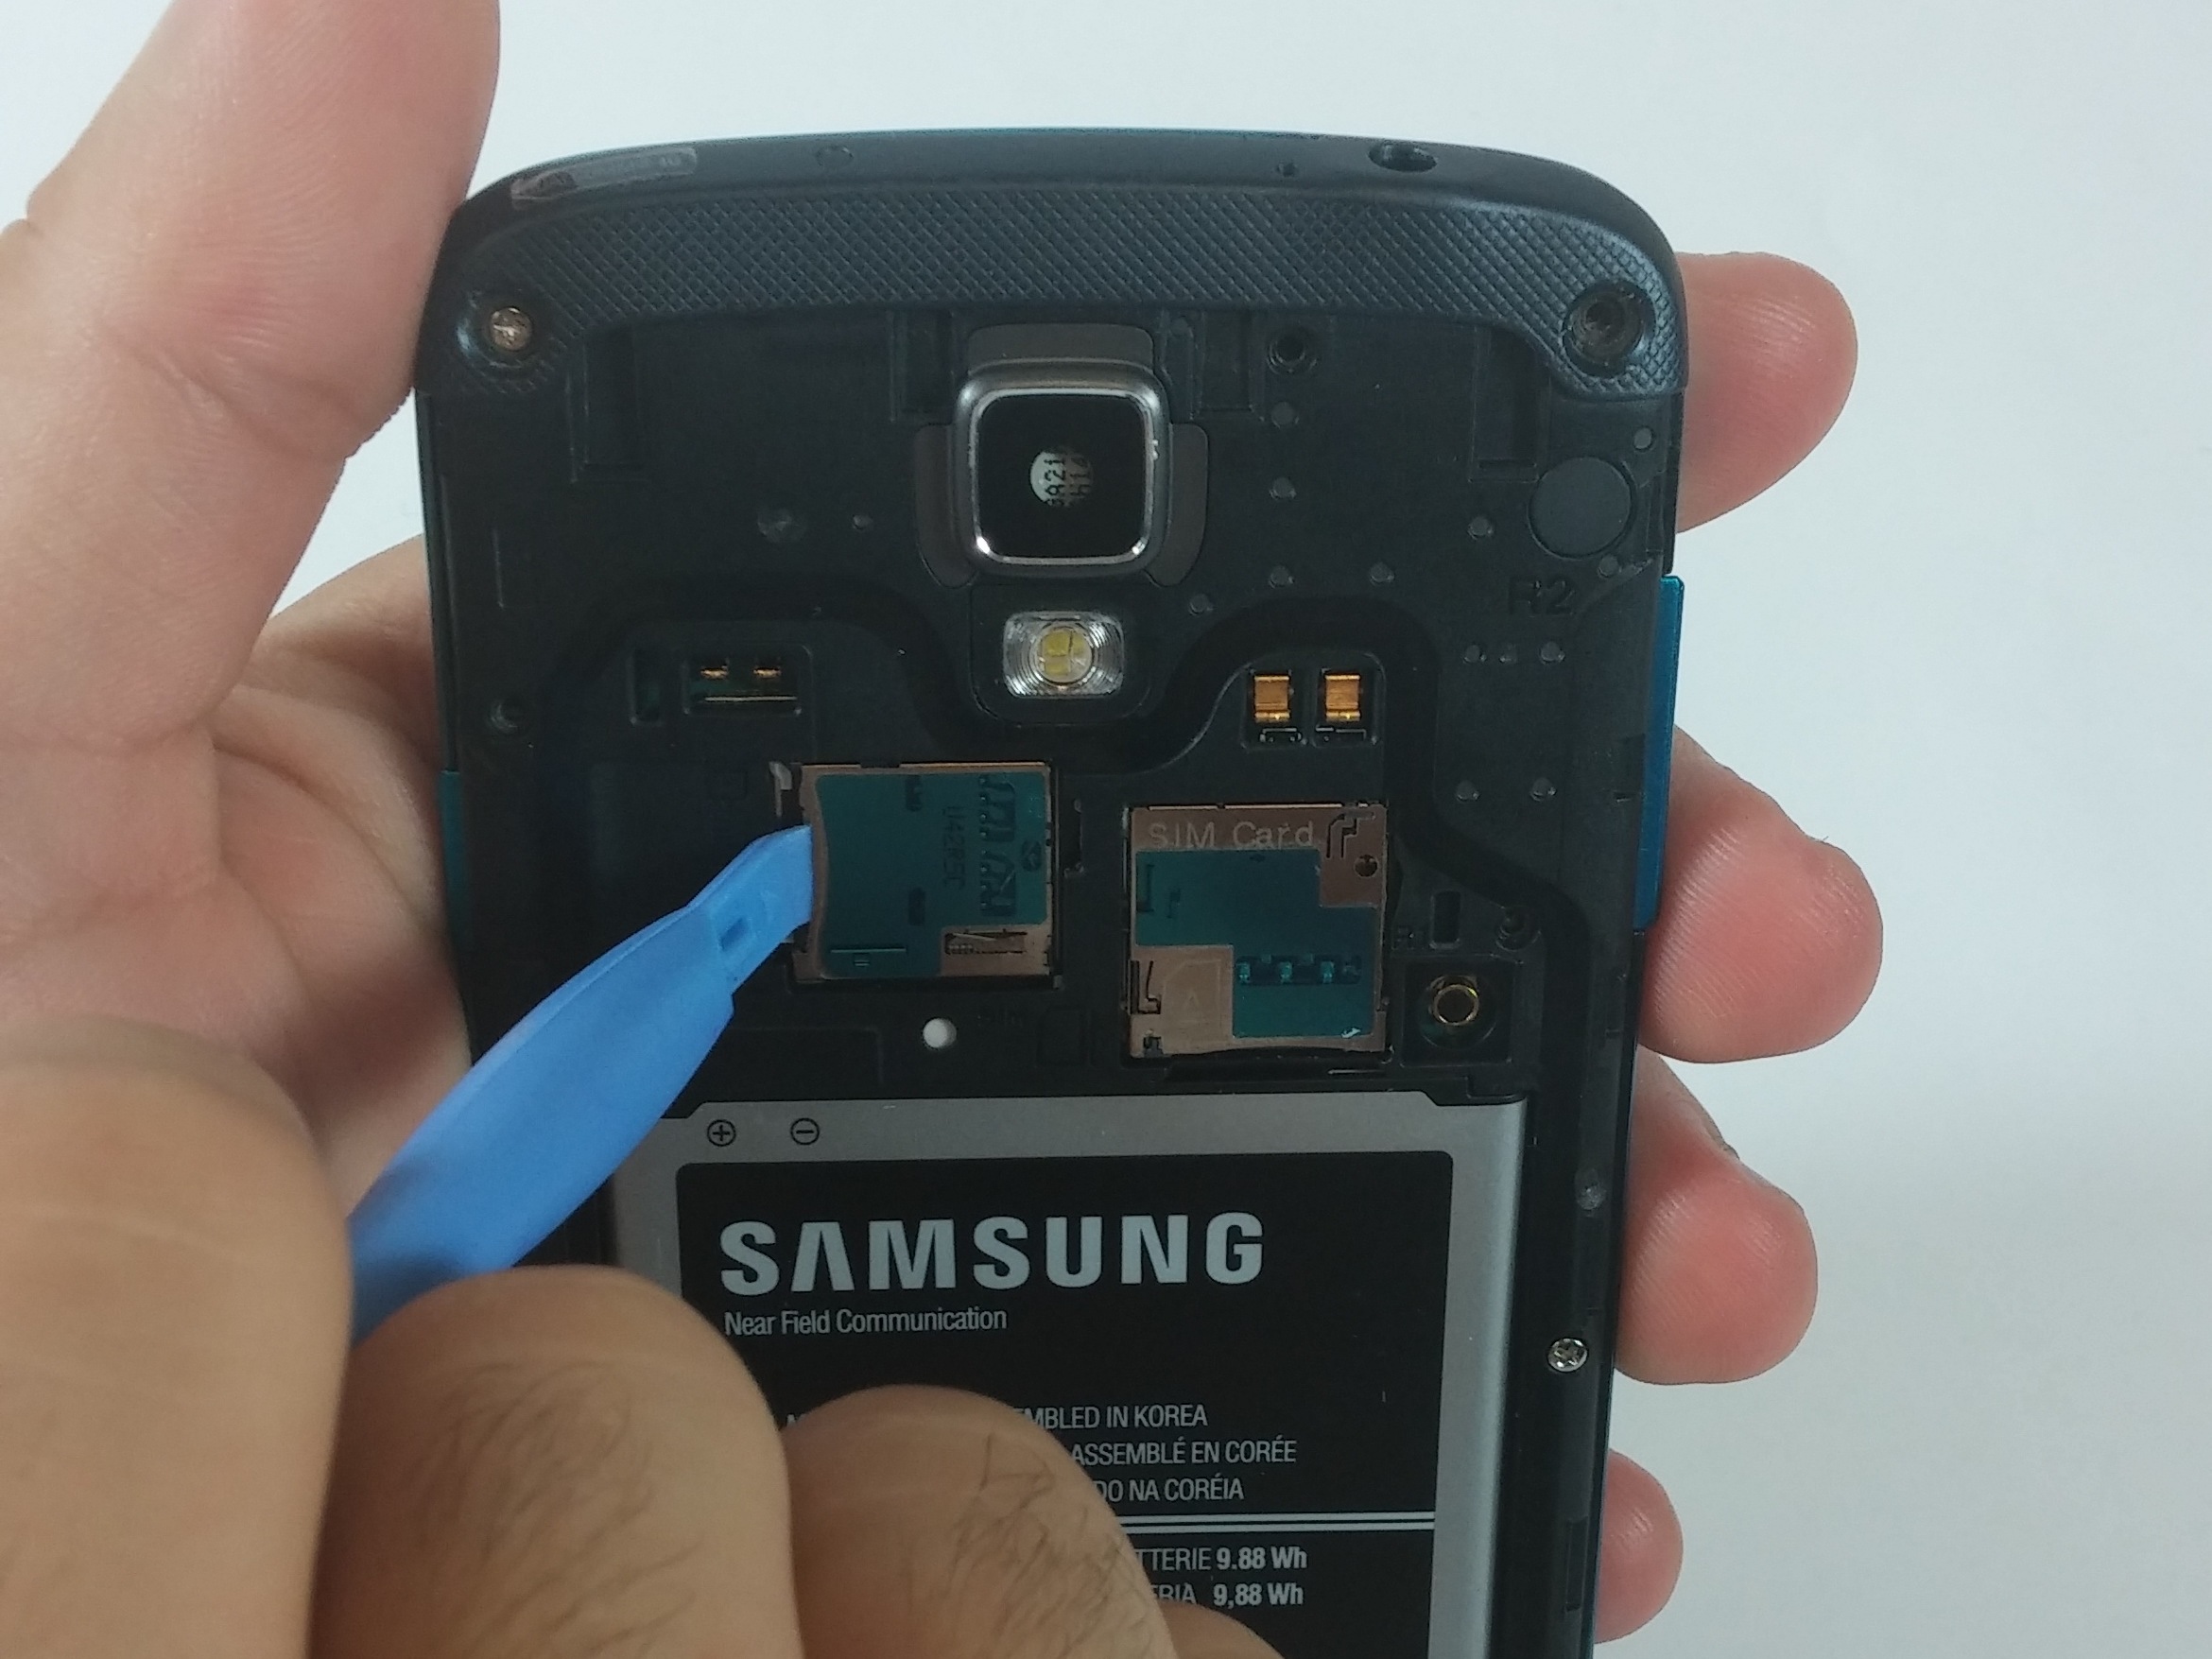
Step 2

– Gently press the microSD card deeper into its slot using a plastic opening tool or your trusty fingernail until you hear that satisfying click.
– Once you hear the click, release the card and watch it pop right out of its slot.
– Now, simply remove the microSD card from its cozy little home.
Step 3

– Gently slide a plastic opening tool, or even your finger, into the notch of the battery compartment. With a little lift, the battery should pop right out. It’s that easy!
Step 4

– Grab a plastic opening tool or use your trusty fingernail to nudge the SIM card a little deeper into its cozy slot until you hear that satisfying click.
– Once you hear the click, let it go and watch as the card pops out like magic!
– Now, go ahead and remove the SIM card with ease.
Step 5

– Grab a spudger and gently pry up the four metal pads tucked into each corner of the device—think of it as giving the device a friendly tap on the shoulder to loosen things up.
– Switch to a Phillips #00 screwdriver and unscrew the 12 screws that hold the midframe in place—think of it as unscrewing the device’s little armor so you can get to the good stuff.
Tools Used


Step 6

– Grab your trusty plastic opening tool and gently work it around the entire edge of the midframe. This will help you free it from the front case like a pro!
Step 7


– Pop off the USB board connector using the flat end of a plastic opening tool—easy does it.
– Unplug the front-facing camera cable connector. It’s just hanging out, waiting for a break.
– Gently pull away the connector for the earpiece speaker assembly.
– Disconnect the headphone jack assembly cable—no more jams for now.
– Unhook the display/digitizer cable connector like you’re unplugging after a long day.
– Last up, disconnect the antenna cable connector. You’re cruising through these steps!
Step 8

– Let’s start by unscrewing the motherboard assembly – carefully remove the single 2.4 mm Phillips #00 screw.
Step 9

– Gently detach the motherboard from its cozy home.
Step 10


– Grab your tweezers and carefully lift the vibrator out. Go slow and steady, there’s no rush!
Tools Used

Success!