Replace iPhone Battery Adhesive Strips: Step-by-Step Guide
Duration: 45 minutes
Steps: 11 Steps
Hey there, tech enthusiast! Don’t worry, we’ve all been through those tough times when our devices just won’t cooperate. If you’re feeling a little lost or are doubting your ability to troubleshoot, just remember: plenty of friendly faces at schedule a repair are here to help you get back on track. So, take a deep breath, and let’s fix that device together!
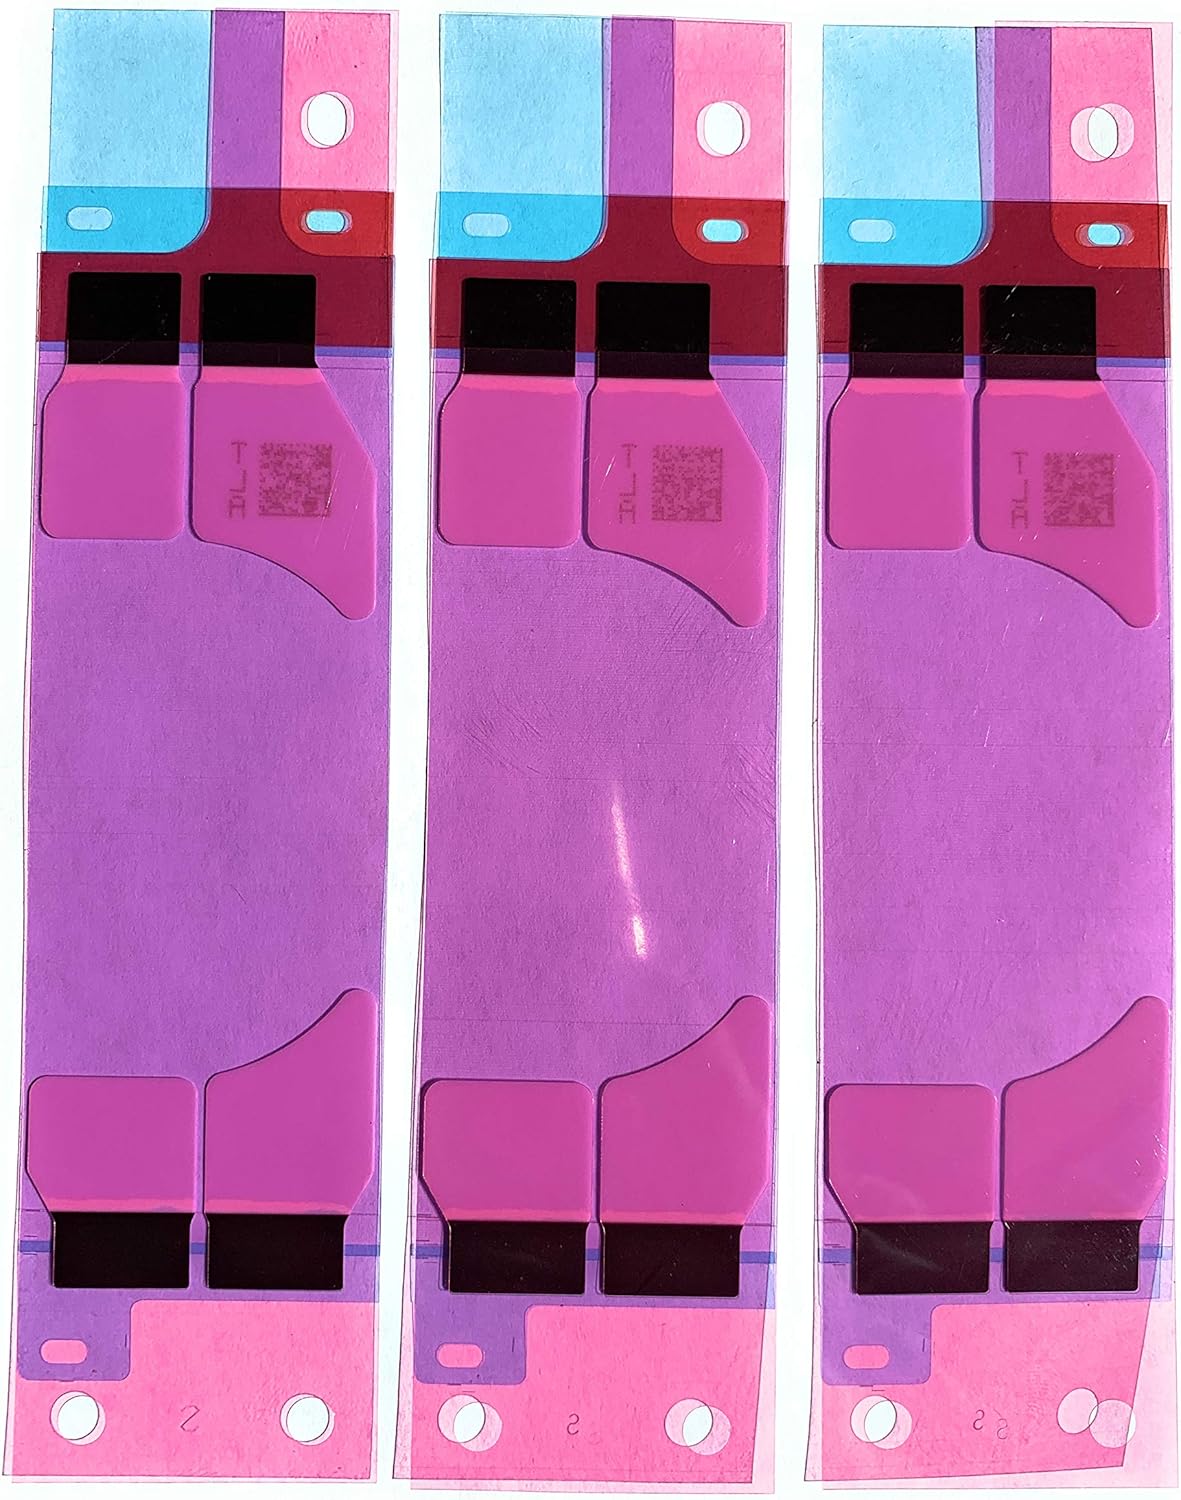
Get ready to tackle the replacement of battery adhesive strips in various late-model iPhones like a pro! Each time you pop out that battery, it’s a must to swap in fresh strips. These little guys can be quite sensitive, so if it’s your first time, having a spare set handy might save you some hassle. For those larger iPhone “Plus” models, you’ll need three strips instead of two, but don’t worry, the steps remain the same. Before diving in, make sure you’ve safely removed the battery by following a guide like the ones linked below. Just a heads up: iPhone 5 and earlier versions don’t use adhesive strips at all. Check out our guides for battery replacement: iPhone 6 Battery Replacement, iPhone 6 Plus Battery Replacement, iPhone 6s Battery Replacement, iPhone 6s Plus Battery Replacement, iPhone 7 Battery Replacement, and iPhone 7 Plus Battery Replacement. If you’re looking to replace battery adhesive strips on a different model, take a peek at these guides: iPhone 5s, 5c, and SE Battery Adhesives Strips Replacement, iPhone 8, 8 Plus, and XR Battery Adhesive Strips Replacement, and iPhone X, XS, and XS Max Battery Adhesive Strips Replacement. If you need help, you can always schedule a repair.
Step 1


– Hey there! If your cool new battery already has those sticky strips attached, jump right ahead to Step 7 without any worries!
– But if not, no biggie: Simply check for any teeny plastic films hanging out on the ends of those adhesive strips, and give them a gentle farewell.
Step 2


– With the battery facing up (battery connector on the right), gently align the sticky parts of the adhesive strips along the bottom edge of the battery’s front side, and press them down softly to secure them in place. Keep it smooth and easy!
Step 3


Sometimes that pesky blue film just doesn’t want to cooperate and refuses to peel off. If that happens, don’t fret! Just toss those strips aside and grab some fresh ones to keep the repair train rolling.
– Time for a fun little puzzle! Let’s lift that battery. Place it face down on your friend the desk. Then, like pulling off a sticker, let’s gently peel that blue backing away from those clever adhesive strips. Pretty cool, huh?
Step 4


– With a gentle touch, roll those adhesive strips along the bottom edge of the battery towards the back. You’re doing great!


Step 6


– Let’s jazz it up a bit! Get groovy and use your funky fingers or a snazzy cloth to press those strips firmly into place all along the back of the battery.
Step 7


– Gently peel off the last bit of film to reveal those sticky strips in all their glory!
Step 8


– Gently place the battery connector into the iPhone without securing it just yet, making sure it lines up perfectly with its socket on the logic board.
– Now, let’s make that connection! Plug in the battery.
Step 9


When you’re placing the battery, try to leave a bit of breathing room around it, especially on the bottom edge and left side. This will come in handy if you need to replace the battery again – it’ll make removing the adhesive strips a whole lot easier. And if you need help along the way, you can always schedule a repair
– Gently place the battery into its comfy spot inside the iPhone.
Step 10


– Once you’ve got that battery snug as a bug in a rug, gently place it in your iPhone and give it a nice, firm press to make sure it sticks to the rear case with those trusty adhesive strips. You’re doing great!
Step 11

– Hey there! Before you put your shiny iPhone back together, make sure you unplug that battery again. We’ve got your back!