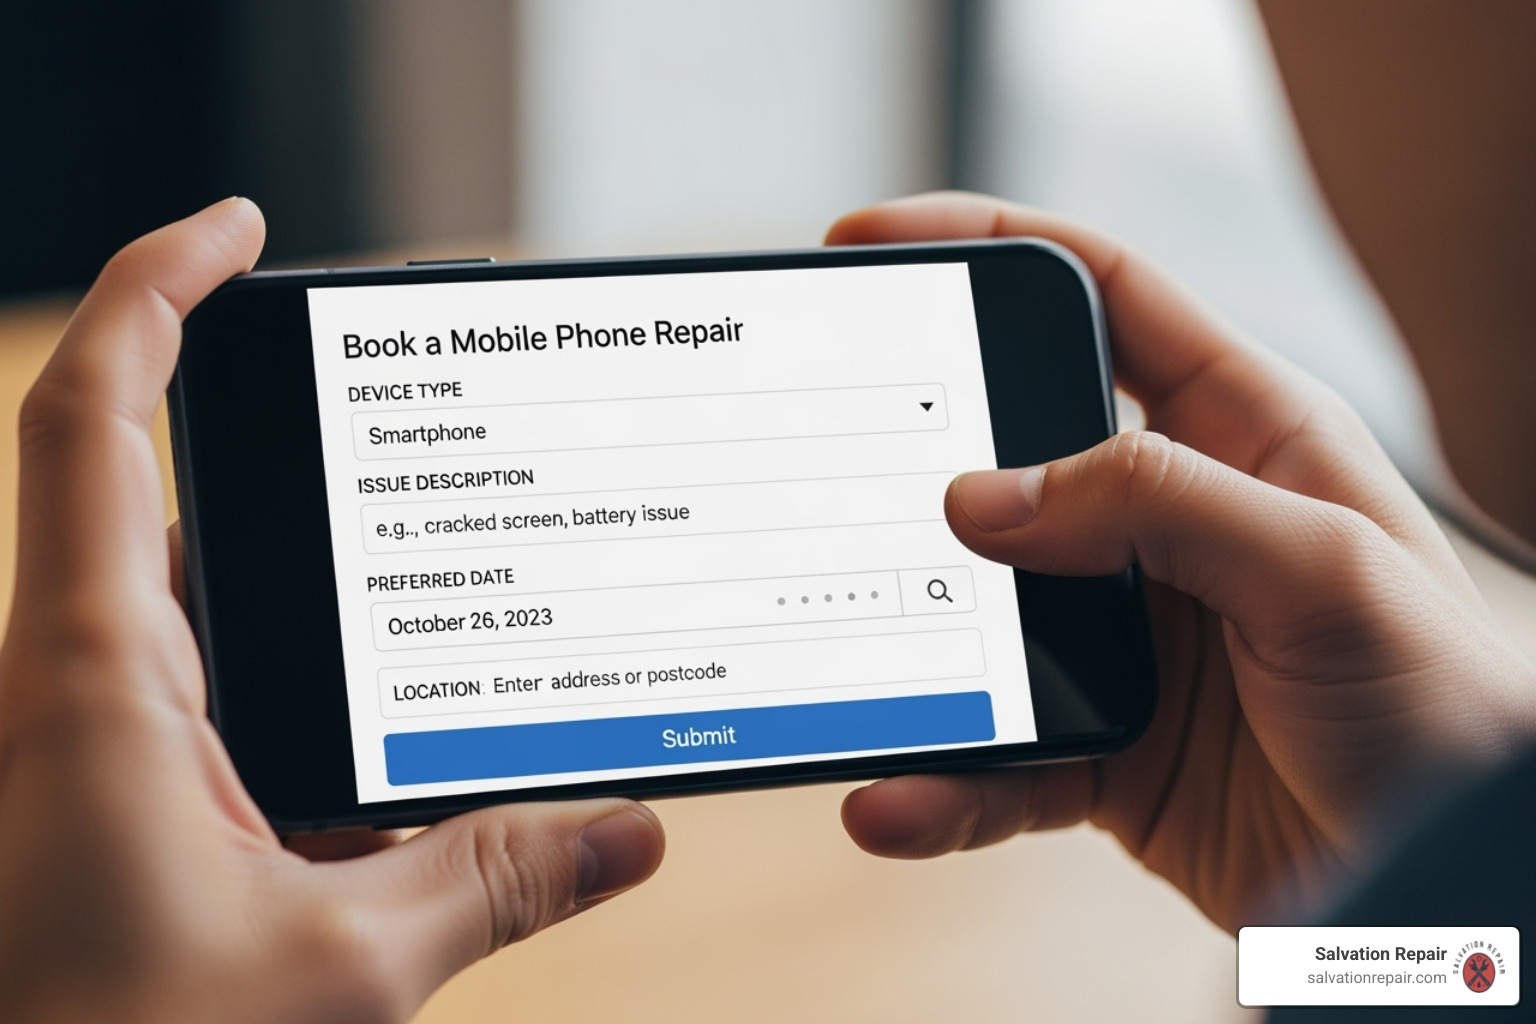
Soso, MS — iPhone & iPad Repair (Mobile & In-Shop)
Salvation Repair provides professional same-day repairs for iPhone, iPad and most tablets. We offer screen replacement, battery swaps, charging port repairs, water-damage triage, and board-level work — backed by a clear warranty and transparent pricing.
Serving Soso and Jones County — typical on-site coverage ~25 miles from our Laurel shop. For fastest turnaround, drop off in-shop; mobile visits are perfect when you need convenience.
Soso, MS (approx. coordinates 31.7569, -89.2742). Click map to open full directions in Google Maps.
Local context — Soso, MS and nearby
Soso is a small town in Jones County (2020 pop. ~418). It’s a short drive to Laurel (approx. 10 miles) and Ellisville (approx. 12 miles). Residents typically choose mobile repair for convenience or drop off at our Laurel shop for quicker turnaround and access to a wider parts inventory.
Why this matters
Smaller towns like Soso often lack specialist electronics repair shops — that’s where mobile service and reliable nearby shops help. We prioritize stocking common parts for nearby towns and offer on-site options to save you time traveling to the city.
Service area examples
- Soso (town center & nearby neighborhoods)
- Laurel, Ellisville
- Jones County rural routes (selected by appointment)
- Nearby points of interest that customers mention when scheduling (fairgrounds, businesses)
Sources: MapQuest / Wikipedia / shop data. See Sources section at end for links.
Business details
- Name
- Salvation Repair
- Shop
- 1503 Lakeview Dr, Laurel, MS
- Phone
- (601) 699-8246
- Hours
- Mon–Sat 7:00 AM – 9:00 PM
Ask about mobile visits when booking. Travel fee may apply (often waived if repair performed).
What we repair — Apple-first (iPhone & iPad) then other tablets
We prioritize Apple devices first because iPhones and iPads make up the majority of local repair requests. That said, the same quality standards apply to Android phones, gaming handhelds, and tablets.
Screen & Display Replacement
Cracked glass, unresponsive touch, dead pixels, OLED anomalies: we replace only what's needed when possible (glass-only where appropriate) or full assemblies when required (ensures True Tone / Face ID compatibility when feasible).
Battery replacement
Battery health checks, cycle count verification (iOS), and battery swaps with Apple-spec or premium cells. Most batteries replaced within 20–45 minutes.
Charging port & power issues
From debris removal to connector replacement and power-IC diagnostics, we isolate charging faults and repair the root cause.
Liquid damage
Time-critical triage: we perform corrosion cleaning, part replacements, and data recovery assessments. Bring the phone in ASAP after exposure.
Advanced & board-level services
We handle micro-soldering, BGA rework, IC replacement, and other advanced repairs for devices where component-level fixes make sense. Pricing and timelines vary; we provide a diagnostic estimate first.
Soso Pricing — Screen repair starting prices (local rates)
These are starting prices for commonly requested screen repairs. Final quote provided after free diagnostic. Starting rates are optimized to be competitive for nearby small towns.
| Model / Service | Starting price | Notes |
|---|---|---|
| iPhone (older models / small screens) | $79.95 | Older iPhones (pre-iPhone 12) glass or LCD repairs — depends on stock and part style. |
| iPhone 12 / 13 / 14 / 15 | $99.95 | Common mid-range models; starting price for a standard front assembly. |
| iPhone 13 Pro / 14 Pro / 15 Pro (Pro Max) | $119.95 | Large OLED assemblies and Pro Max sizes cost more due to size & parts. |
| iPad screen replacement | From $129.95 | Model-dependent; many iPad repairs require glass/LCD separation. |
| Back glass replacement | From $79.95 | Non-logo back glass cheaper; logo-style or color-matched options extra. |
| Battery replacement (phone) | $59.95 - $129.95 | Price depends on model and OEM availability. |
| Charging port repair | From $19.95 | Cleaning vs replacement; micro-soldering fees where needed. |
For more detailed, model-specific pricing see our Pricing page or use Schedule Repair to request a fast quote.
Payment & specials
We accept cards, cash, and contactless. Seasonal discounts (students, first responders) are occasionally available — check the Pricing page or call for current promos.
Full pricingHow the repair process works — full walkthrough
We break work into intake, diagnosis, authorization, repair, QA, and handoff — so you always know what to expect and why.
Intake & triage
When you book or walk in we verify device ownership, capture photos of visible damage, check whether the device powers on, and note moisture indicators. This protects both you and the technician.
Diagnostics
Diagnostics include battery health, OS checks (when possible), display cable checks, charging port tests, and visual board inspection. Many diagnostics are free with a repair.
Estimate & authorization
We provide a written estimate showing parts, labor, and warranty. No work begins until you approve the estimate.
Repair & QA
Repairs are performed on ESD-safe benches. For screens we test the new assembly, calibrate sensors if available, and run a full functional test before reassembly. We keep records of part serials and labor for warranty tracking.
Handoff & warranty
You receive a receipt with repair details and warranty terms. Our standard policy is a 90-day parts-and-labor warranty. Some parts may have extended warranty coverage from the vendor.
Pre-repair checklist
- Back up your data (iCloud / Finder / Google).
- Remove SIM / SD cards.
- Bring the original proof of purchase for warranty validation if available.
- If login required, owner should be present (we avoid storing credentials).
We do our best to preserve data but recommend a backup before any repair that may affect storage.
Repair insights — service mix & turnaround
Industry reports and our local averages show screens dominate repair volume, followed by batteries and charging issues. The charts below visualize typical splits and times.
Service mix
Typical: Screen ~45–50%, Battery ~20–30%, Ports & other ~20–30%.
Turnaround
Fast jobs often under 90 minutes; board-level work can take days.
Troubleshooting — safe checks before you book
Not charging?
- Try another cable and adapter
- Check port for lint or debris — use compressed air gently
- Inspect cable for damage
- If still failing, schedule charging-port diagnostics
Phone won't turn on?
- Try a force restart (model-specific)
- Try charging for 15–30 minutes
- Connect to a computer to check recognition
- Book a free diagnostic if unresolved
Cracked screen?
- Avoid pressing fragments into the display
- Cover with a soft cloth for transport
- Bring it in — many screens done same-day
Mobile / On-site service for Soso
Our mobile technicians come to homes, workplaces, and businesses in Soso for many common repairs. Mobile service is ideal if you can't drive to Laurel — we often complete screen and battery repairs on the spot.
Booking mobile service
- Book using Schedule Repair and choose "Mobile".
- Provide address and any access instructions (gate codes, parking).
- Technician calls on arrival, performs intake & diagnostic, and proceeds after your approval.
Note: If a repair requires bench-level work (micro-soldering), we’ll bring your device back to the shop and complete the work within the quoted timeline.
Mobile visit fees
Travel fee varies by distance. If we complete a repair during the visit, the fee is often credited to the repair cost. Ask about flat-rate fees when booking.
Book Mobile VisitWarranty & satisfaction guarantee
All repairs come standard with a 90-day parts & labor warranty. If a repaired component fails under normal use in that period, return the device and we’ll repair it free of charge. Some parts carry manufacturer warranties which we also honor; these are noted on your receipt where applicable.
How to claim warranty
- Call us at (601) 699-8246 or use the Contact form.
- Provide repair receipt number and describe the issue.
- We may request return to shop for inspection; mobile pickup can be arranged in some cases.
Warranty exclusions
Warranty does not cover accidental damage after repair, physical abuse, or water damage occurring after the repair. Warranty is void if device opened by unauthorized third parties.
Frequently asked questions — Soso customers
Concise answers to common local queries about repairs, timelines, and policies.
Still unsure?
Call with your model and symptoms or book a diagnostic for a definite quote.
Book DiagnosticTechnical appendix — for curious customers & IT admins
Parts & quality control
We maintain a parts inventory for the most popular models and inspect every part before installation. Quality tests include pixel checks, touch sensitivity tests, color uniformity, and connector integrity. For batteries, we test initial capacity and monitor charge/discharge behavior before returning the device.
Part sourcing notes
- OEM stock used where available or when requested.
- Premium aftermarket parts used for older or out-of-warranty devices where OEM is not available.
- All parts tracked with lot numbers and included on receipt where possible.
Diagnostic checklist (what we test)
- Device power-on and boot behavior
- Battery health (iOS battery report / capacity testing)
- Display cable continuity and touch IC function
- Speaker, mic, proximity sensor, cameras, Wi-Fi, Bluetooth
- Charging port voltage & data line integrity
- Moisture indicators & corrosion inspection
When board-level repair is the right choice
Board-level repair is considered when a specific IC or trace failure prevents a simple parts exchange from fixing the problem. Examples: power IC failures, display controller faults, or damaged PMIC circuits. These repairs require microscopes, hot air & reflow equipment, and sometimes BGA rework stations. Timeline and cost vary widely — we give a formal estimate after diagnosis.
Resources & references
Links to industry resources and internal pages we referenced while building this guide.
Need it fixed today in Soso, MS?
Book a mobile visit or drop off at our Laurel shop. Fast, friendly, and backed by warranty.
Schedule Repair Call (601) 699-8246