Affordable iPad & Phone Screen Repair That WON’T Break Your Wallet
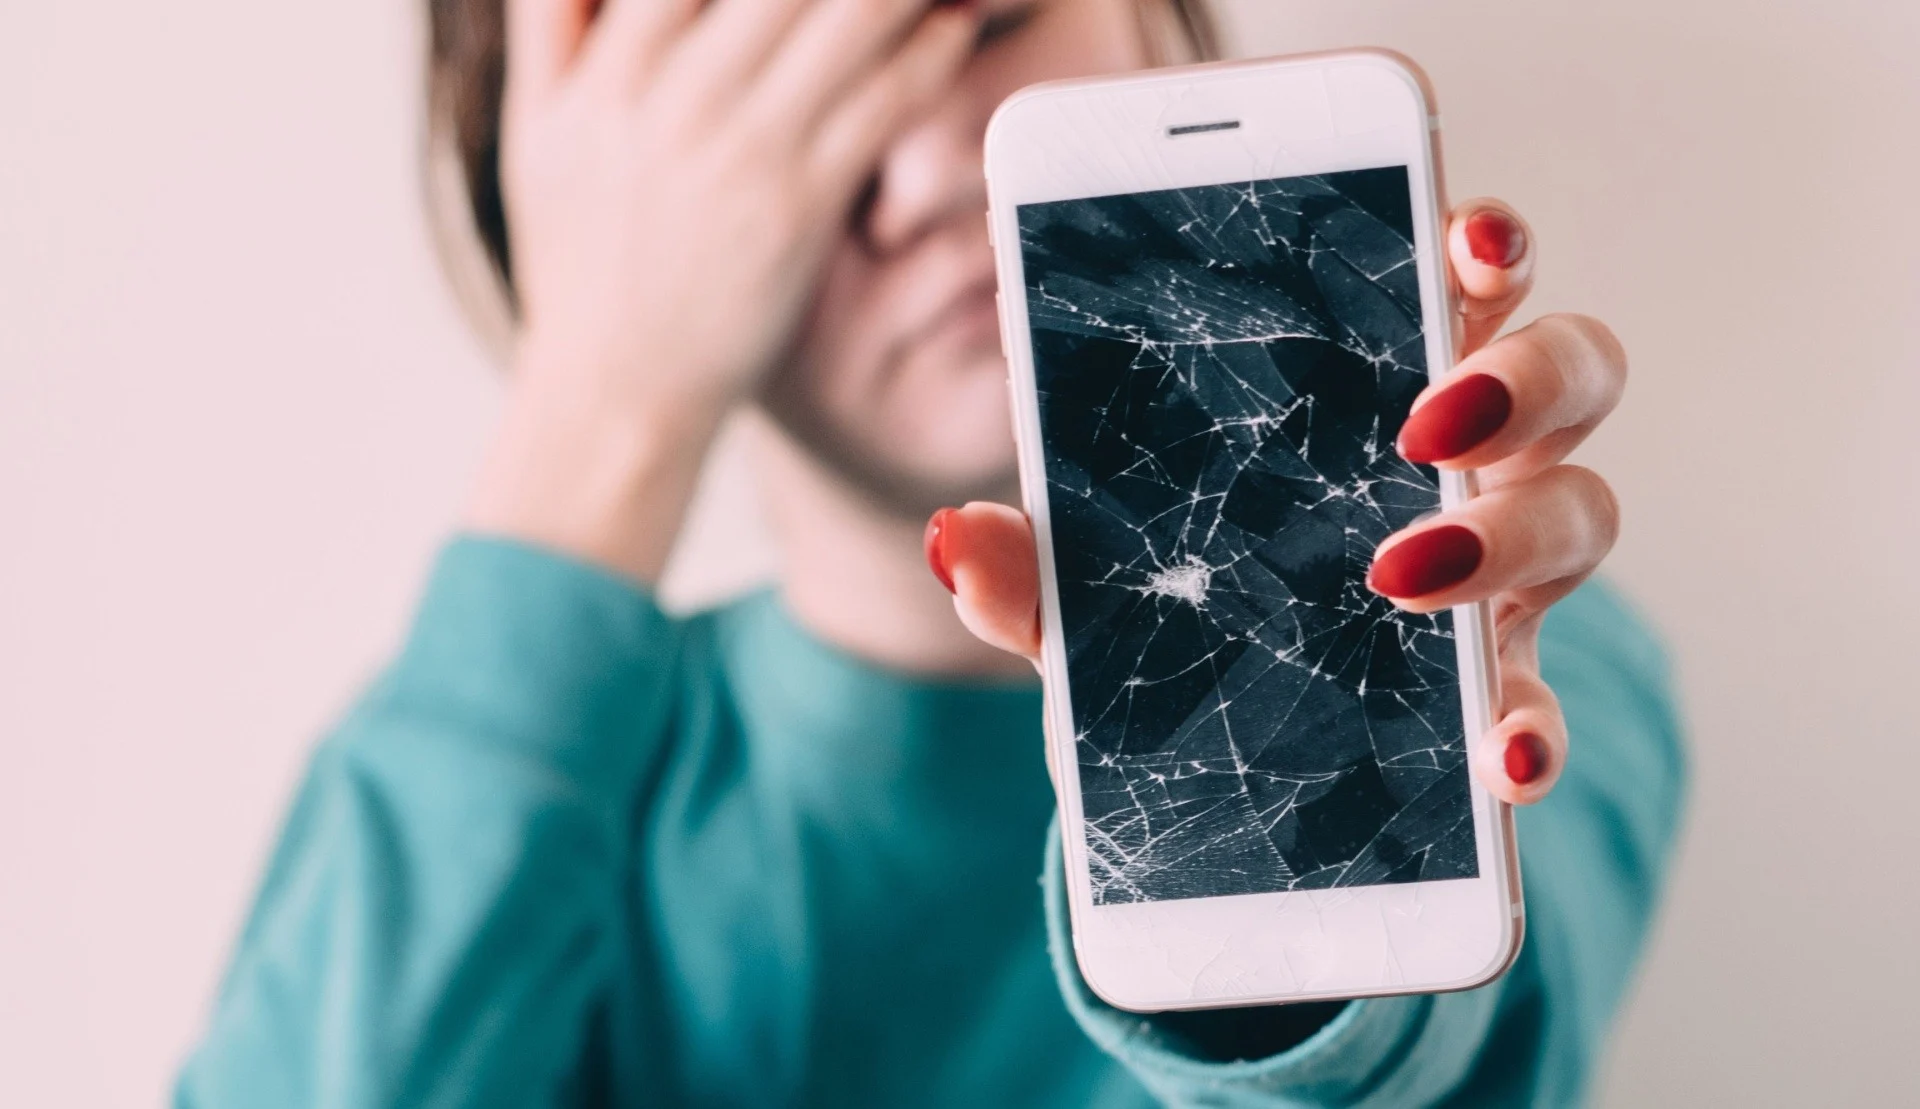
Cracked your phone screen?
Nearly 30% of all smartphone repairs are screen replacements ✧
You're not alone. In fact, screen repair is the #1 service we perform at Salvation Repair — and for good reason. Nearly 30% of all smartphone repairs are screen replacements—far more than batteries, charging ports, or water damage combined. That’s why whenever new models debut - searches for 'screen repair near me' spike. Whether it's a small crack or a full-on glass shatter, we fix it fast, professionally, and affordably.
Looking for fast and affordable screen repair near Laurel, MS?
Call us now or schedule your repair online. We fix iPhones, Samsungs, Pixels, and more — same day, on-site or in-shop.
How Much Does Screen Repair Cost Near Me?
We get this question every day. Our repairs start at just $59 depending on your device, and we offer same-day service in Laurel, Ellisville, Bay Springs, and surrounding areas in Mississippi.
| Device Type | Model Examples | Starting Price |
|---|---|---|
| iPhone | 8, X, 11, 12, 13, 14, 15 | $59-$129 |
| Samsung Galaxy | S8, S9, S10, S20, S21 | $99–$249 |
| Google Pixel | Pixel 3, 4, 5, 6, 7 | $89–$149 |
| Tablet & iPad | iPad Air, Mini, Pro; Galaxy Tab | $99–$249 |
Exact pricing determined after a free diagnostic. Click Schedule Your Repair to book now.
Can You Fix My Phone Today?
Yes! Most screen repairs finish in under 45 minutes. Walk in or schedule online—we’ll be there fast.

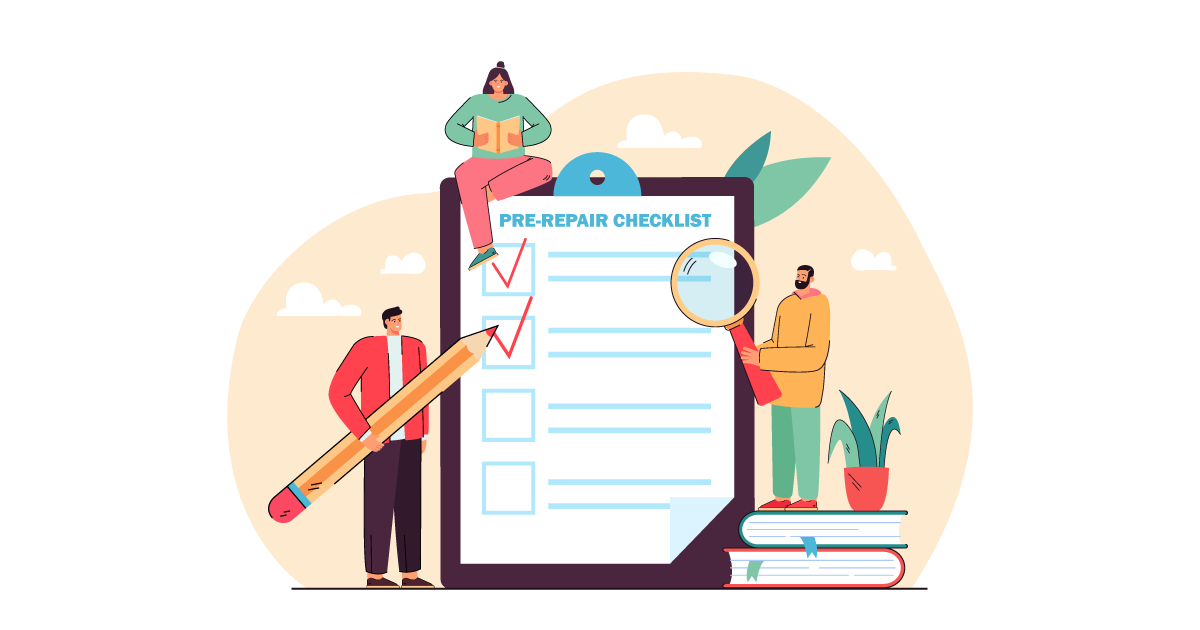
Our Screen Repair Process
- Free diagnostic: crack & touchscreen check
- Professional tear-down: safe glass removal
- Your choice of OEM or premium parts installed
- Calibration & multi-point quality check
- Clean & free tempered protector
Best Price Guarantee
Found a lower local quote? We’ll refund the difference—no questions asked.
 Right to Repair
We support the Right to Repair—repairing devices to reduce e‑waste. Together we’ve kept over 500,000 lbs of tech out of landfills.
shop parts.