iPhone 7 Rear Camera Replacement Guide: Step-by-Step Tutorial
Duration: 45 minutes
Steps: 26 Steps
Hey there! Just a friendly reminder to take your time and be careful while working on your device. If you run into any bumps along the way, don’t hesitate to reach out for help. You can always schedule a repair if you need a hand!
Is your iPhone 7’s main camera not snapping those epic shots anymore? Follow this fun and clear guide to swap out the rear iSight camera in your iPhone 7. If you need help, you can always schedule a repair.
Step 1
Before diving in, make sure your iPhone battery is below 25%. A charged lithium-ion battery can be a bit dramatic and might catch fire or even explode if it gets punctured. Let’s keep things safe and sound!
Opening up your iPhone’s display means waving goodbye to its waterproof seals. Make sure you have some replacement seals on standby before diving deeper into this step, or be super careful to keep it away from any liquids if you plan to put your iPhone back together without swapping out those seals.
– Make sure your iPhone takes a little nap before we start the disassembly party!
– Wave goodbye to those two tiny 3.4 mm pentalobe screws at the bottom of your iPhone. They’re outta here!
Step 2
Be careful not to push your opening pick in too deep, or you might end up giving your device a little love tap it doesn’t need! Just follow this step to mark your pick and keep everything safe and sound.
– Get ready to dive in! First, measure about 3 mm from the tip and give your opening pick a little love tap with a permanent marker. You got this!
Step 3
Get ready for some fun stuff! The next three steps will introduce you to the Anti-Clamp, a nifty tool we came up with to make the opening process a breeze. If you don’t have the Anti-Clamp on hand, no worries! Just skip ahead three steps for an alternative method.
– Give the blue handle a gentle pull back to set the Anti-Clamp’s arms free.
– Slide those arms over the edge of your iPhone, either left or right—your choice!
– Line up the suction cups near the iPhone’s bottom edge, just above the home button—one cup on the front, and one on the back.
– Press the cups together to create a good suction on the spot.
Step 4
– Slide that blue handle forward to lock those arms tight.
– Give the handle a full 360-degree twist clockwise, or until you see those cups start to stretch like a yoga pose.
– Keep an eye on those suction cups and make sure they’re dancing in sync. If they start to break formation, just ease up a bit, realign them, and you’re back in action!
Step 5
– Get that iOpener nice and warm, then slip it through the Anti-Clamp’s arms.
– Fold up the iOpener and lay it down gently along the iPhone’s bottom edge.
– Hang tight for a minute to let the adhesive do its thing and create a gap for you.
– Slide an opening pick into that gap.
– Now, take a breather and skip through the next trio of steps.
Tools Used
Step 6
The next three steps will guide you on how to use a suction cup to separate the screen. If you need help, you can always schedule a repair.
– Warming up the lower edge of your iPhone is a great way to loosen up that sticky adhesive holding the display in place, making it a breeze to pop it open.
– Grab a hairdryer or whip up an iOpener, and give that lower edge a nice 90-second warm-up to help melt away the adhesive underneath.
Tools Used
Step 7
– Stick a cool suction cup on the lower part of the front panel, right above the home button.
Step 8
Getting into that screen can be a bit of a workout! The watertight adhesive is seriously tough, so creating a gap takes some muscle. If you’re struggling to pry it open, don’t fret—just add a little more heat and gently rock the screen back and forth. This will help loosen the adhesive until you can slip your tool in there. You got this!
– Gently tug on the suction cup with steady, confident pressure to open up a little gap between the screen and the frame.
– Slide an opening pick into that gap.
Step 9
Hey there! Just a friendly reminder: avoid trying to wiggle the top edge of the display away from the rear case. It’s snugly held in by some plastic clips that could snap if you’re not careful. Keep it cool and take your time!
– Gently slide the opening pick along the left edge of your phone, starting from the bottom and gliding up towards the volume buttons and silent switch. This will help loosen the adhesive that’s keeping the display snug.
– Pause just shy of the top left corner of the display.
Step 10
Watch out for those delicate cables on the right edge of your iPhone! Inserting your pick here could lead to some unwanted damage. Let’s keep those cables safe and sound!
Step 11
– Pop your tool back into the lower right corner of the iPhone, and slide it around the bend and up the right side to peel that adhesive away. If you need help, you can always schedule a repair
Step 12
– Gently tug at the suction cup to lift the bottom edge of the display like you’re giving it a little hug.
– Give that small nub on the suction cup a pull to release it from the front panel—it’s like saying goodbye for now!
Step 13
– Gently slide a nifty opening pick under the display from the top left corner, making your way along the top edge of the phone to release the adhesive with ease.
Step 14
– Gently nudge the display assembly down a bit (away from the top edge of the phone) to pop those clips free from the rear case. You’ve got this!
Step 16
Make sure to keep track of every single screw during this repair process. It’s crucial that each one finds its way back to its original spot on your device. Let’s avoid any mishaps with those tiny screws, shall we?
– Time to get those lower connector bracket screws out! Grab your tri-point Y000 screwdriver and remove four screws of varying lengths. You’ve got this!
Step 17
– Lift off the lower connector bracket.
Step 18
Gently lift the connector cable upwards a bit to keep it from touching the socket and accidentally powering up the phone. Keep it cool and collected!
– Peel back the battery connector gently using the point of a spudger, as if it were telling you a little secret. Lift it out of its socket on the logic board with a confident flick of the wrist.
Tools Used
Step 19
Before you dive into disconnecting or reconnecting those cables, make sure to unplug the battery! Safety first, friends!
– Grab a spudger or use your trusty fingernail to gently pop the two lower display connectors off the logic board. Just lift them straight up, and they should come right out!
– When it’s time to reconnect those cables, just press down on one end until you hear a satisfying click, then do the same on the other end. Avoid pressing in the middle, though! A little misalignment could bend the connector and lead to some serious issues.
– If you’re staring at a blank screen, see some mysterious white lines, or your touch isn’t responding after putting your device back together, give those cables a little love. Disconnect and reconnect them carefully, making sure they’re snugly seated.
Tools Used
Step 20
– Unscrew the two 1.3 mm Phillips #000 screws that are holding the bracket down over the front panel sensor assembly connector. You’re almost there!
Step 21
– Unhook the front panel sensor assembly connector from its socket on the logic board.
– Remember to reconnect this clever press connector one end at a time to prevent any undue bending.
Step 23
– Grab the flat end of a spudger and gently pop off the rear camera’s press connector from its snug little spot on the logic board. If you need help, you can always schedule a repair
Tools Used
Step 24
– Unscrew those Phillips screws holding the rear camera bracket snugly over the camera module! You’ve got this!
Step 25
– Take off the bracket.
Step 26
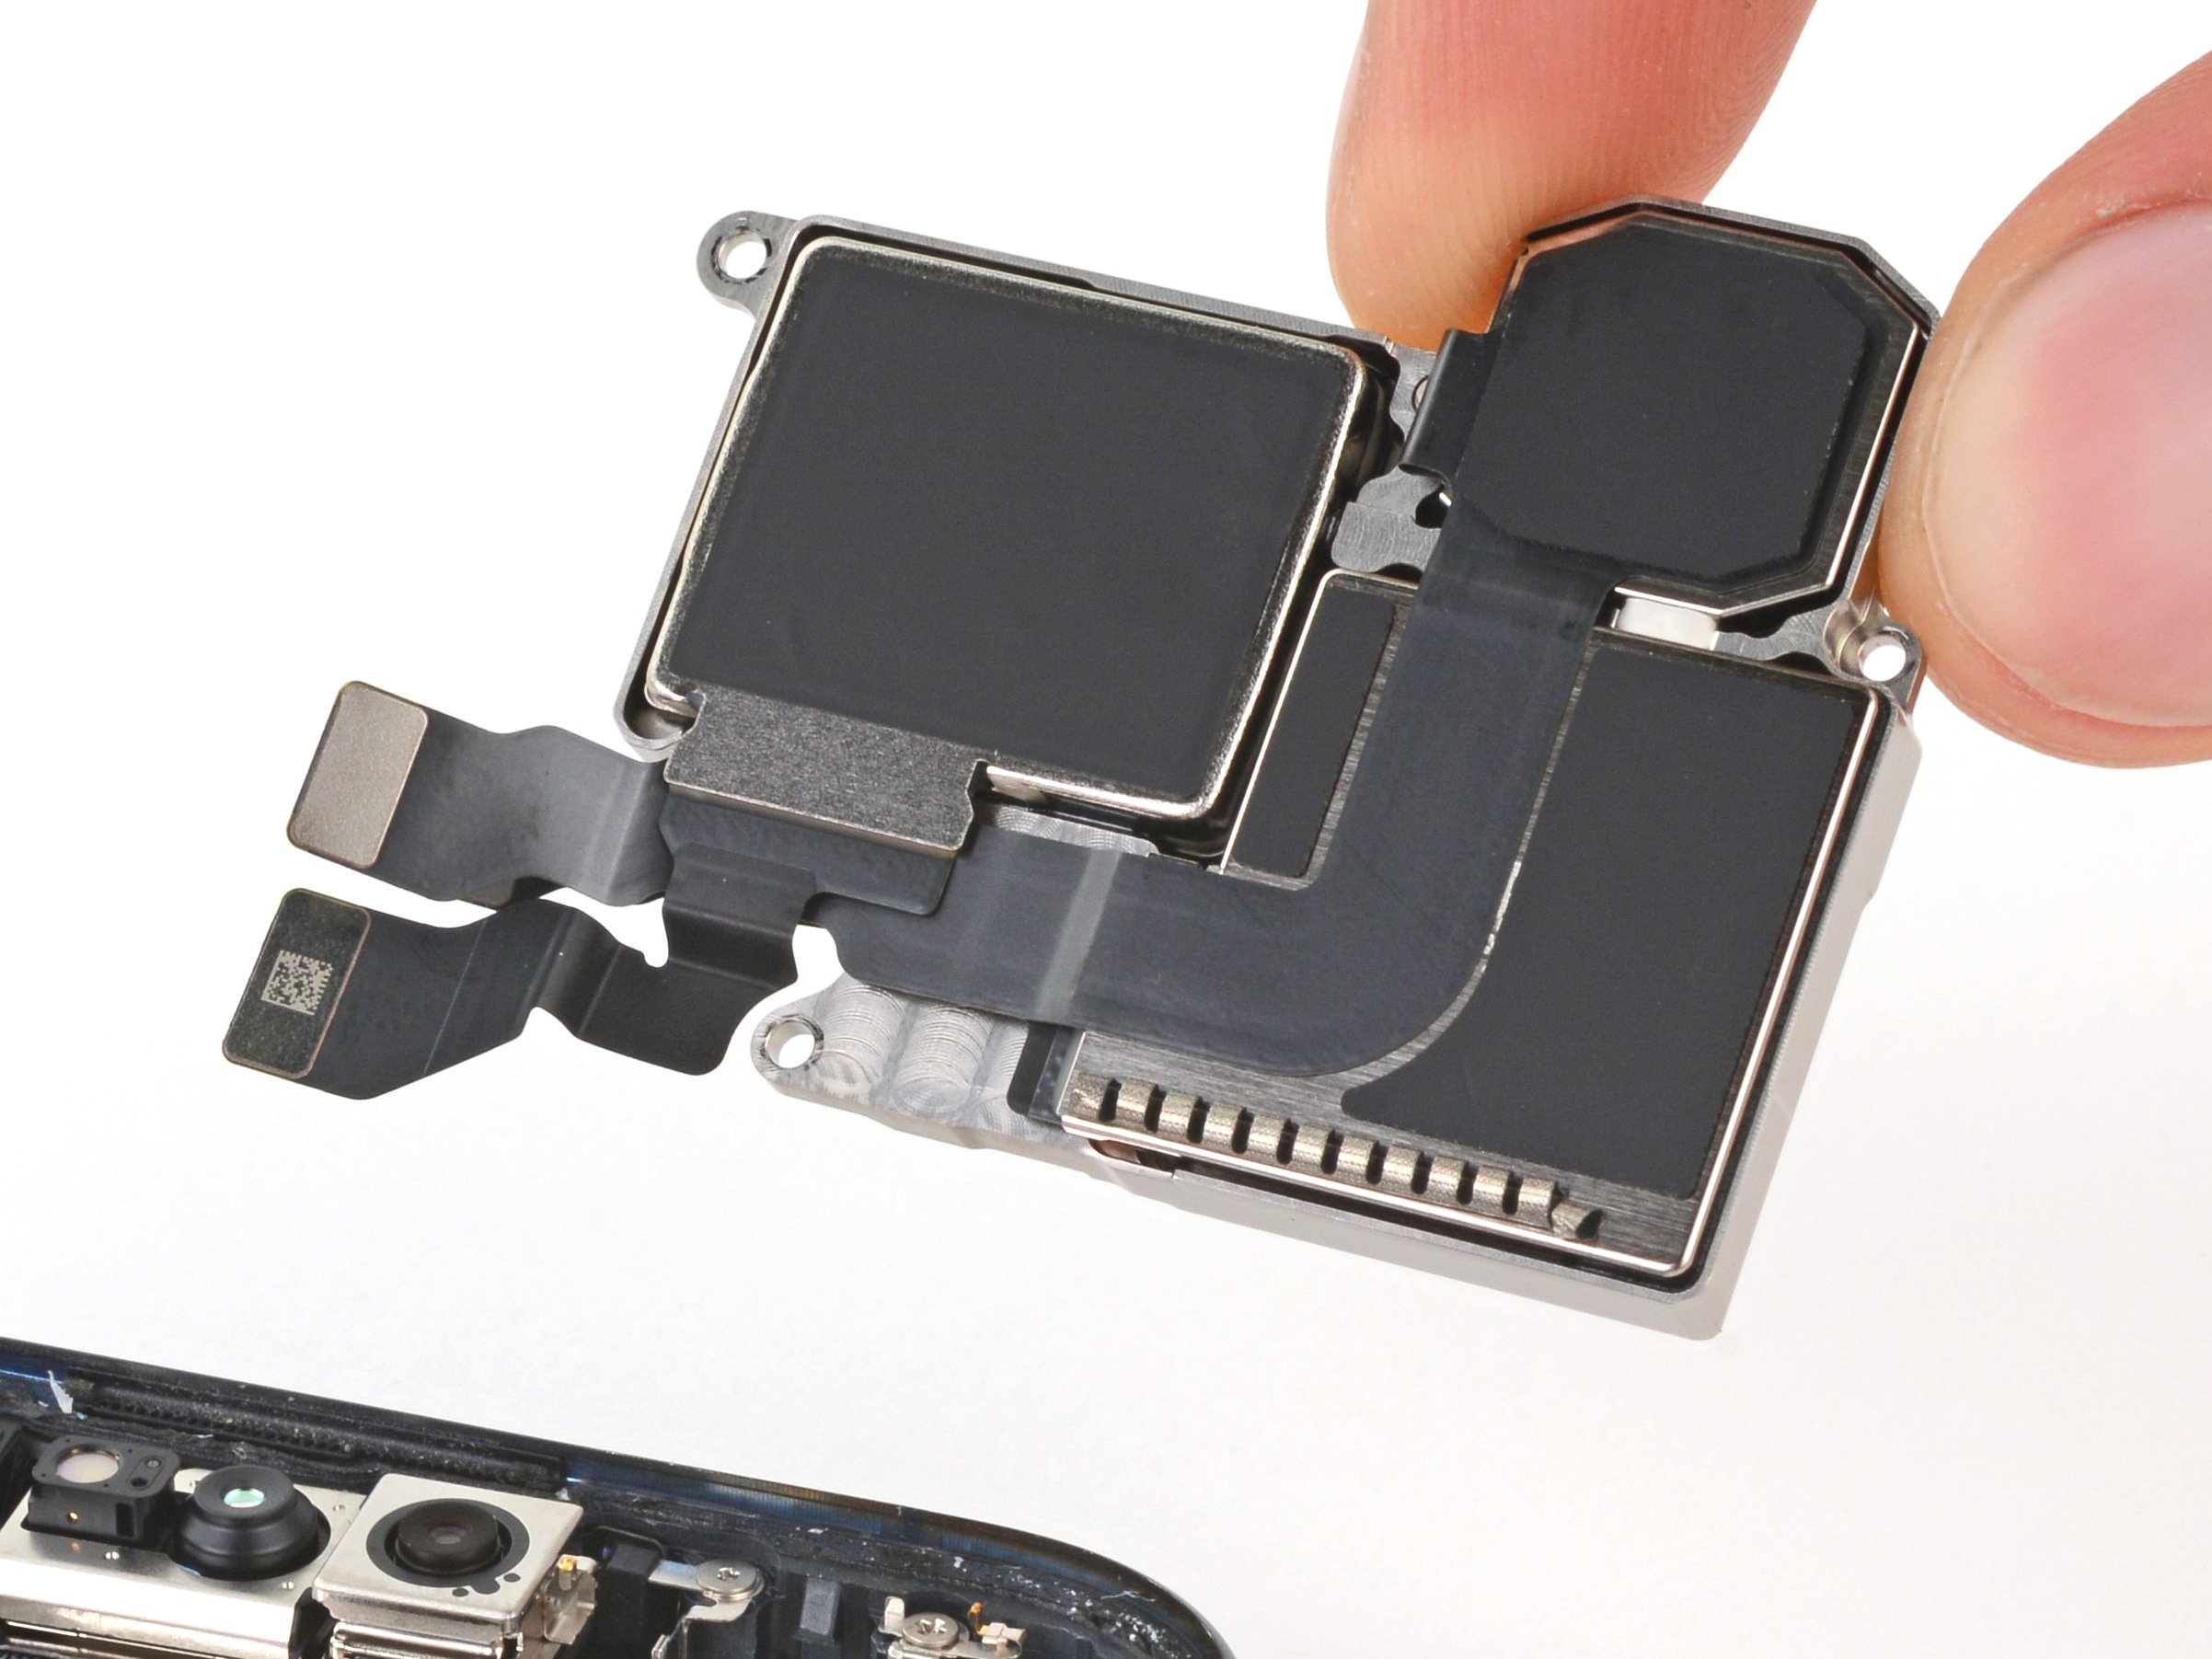
– Take out the rear-facing camera.


