
DIY Guide to Replace MacBook Pro 15 Keyboard
Duration: 45 minutes
Steps: 17 Steps
Hey there! If you need a hand with this step, feel free to schedule a repair for expert assistance. You got this!
Let’s dive in and swap out that keyboard on your MacBook Pro 15″ Core 2 Duo A1226 or A1260. This guide will reveal all the hidden screws you’ve got to remove to get the job done. If you need help, you can always schedule a repair.


Step 2


– Unscrew those three identical 2mm Phillips screws from the memory door like a pro!
– Gently lift the memory door just enough to get a good grip, then slide it towards you, freeing it from the casing.
Step 3

– Get ready to dance with your screwdriver and let’s groove away those two 2.8 mm Phillips screws in the battery compartment near the latch.
Step 4

– Take out these 6 screws:
Step 5

– Whip out your screwdriver and unscrew those four feisty 3.2 mm PH00 Phillips screws on the port side of the computer. Let’s make this happen!
Step 6

– Give the computer a nifty 90-degree turn and pop out the two 3.2 mm Phillips screws from the back.
Step 7

– Give your computer another quarter turn, then pop out the four 3.2 mm Phillips screws from the side. If you need help, you can always schedule a repair.
Step 8


Gently detach the upper case from the logic board as it is delicately connected by a ribbon cable. Avoid any sudden movements that might disrupt this connection.
– Hey there! Let’s start by lifting up at the rear of the case and working your fingers along the sides. As you go, free the case with a gentle wiggle. Once the sides are free, a little rocking motion might be needed to release the front of the upper case.
– Up next, keep an eye out for four plastic clips above the DVD slot, with another one positioned above and to the left of the IR sensor. These clips can be a bit stubborn, but with some gentle prying, you’ll get them to let go. Reassembly can be tricky too, so stay patient!
– Here’s a handy tip for reassembly: Apply firm pressure on the tip of the top case right above each clip location. Listen for that satisfying snap that signals they’re securely back in place.
– Another tip for reassembly: Those two center DVD clips might need a little extra TLC. Instead of just pushing down and risking frame deformation, support the frame by carefully inserting a plastic spudger into the DVD slot directly under the clip location. Press down gently until you hear that reassuring snap.
Tools Used

Step 9


Heads up: You can swap out the hard drive without detaching the keyboard from the chassis, but you’ll have to keep it propped up to stay out of your way. This way, you can use both hands to tackle the drive removal.
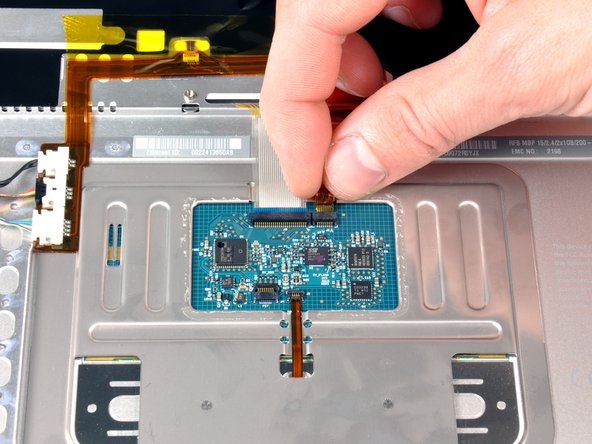
When you’re popping off the keyboard-trackpad ribbon cable, ensure the back of the upper case is free from the hinge area. It’s easy to accidentally bend the screw holders on either side of the keyboard, so take it easy!
– Unhook the trackpad and keyboard ribbon cable from the logic board, peeling off any tape that’s in the way.
– Whisk away the upper case.

Step 11

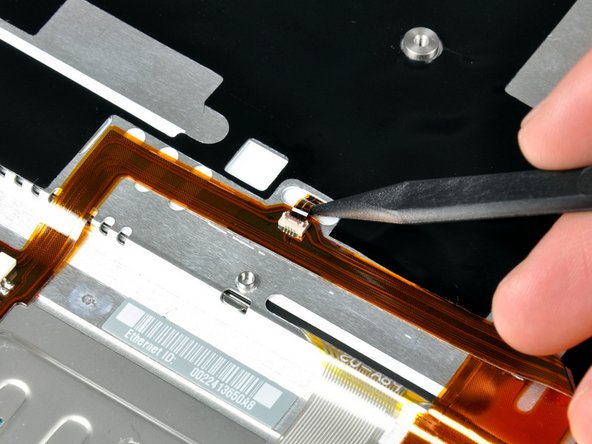
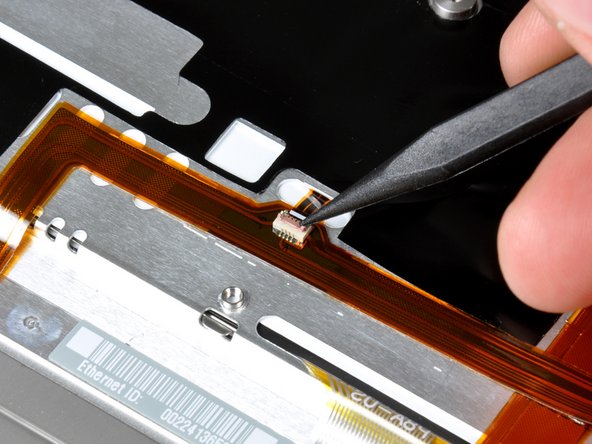
– Grab your spudger and gently flip up the black plastic flap to unlock the keyboard ribbon cable. You’re doing great!
Tools Used


Step 14

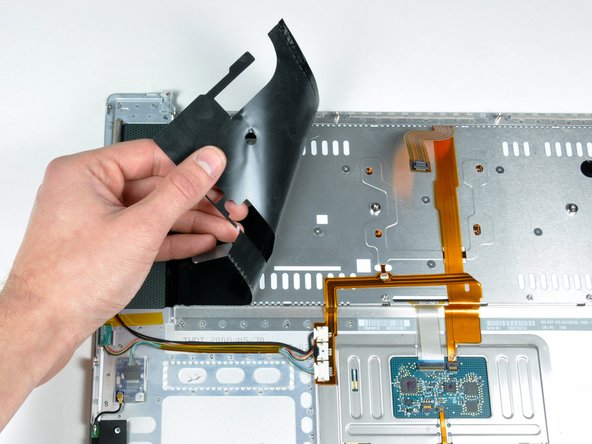
– Gently lift up the black protective sheath on the right side of the upper case.
– Next, repeat by gently lifting the black protective sheath on the left side of the upper case.


Step 17

As you pop in the shiny new keyboard, make sure the ribbon cable for the keyboard backlight slides through the slot in the top casing like a secret agent on a mission.
– Pop that upper casing on its side and grab a spudger to nudge the keyboard loose. Aim for the central keyboard screw hole to poke through. Catch the keyboard as it pops off from the casing.
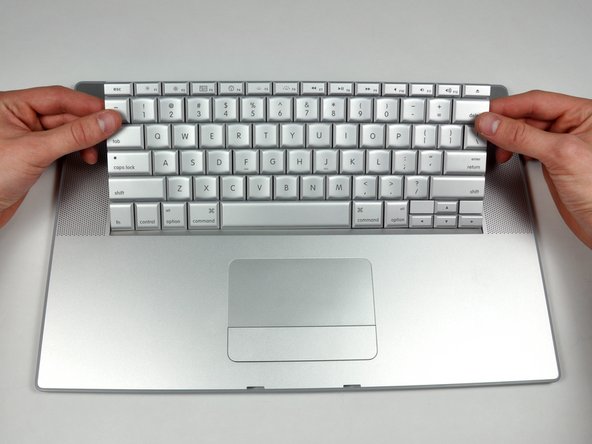
– Keep a firm grip on the keyboard, settle the casing back down and give the keyboard a gentle arch until the sneaky tabs on each side wiggle free.
– Carefully slide the keyboard away from the trackpad and lift it out of the upper case. Voilà!


