DIY Guide for MacBook Pro 13 RAM Replacement
Duration: 45 minutes
Steps: 5 Steps
Heads up! Make sure you’ve got all your tools ready and take it slow. Remember, if you hit a snag, you can always schedule a repair for some expert help!
Popping open your computer to get to the RAM is a piece of cake! Just a little twist here and a snap there, and you’re in. No heavy lifting required!
Step 1
– Time to unscrew the mystery! Remove the following 10 screws that are keeping the lower case attached to the MacBook Pro 13″ Unibody:
Step 2
– Gently lift the lower case a smidge and scoot it toward the back of the computer to unhook those mounting tabs.
Step 3
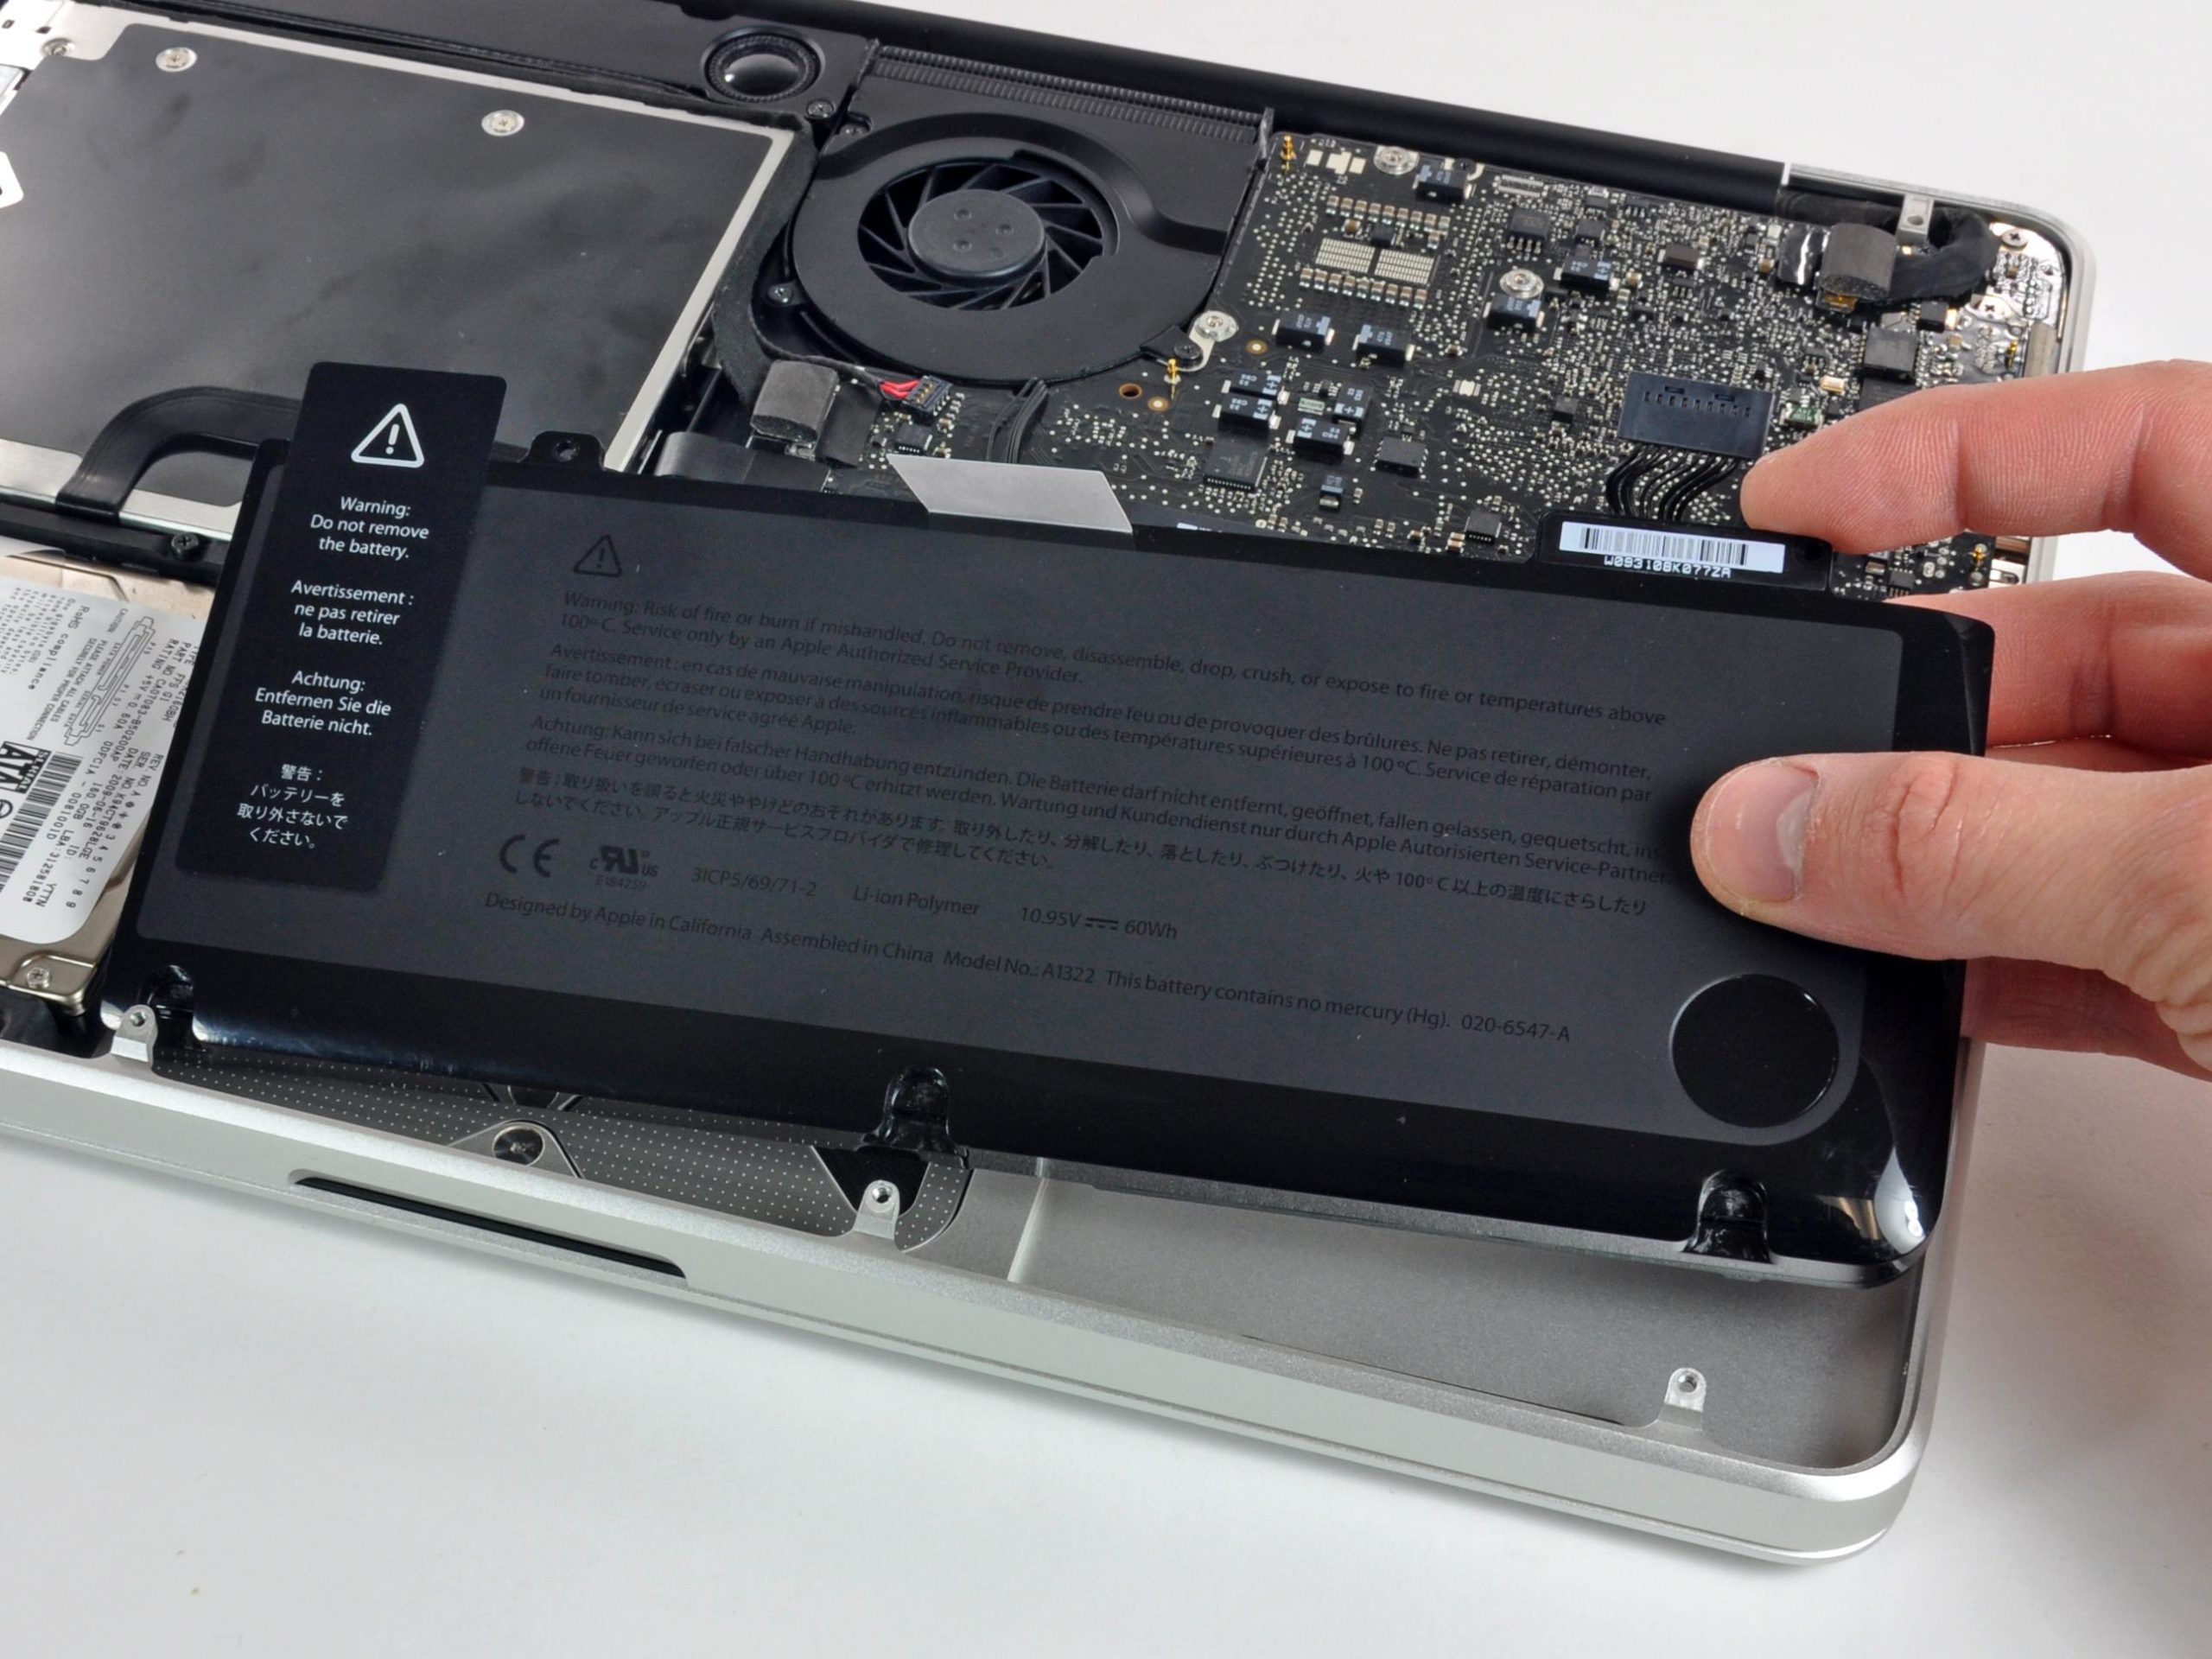
Just a heads-up! It’s a good idea to unplug the battery connector from the logic board to keep any sneaky electrical currents at bay.
– Grab your trusty spudger and use the flat end to pop the battery connector right out of its socket on the logic board. It’s like lifting a little treasure chest lid!
Tools Used
Step 4
These little tabs are like the bouncers of the chip club! Give them a gentle nudge and watch the chip pop up like it’s ready to party!
– Gently push the tabs on each side of the chip away from the RAM to release them. It’s like unlocking a tiny treasure chest!
Step 5
If there’s another RAM chip feeling lonely in there, go ahead and repeat the process to free it too!
– Once that RAM chip springs up like a jack-in-the-box, gently slide it out of its cozy socket.


