How to Replace MacBook Pro 13 Left Clutch Hinge Tutorial
Duration: 45 minutes
Steps: 20 Steps
Heads up, tech whiz! Make sure you’ve got your tools ready and your workspace clear. Let’s make this gadget feel brand new!
Follow this groovy guide to swap out that pesky broken left clutch hinge. Let’s get your device swinging smoothly again!
Step 1
– Alright, let’s dive in and unscrew the 10 screws holding the lower case snug to the MacBook Pro 13″ Unibody.
Step 2
– Gently lift the lower case a tad and nudge it toward the back of the computer to release those sneaky mounting tabs.
Step 3
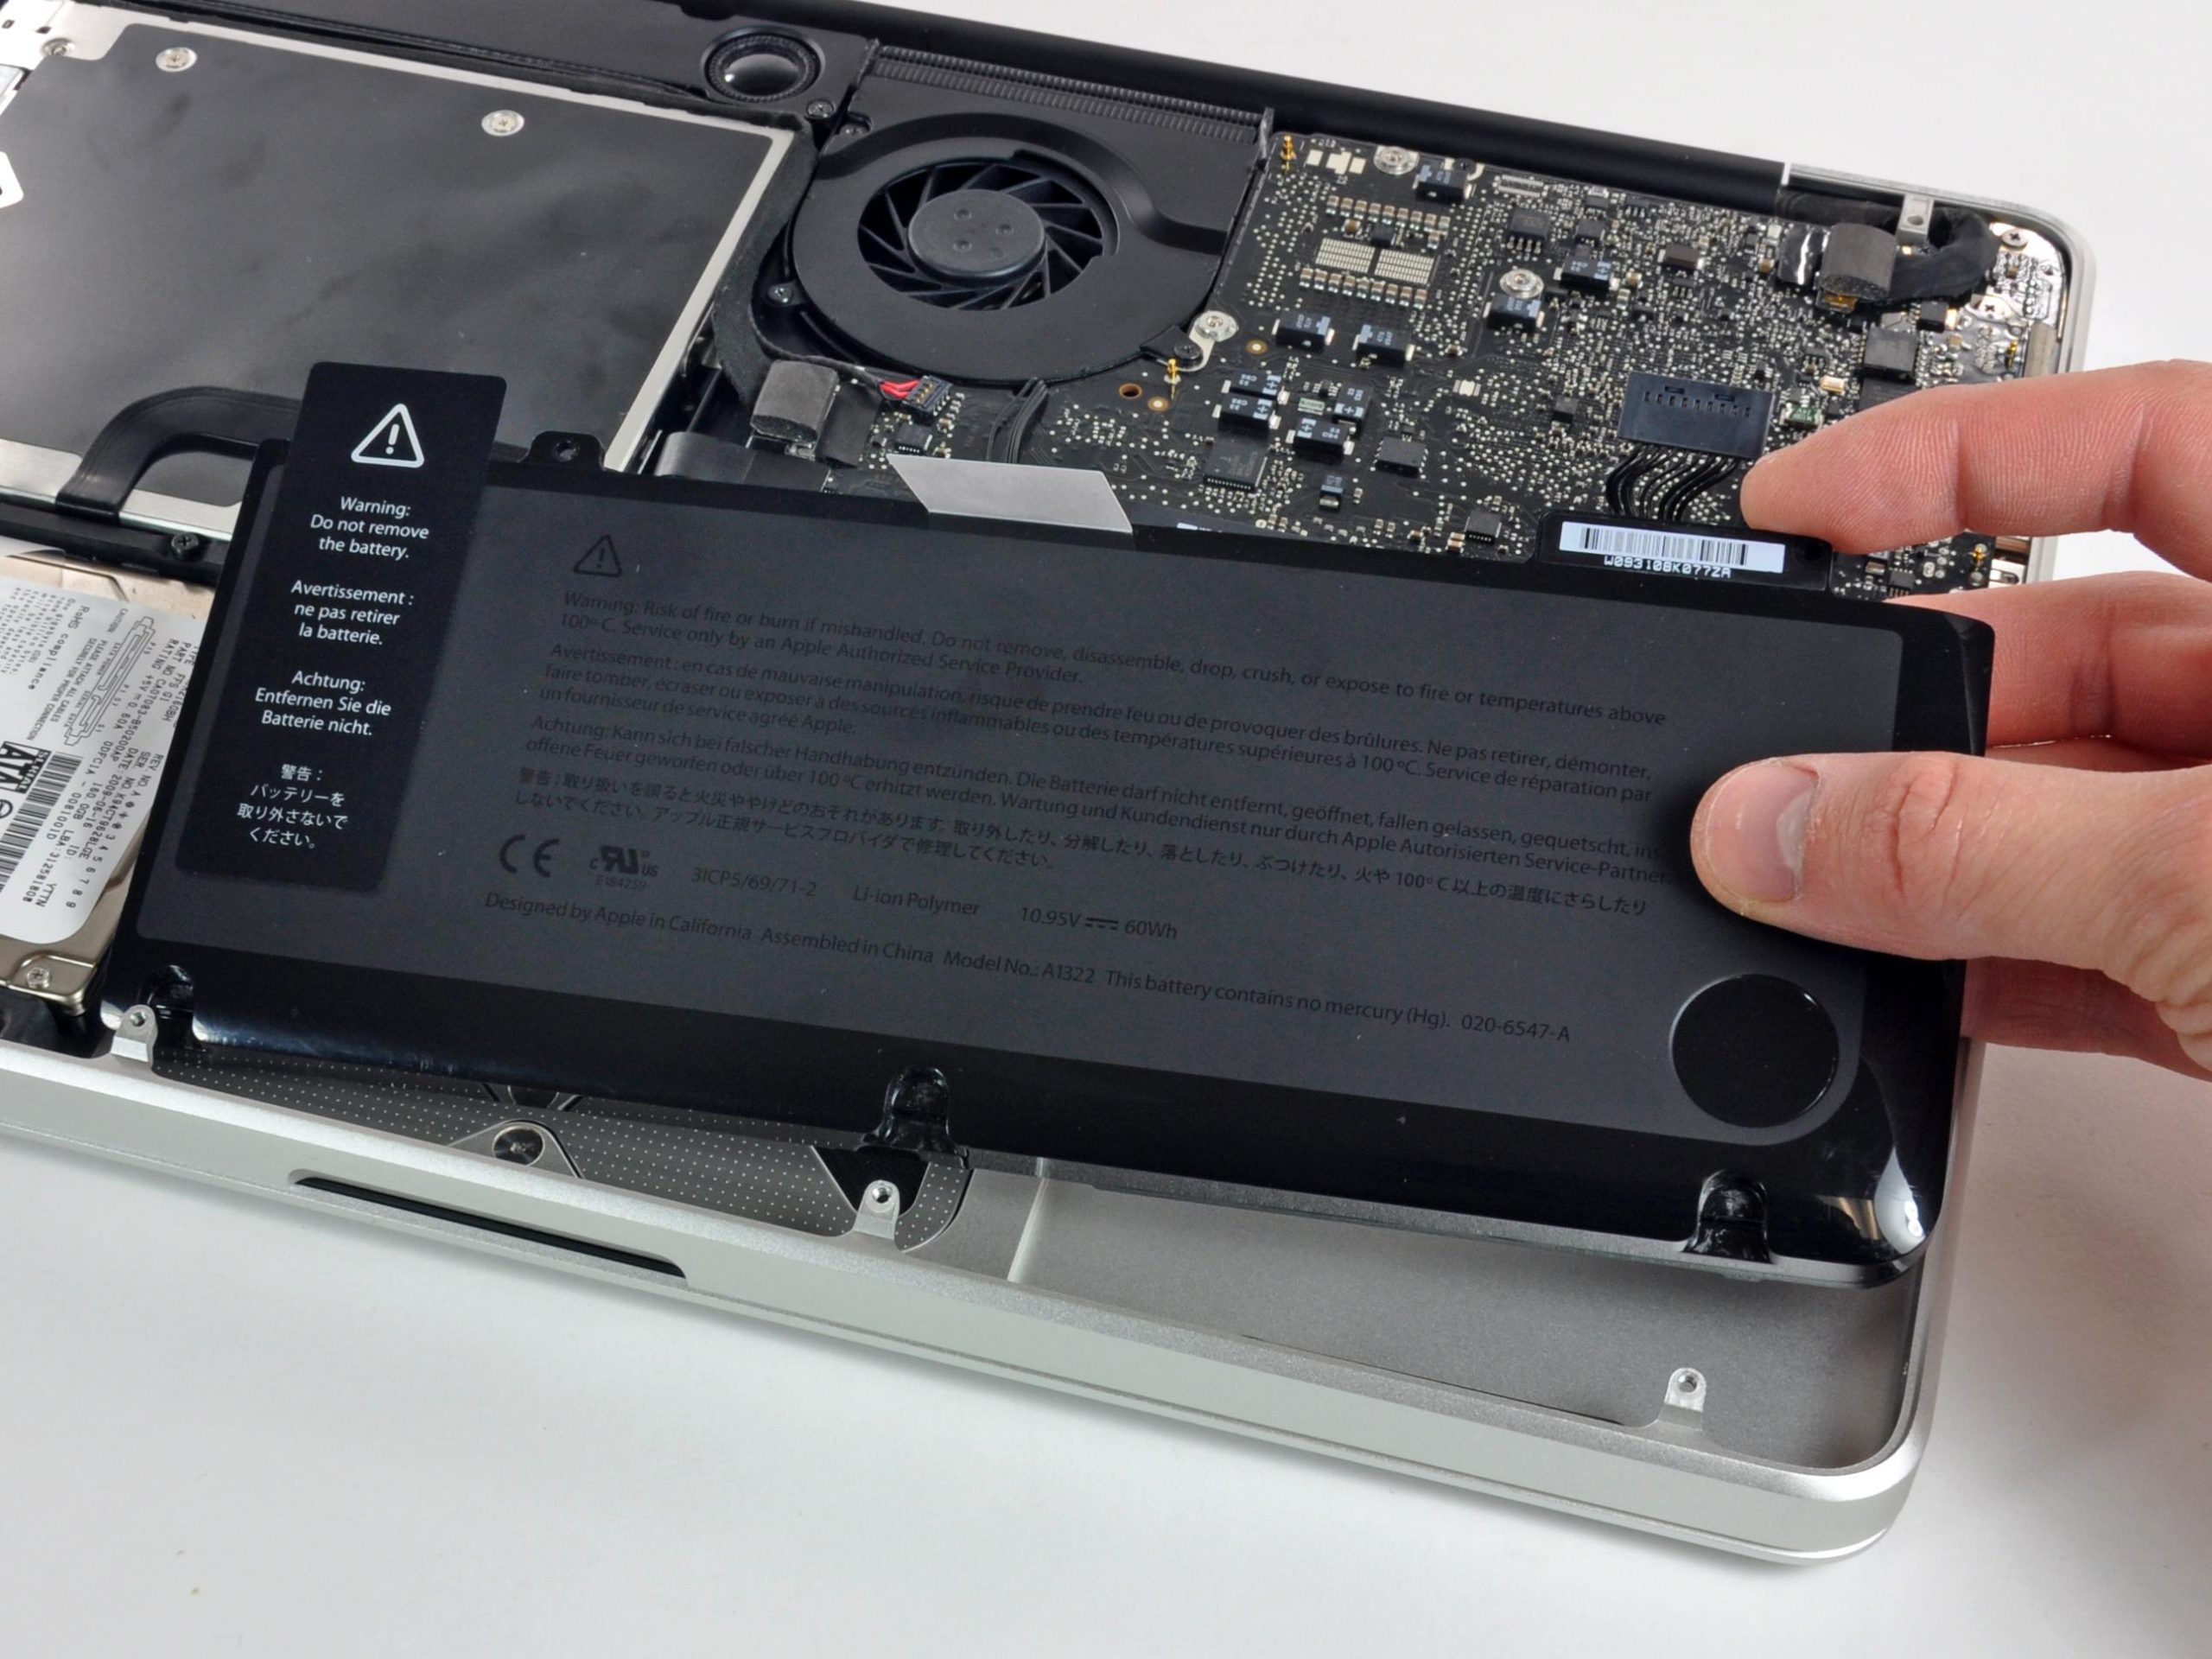
Just a heads-up, let’s play it safe by unplugging the battery connector from the logic board to prevent any unexpected zaps.
– Grab the flat end of your spudger and gently pop the battery connector out of its cozy home on the logic board.
Tools Used
Step 4
– Grab the flat end of your trusty spudger and gently coax the subwoofer/right speaker cable connector from its cozy home on the logic board.
Tools Used
Step 5
– Slide that camera cable right out of its socket, just like pulling a card from a deck. Horizontal moves only, folks!
Step 6
– Wiggle the camera data cable out of its groove in the optical drive, like you’re leading it on a funky little dance out of there!
Step 7
Heads up! One of those cheeky 8 mm Phillips screws might just decide to play hide and seek in the camera cable ground loop.
– Unscrew the bits holding the camera data cable and right speaker to the upper case:
– Wiggle out the camera cable bracket from beneath the subwoofer and lift it out of the computer.
Step 8
Alright, rockstar, remember to slide that connector straight back like you’re pulling a magic trick, not upwards. Keep it smooth and level!
Step 10
– Grab your Torx driver and whisk away those four 6.5 mm screws holding the display brackets to the upper case. There are two screws on each bracket, so make sure you catch them all!
Step 11
– Set your MacBook to open so that the display is at a right angle to the upper case.
– Position your opened MacBook on a table as shown in the image.
– With your left hand, keep the display and upper case together, and use your Torx driver to remove the last 6.5 mm screw from the lower display bracket.
Step 14
– Hoist the screen up and off the upper case like you’re lifting a treasure chest lid, but watch out for any sneaky brackets or cables that might try to tag along!
Step 15
It should shimmy up about 1/4″ and then come to a stop. Easy does it—no need to push it past that point!
– Snag that clutch cover and shimmy it to the right side of the display like you’re sliding into home base!
Step 17
– Pop off that clutch cover like you’re unveiling a surprise! 🎉
Step 18
– Unscrew the cheeky little 5.2 mm T6 Torx screw that’s holding onto the left clutch hinge near the display glass.
Step 19
– Unscrew the last two 5.2 mm T6 Torx screws that are keeping the left clutch hinge tight with the display. Almost there!


