How to Replace MacBook Pro 13″ Front Display Glass – DIY Tutorial
Duration: 45 minutes
Steps: 24 Steps
Heads up! Before diving into your tech adventure, make sure to power down your device to avoid any shocking surprises. Safety first, fun repair second!
Follow this groovy guide to swap out a busted front display glass on your gadget. You’ll need to remove the front glass to get to the LCD, but don’t sweat it—we’ve got your back every step of the way!
Step 1
– Alright, let’s dive into this! You’ll need to unscrew the following 10 screws that are keeping the lower case attached to the MacBook Pro 13″ Unibody:
Step 2
– Gently elevate the lower case and nudge it toward the back of your computer to release those sneaky mounting tabs.
Step 3
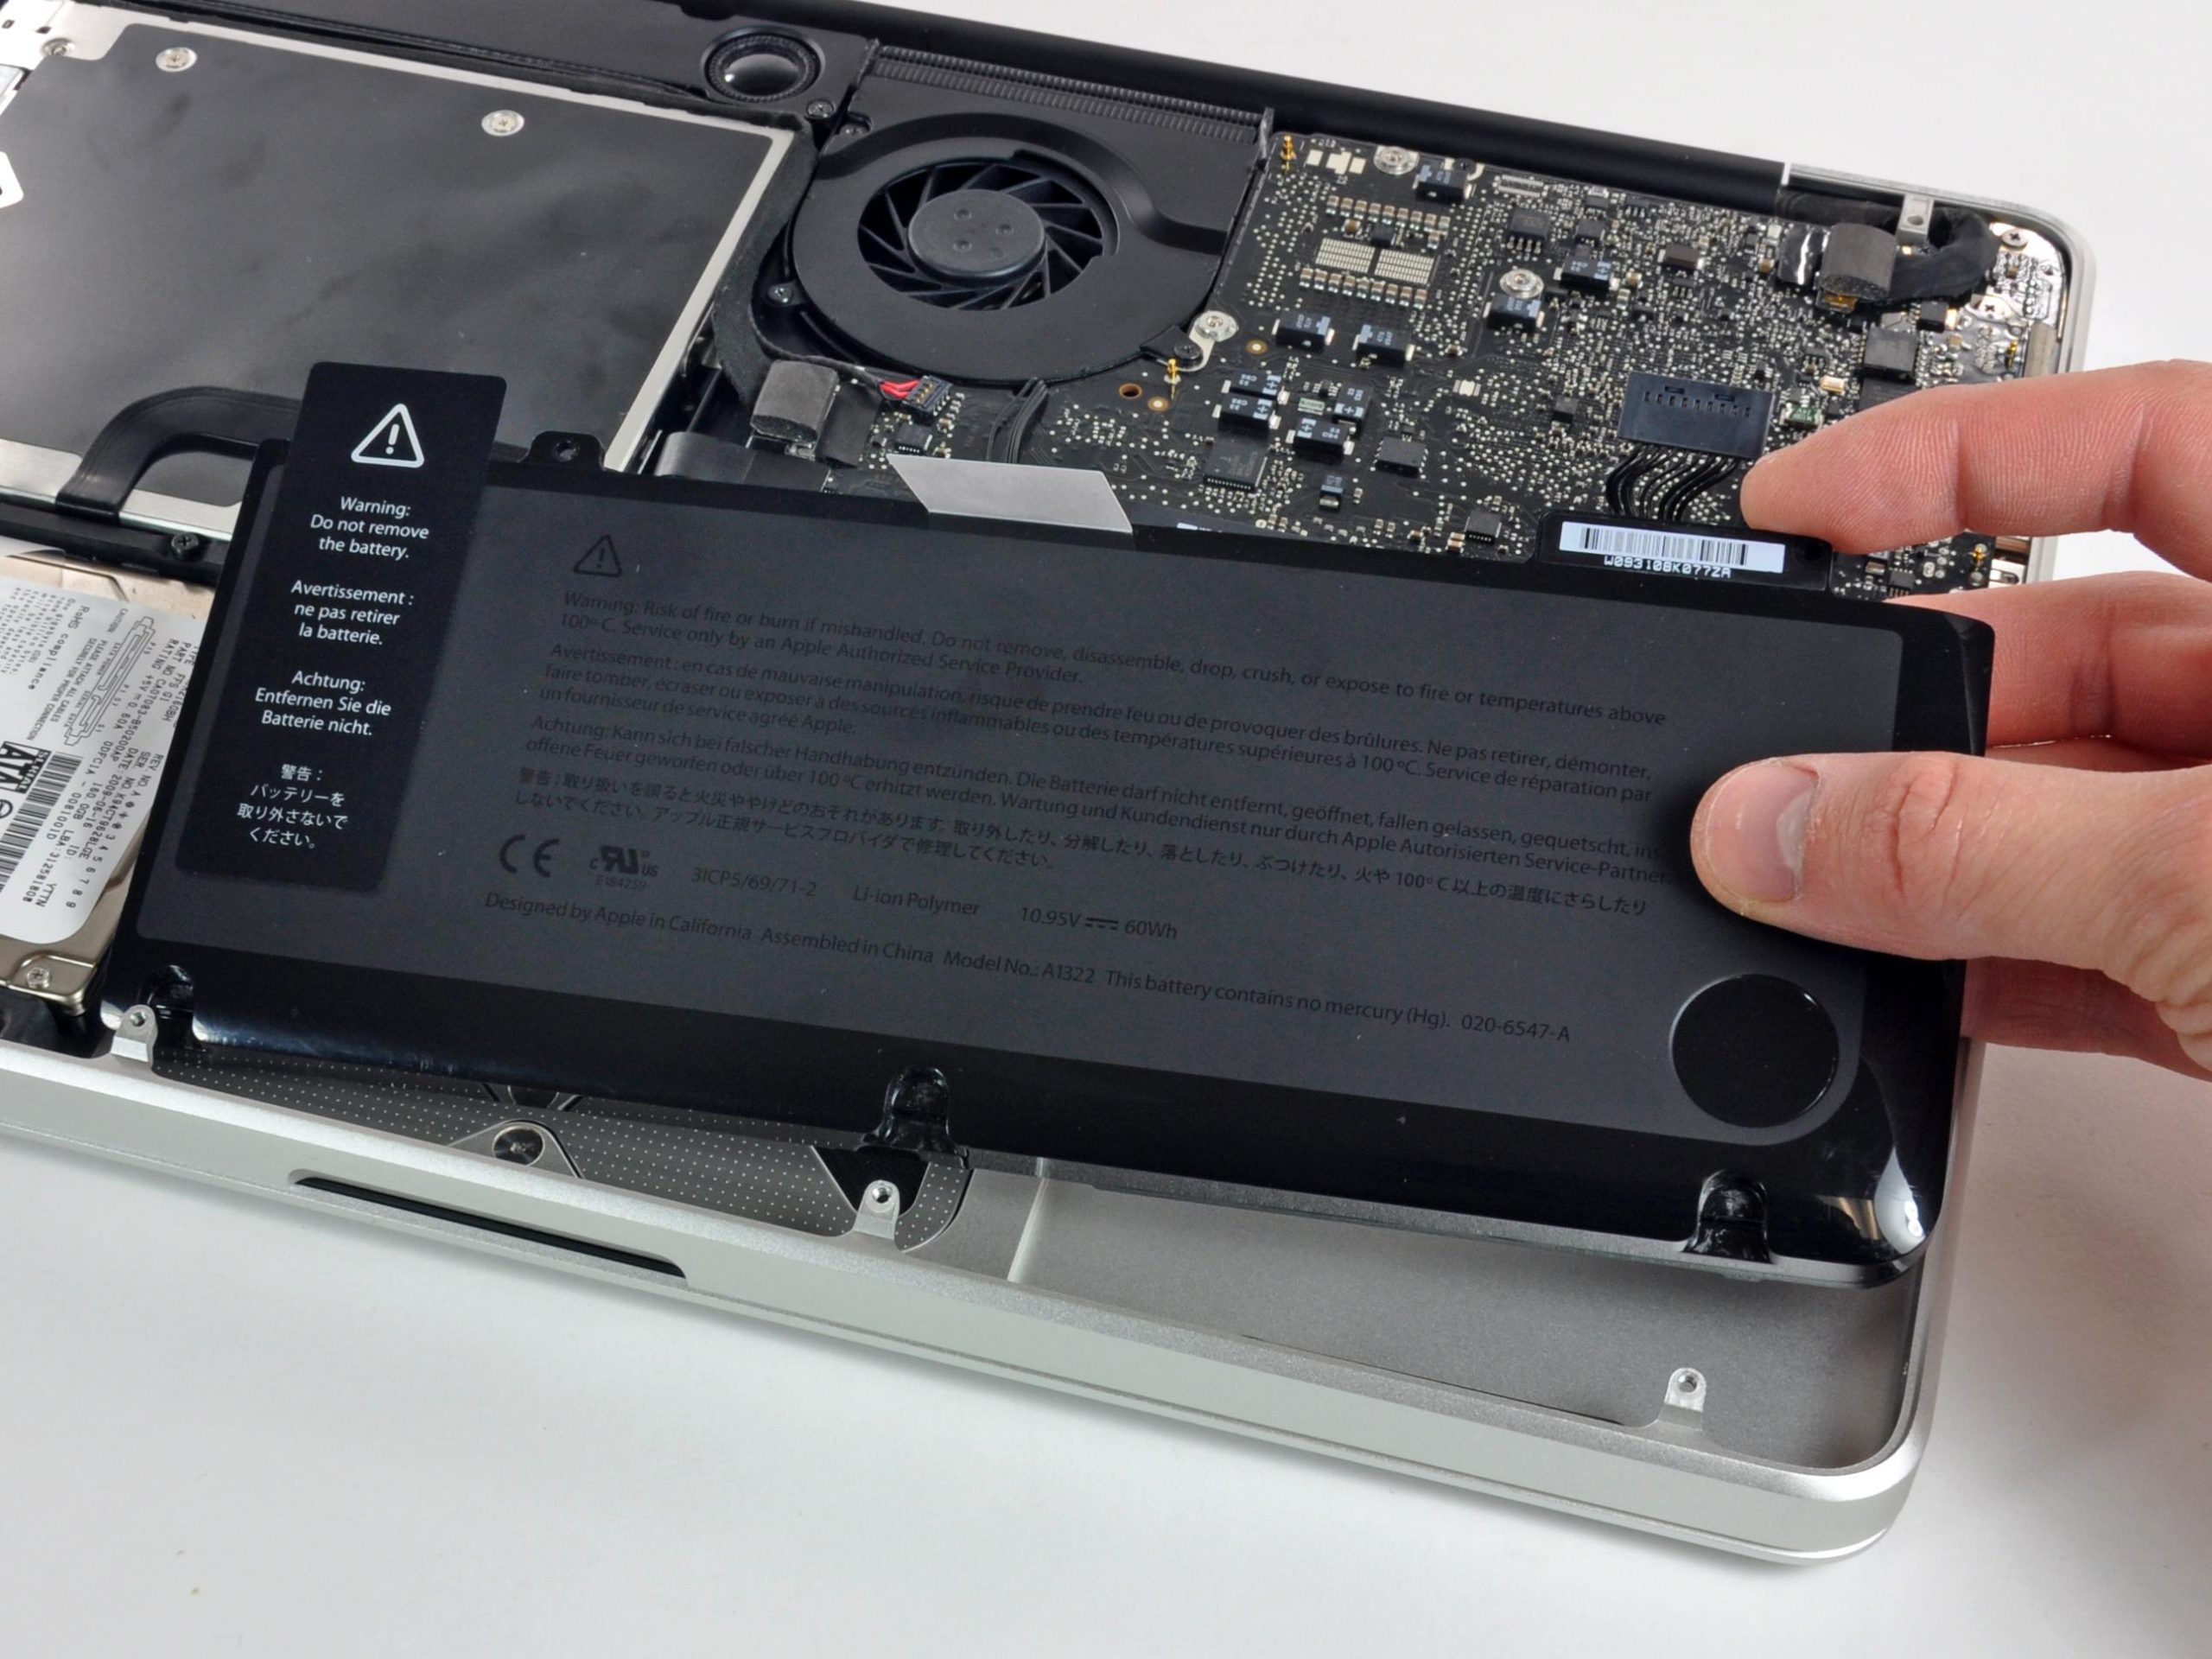
Hey there! Just a heads-up to unplug the battery connector from the logic board. It’s a savvy move to sidestep any unexpected zaps!
– Grab the flat end of your trusty spudger and gently pop the battery connector out of its cozy home on the logic board.
Tools Used
Step 4
– Grab the flat end of your spudger and gently pop the subwoofer/right speaker cable connector off its cozy home on the logic board.
Tools Used
Step 5
– Slide the camera cable out of its socket like you’re pulling a magic trick. Horizontal moves only, please!
Step 6
– Wiggle that camera data cable out of its runway on the optical drive like it’s hitting the catwalk!
Step 7
One of the 8 mm Phillips screws is playing hard to get and might just hang out in the camera cable ground loop. No worries, we’ve all been there!
– Unscrew the bits that are keeping the camera data cable and right speaker snug against the upper case:
– Wiggle out the camera cable bracket from under the subwoofer’s cozy spot and lift it out of the computer.
Step 8
Alrighty, when detaching the connector, give it a smooth slide straight back from its socket—like pulling a magic trick without the hat. Keep it level to avoid any dramatic exits!
Step 10
– Grab your Torx driver and show those four 6.5 mm screws who’s boss! You’ll find two on each side of the display brackets, holding them tight to the upper case. Let’s unscrew these little rebels and move on!
Step 11
Step 14
– Hoist the screen up and away from the upper case, but watch out for any sneaky brackets or cables that might try to tag along!
Step 15
Make sure to point the heat gun away from the display’s soft rubber trim. Turning up the heat too much could jazz up that rubber from a cool matte to an unwanted glossy look. Plus, handling that hot rubber could reshape it for good!
Get ready to work some magic! In the upcoming steps, you’ll be using a heat gun to gently warm up the adhesive that holds that sleek black border on the underside of your front glass panel tight against the display. You’ll spot the adhesive area highlighted in red in the second picture.
Don’t be alarmed if you notice a bit of condensation forming on the inside of the glass panel or even on the outside of the LCD—it’s just a side effect of the heat. No worries, a little glass cleaner will do the trick to wipe it away once you’ve separated the glass from the display.
– Set your heat gun to a gentle low and begin warming up the outer black border near the top-right corner of the glass panel. Let’s get that glass ready to move!
Tools Used
Step 16
Steer clear of placing the suction cup over the rubber border that hugs the display glass. Let’s keep it smooth and accident-free!
To start sticking the suction cups we offer, align the suction cup so the handle that moves is parallel to the glass panel’s face. Gently press the suction cup against the glass, then lift the movable handle until it lines up with the stationary handle.
If only the top edge of the glass seems to pop up (just like in the third image), give the first couple of steps another whirl until you manage to lift the corner of the panel.
– After you’ve warmed up the panel, pop a sturdy suction cup near the upper right corner of that pesky display glass.
– Take it slow and easy, and start lifting the corner of the display glass away from the display assembly with a gentle pull.
Step 17
– Carefully lift just a corner of the display glass to sneak a spudger in between it and the rest of the display assembly.
– Now, use the flat end of your spudger to gently nudge the adhesive holding the front glass snug against the display.
– Give the glass panel a gentle lift a few inches away from the upper right corner, working along the top and right edges of the display.
Tools Used
Step 18
You might find it super handy to use a guitar pick or a similarly thin plastic buddy to keep the upper right corner of the front glass panel from getting all clingy with the display assembly again.
– Warm up the adhesive beneath the slick black strip on the right side of the front glass with a heat gun. It’s like giving it a mini spa treatment!
– Pop a suction cup onto the right side of the front glass panel. It’s like playing darts, but you actually want to hit the bullseye without breaking anything!
– Give a gentle tug on the glass with the suction cup while sneakily sliding the flat end of a spudger underneath to pry it away from the display assembly. It’s like playing a game of operation!
– Keep on cruising down the right side of the front display glass, prying as you go until it’s all freed up. You’re doing great!
Step 19
– Grab your heat gun and give a warm welcome to the adhesive under the black strip at the top of the display panel. Let’s loosen it up!
– Pop a suction cup near the top edge of the display and give it a good tug to lift the glass panel away from the display.
– Sneak along the top edge with the flat end of a spudger, and gently persuade the adhesive to part ways if it’s being stubborn.
Step 20
– Crank up the heat with a heat gun to loosen the sticky stuff under the black strip at the top left of your screen.
– Pop a suction cup on there, right near the top left corner of the screen.
– Give that suction cup a nice tug upwards and use the flat end of a spudger to gently coax the glass display panel away from the rest of the display assembly.
Step 21
– Warm up that stubborn adhesive under the black strip on the left side of the front glass with a heat gun or hair dryer. It’s spa day for your device!
– Pop a suction cup on the left side of the front glass panel. It’s like giving your phone a little window handle!
– Lift up on the glass with the suction cup while you sneak a spudger under there to coax the glass away from the display assembly.
– Keep on trucking down that left edge until the front glass says ‘sayonara’ to the display.
Step 22
– Alright, you’ve successfully freed the top, left, and right edges of the glass from the display—nice work! Now, carefully lift the top edge of the glass panel and gently swing it out from the display like you’re opening a treasure chest.
– Before you put everything back together, make sure to give both the inside of the glass display panel and the LCD a good cleaning. Any dust or smudges left behind will stick out like a sore thumb when the device is powered on.
Tools Used
Step 23
If you’re sticking with the OG glass, feel free to hop over this step!
– Wedge a plastic opening tool between the display glass and the camera bracket, and slide it around the camera bracket to detach it from the display glass.
– Remember to reattach the camera bracket to the new front display glass before you start putting things back together.
Step 24
Heads up! While you’re separating the glass, the camera cable might decide to stick to the glass’s sticky side, potentially unplugging itself from the camera board as you lift. If your camera cable is still cozy and connected to the board, feel free to skip this groove and move on!
– First up, grab your spudger and gently pry off the foam tape covering the camera cable ZIF socket. It’s like uncovering hidden treasure!
– Next, use your trusty spudger to flip up the ZIF cable retainer on the camera cable socket. Easy does it!
– Now, slide the camera cable back into its home on the camera board. Use the spudger again to press down the ZIF cable retainer until it clicks—like a secret handshake locking it in place!
– Finally, stick that piece of foam tape back over the camera cable socket. Keeping it snug and safe!
Tools Used


