How to Replace MacBook Pro 13 Feet – DIY Guide
Duration: 45 minutes
Steps: 8 Steps
Heads up, tech warrior! Make sure you’ve got your tools ready and your workspace tidy before diving into the repair. Let’s make this gadget feel brand new again!
Give your MacBook Pro a snazzy makeover by fitting it with a fresh set of rubber feet. It’s like giving your laptop a brand new pair of shoes!
Step 1
– Alright, let’s dive in and unscrew the 10 screws holding the lower case to your MacBook Pro 13″ Unibody!
Step 2
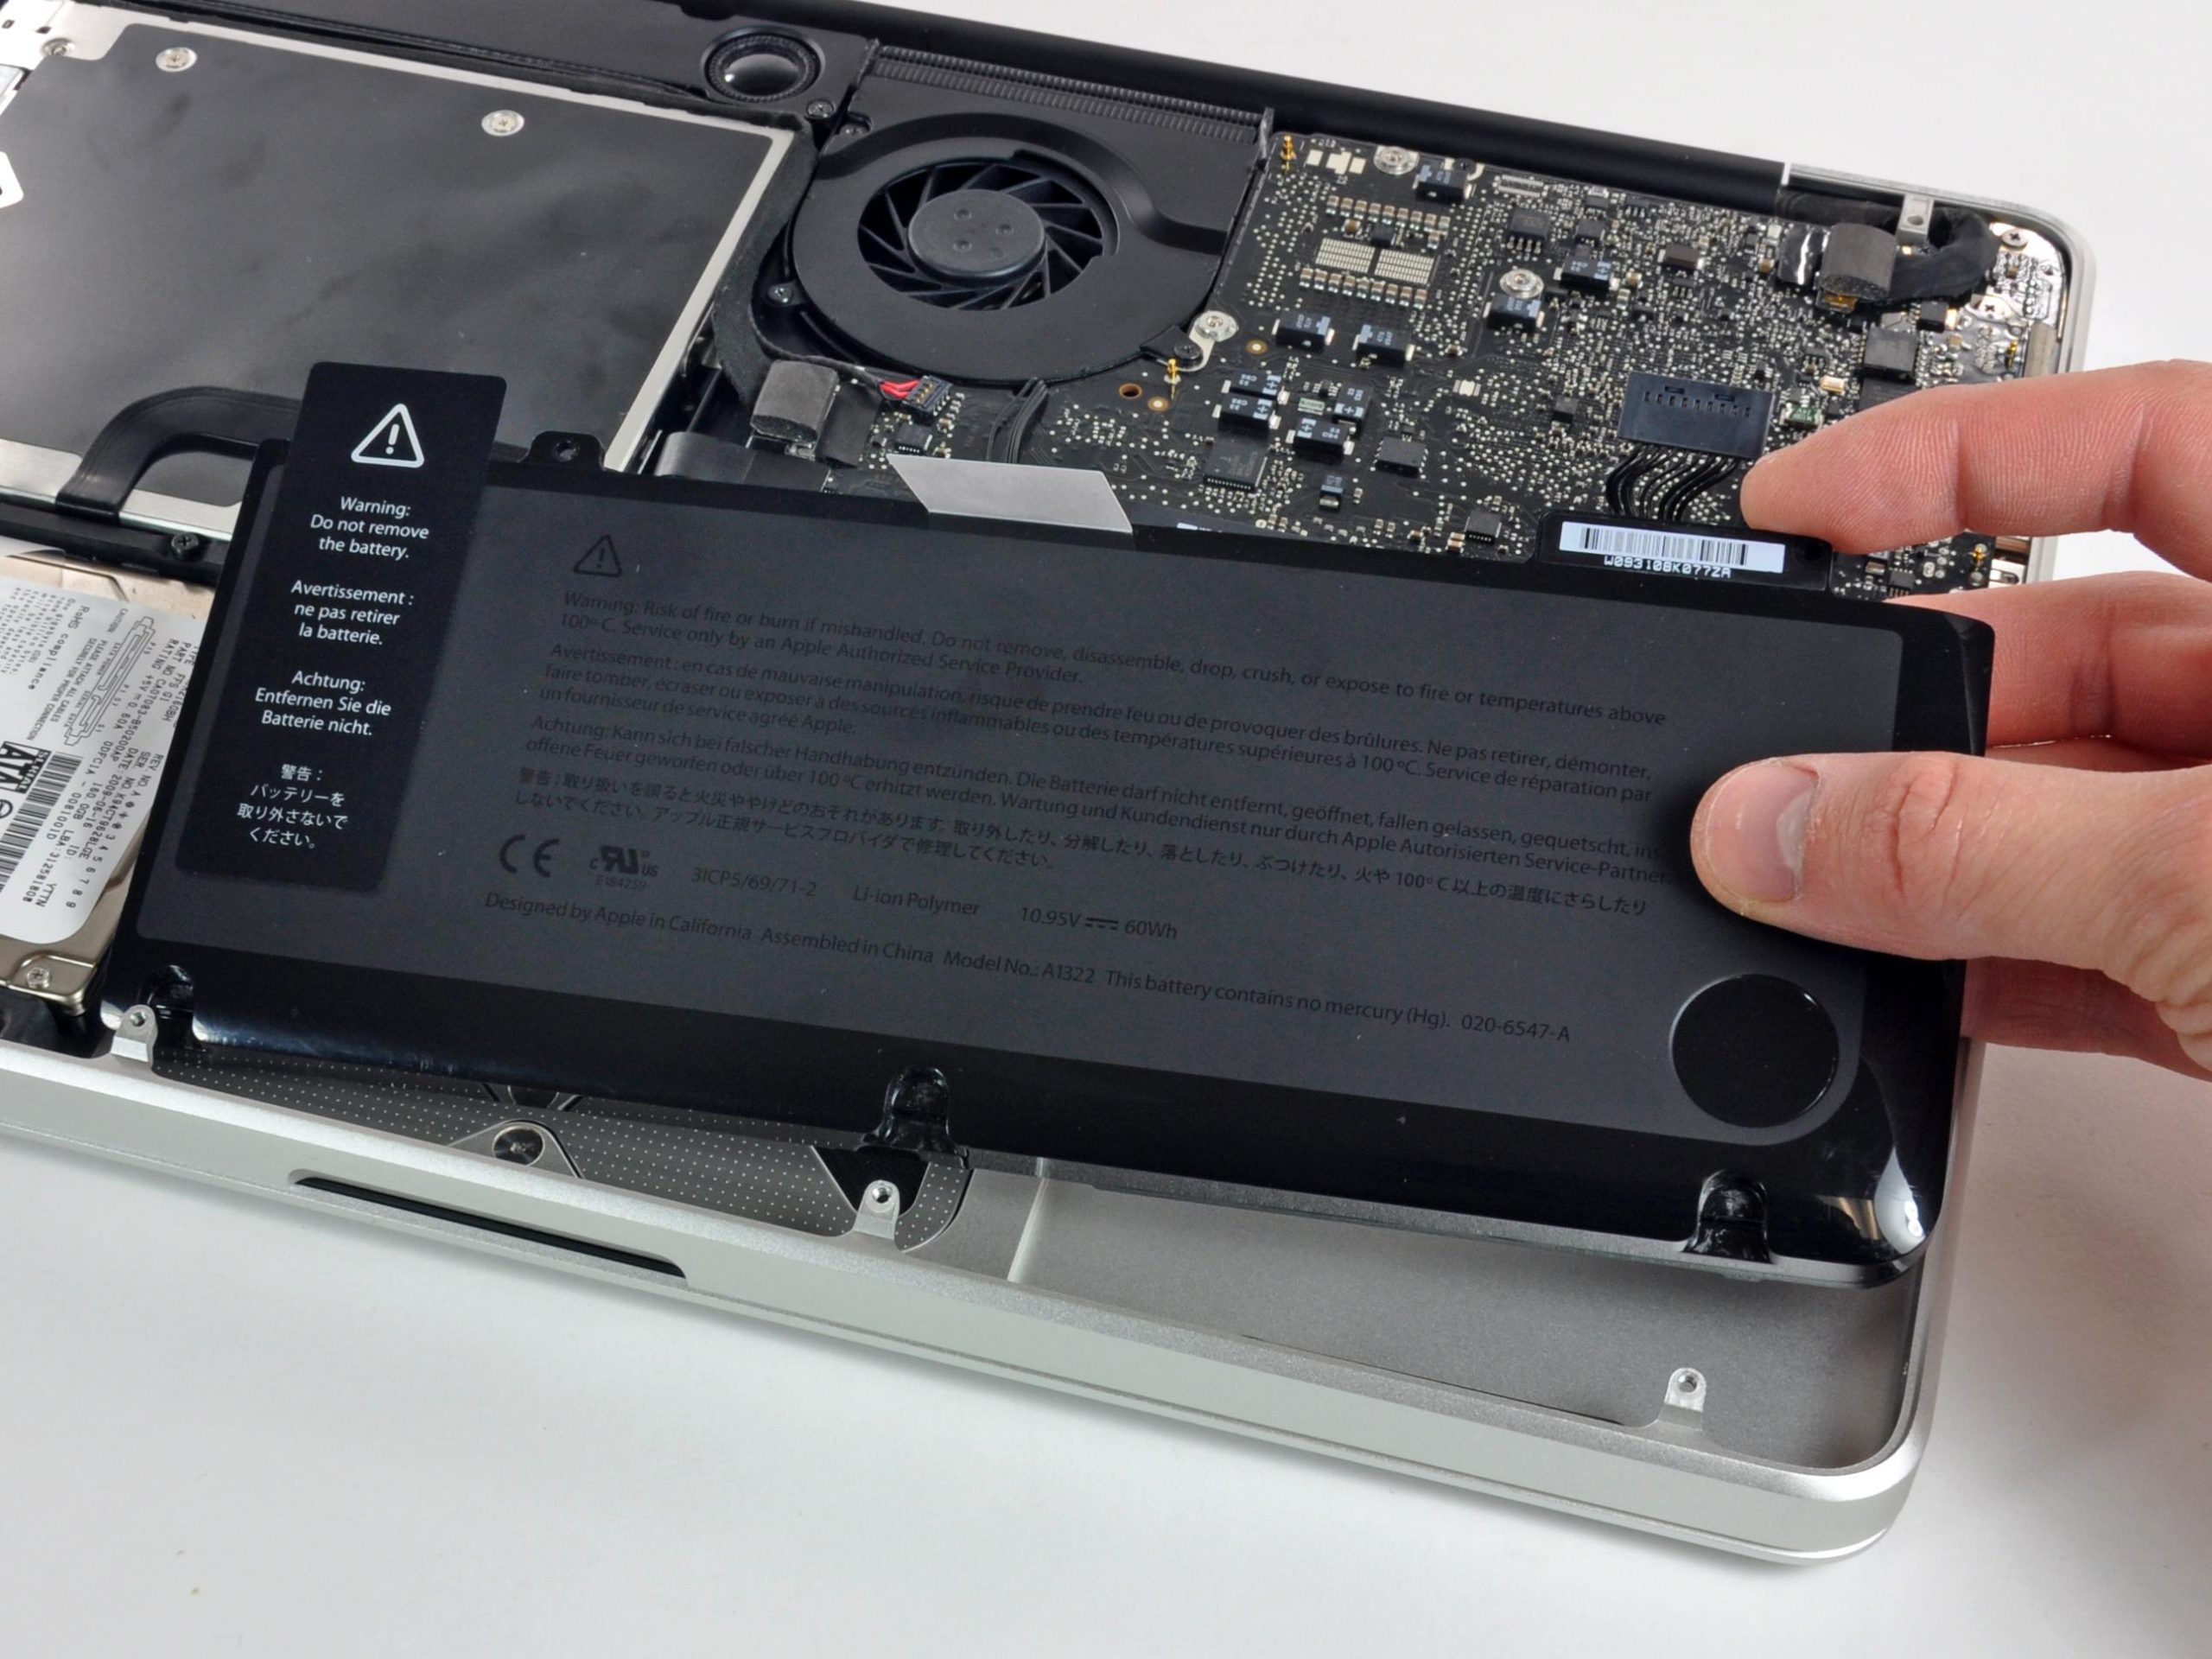
– Gently elevate the lower case a smidge and nudge it toward the back of the computer to release those sneaky mounting tabs.


