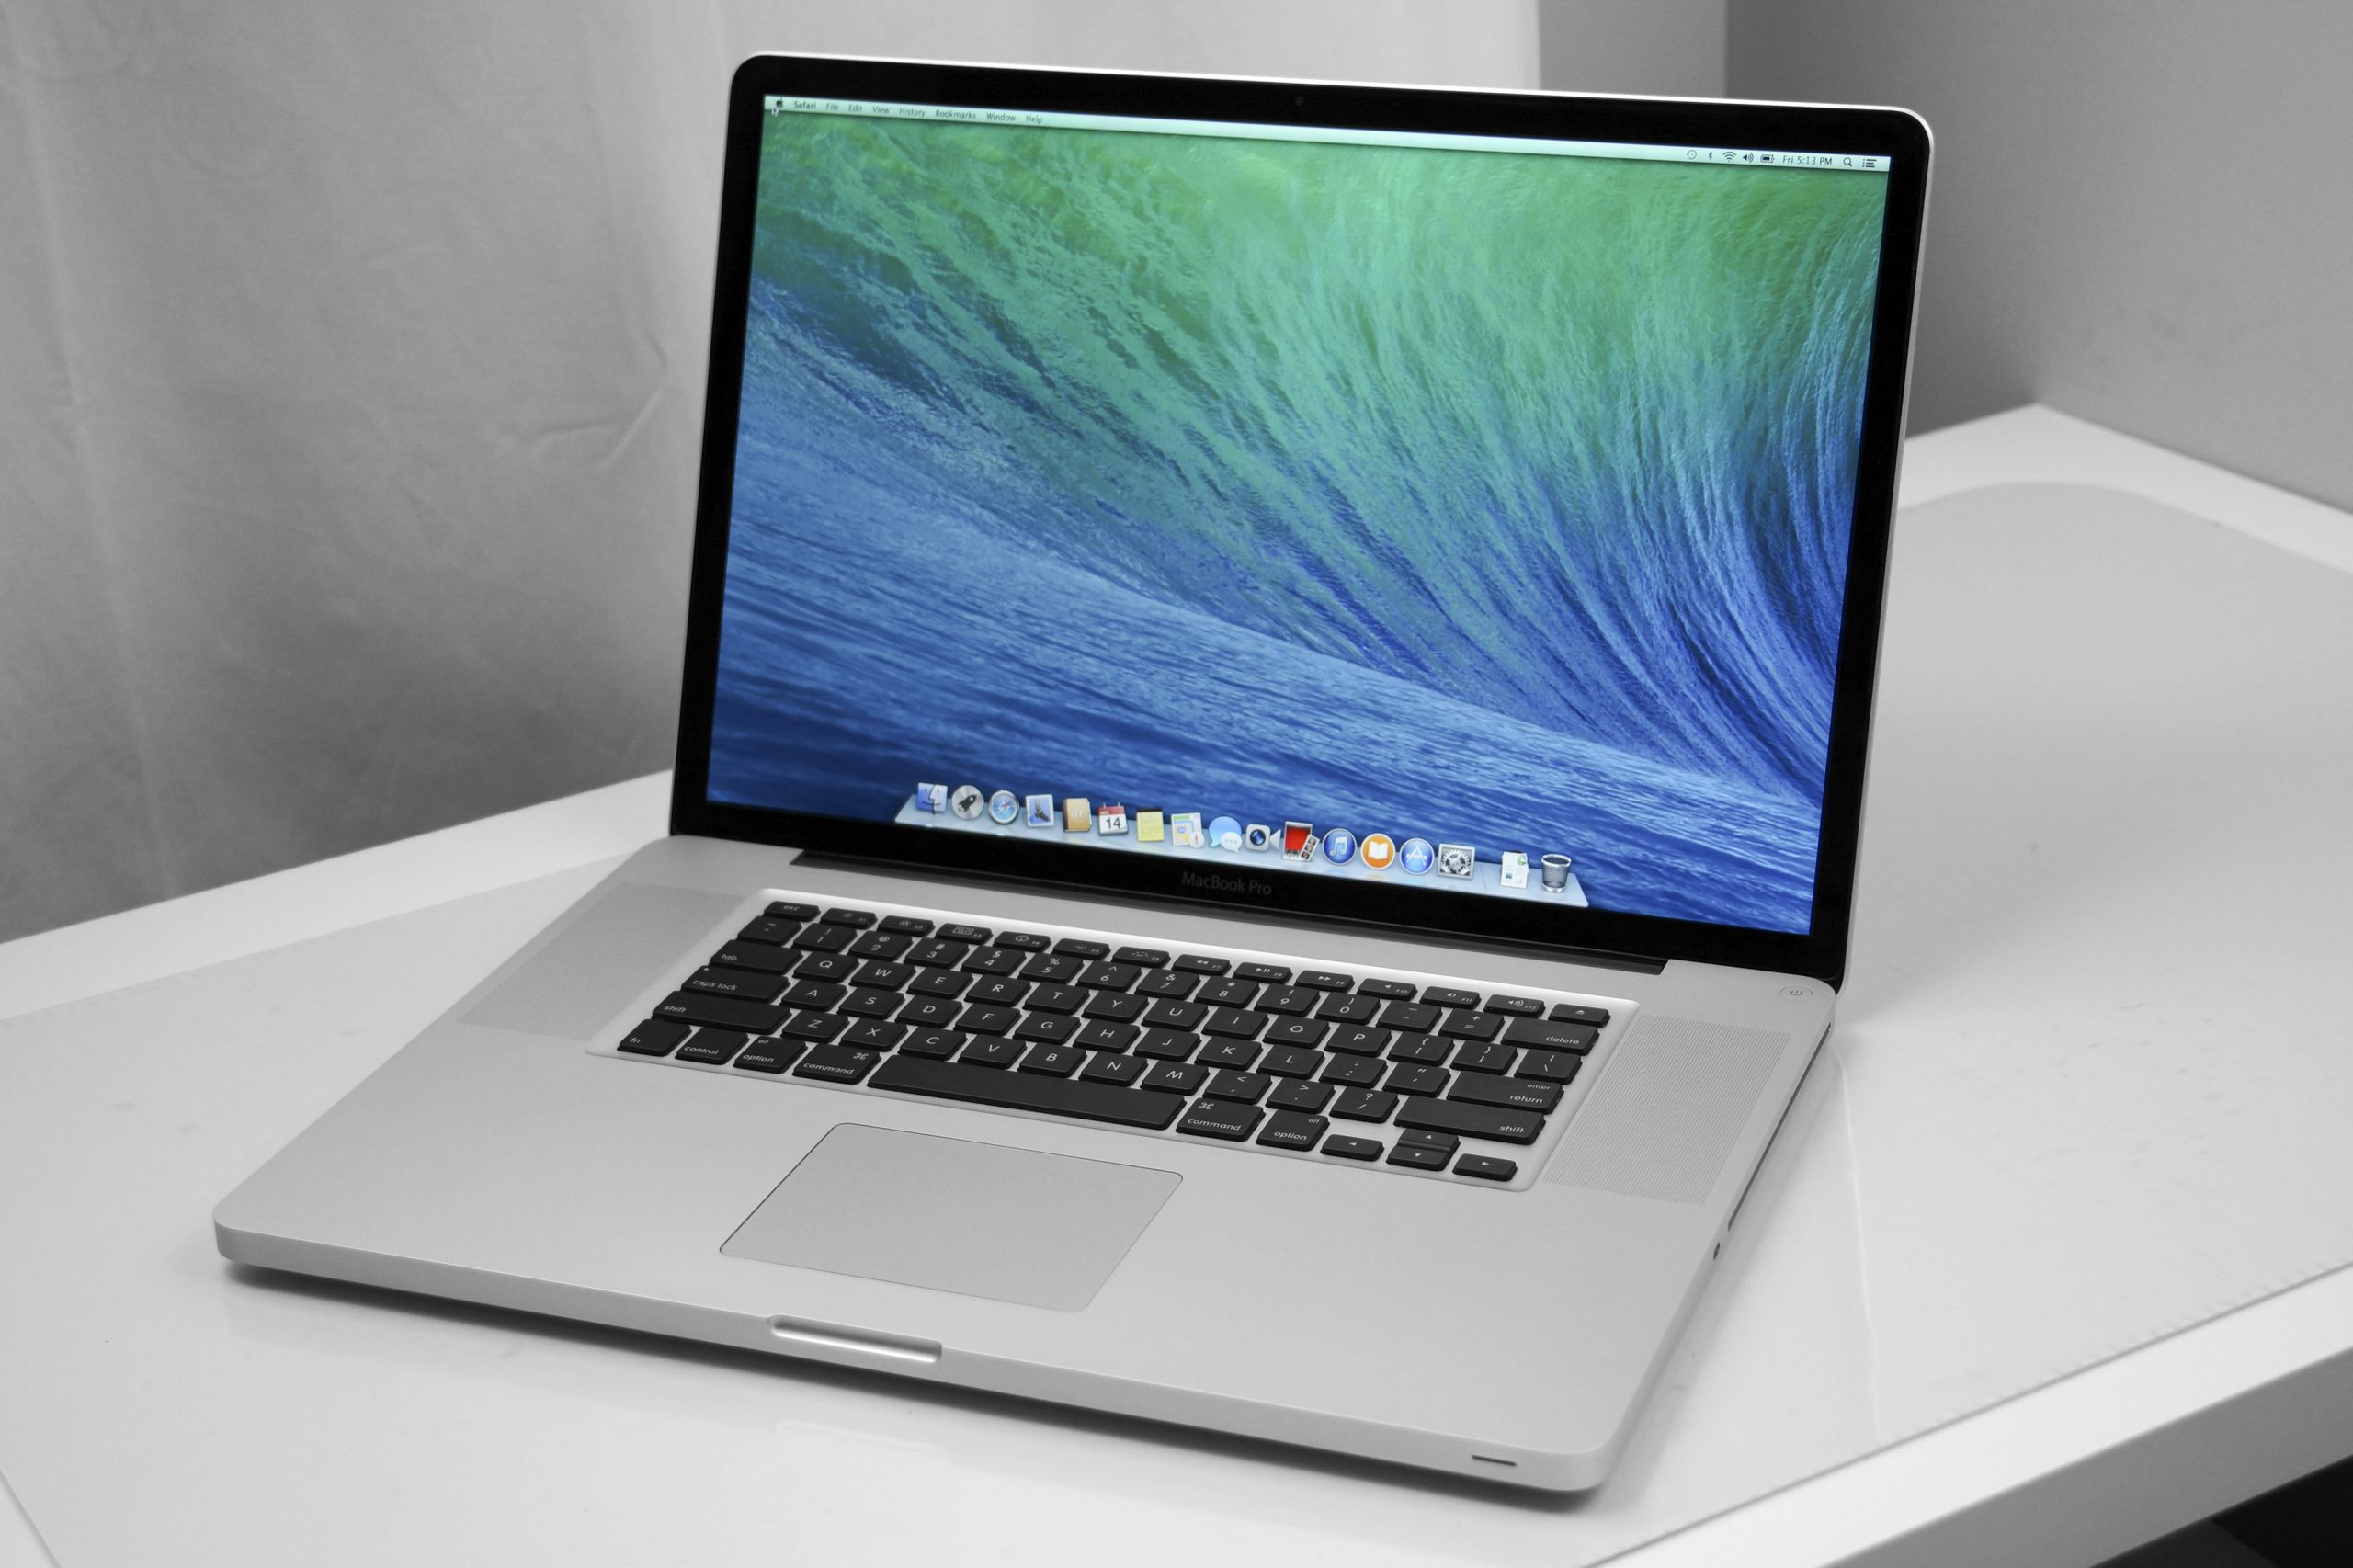
DIY MacBook Pro 15 Bluetooth Board Replacement Guide
Duration: 45 minutes
Steps: 13 Steps
Hey there! Looks like it’s time to work your magic on this step. Let’s dive in and get this repair party started! If you need a hand, feel free to schedule a repair for some extra help. You’ve got this!
Bluetooth not vibing? Swap out that antenna!
Step 2
– Gently remove the three cute 2mm Phillips screws from the memory door.
– Lift the memory door with a smile big enough to grip it and slide it towards you, giving it a fond farewell from the casing.
Step 3
– Go ahead and take out those two 2.8 mm Phillips screws sitting snugly in the battery compartment by the latch. You’ve got this!
Step 4
– Unscrew those 6 screws, my friend!
Step 5
– Unscrew those four 3.2 mm PH00 Phillips screws on the port side of your device to get things rolling!
Step 6
– Give your computer a little twist and turn it 90 degrees! Now, let’s get those two 3.2 mm Phillips screws out from the back. You’ve got this!
Step 7
– Twist the computer around 90 degrees once more and take out the four 3.2 mm Phillips screws from the side of the computer.
Step 8
Gently detach the upper case as it is delicately connected to the logic board with a handy ribbon cable.
– Start by gently lifting the back of the case and working your fingers along the edges, freeing it little by little. Once the sides are loose, you might need to give the case a little wiggle up and down to release the front of the upper case.
– You’ll find four tricky little plastic clips above the DVD slot, and another one just above and to the left of the IR sensor. These clips can be a bit stubborn, so you might need to pry them open. Just a heads up—they can also be a bit of a challenge to snap back in place during reassembly.
– Reassembly Tip: Give a firm push on the top case right above where each clip sits until you hear a satisfying snap as they click back into their homes.
– Reassembly Tip: The two center clips above the DVD slot can be a bit needy and might not click back in without a little extra help. Instead of risking deforming the frame, use a plastic spudger and gently slide it into the DVD slot right under the clip until it’s snug, then press down until you hear that lovely snap.
Tools Used
Step 9
Heads up! You can swap out the hard drive without taking the keyboard off its perch, but you’ll need to keep it vertical to avoid a juggling act while you work on popping that drive out.
When you’re easing out the keyboard-trackpad ribbon cable, take extra care. Make sure the back of the upper case is free from the hinge area. It’s a breeze to accidentally twist those screw receivers around the keyboard—let’s keep them straight!
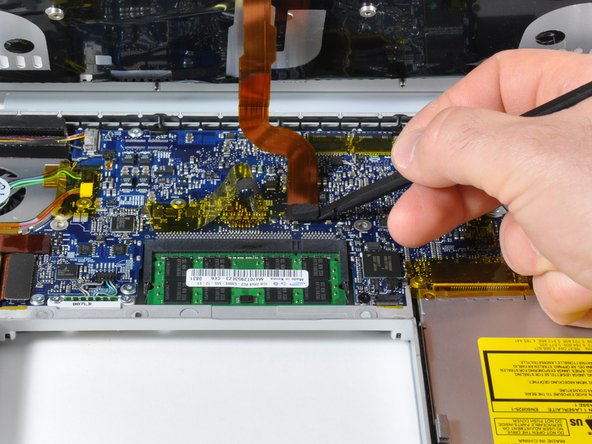
– Unplug the trackpad and keyboard ribbon cables from the logic board, taking off any tape if you need to.
– Take off the upper case.
Step 10
The Bluetooth board is sneakily hiding under the upper case. Let’s uncover its secret spot!
– Unplug the Bluetooth antenna cable from the Bluetooth board. You’re doing great!
Step 11
– Unscrew the lone Phillips that’s keeping the Bluetooth board cozy with the upper case.
Step 12
– Gently lift the Bluetooth data cable off the adhesive on the upper case, and don’t hesitate to remove any tape that might be in the way. You’ve got this!
Step 13
– Unplug the Bluetooth data cable from the upper case.
– Gently lift the Bluetooth board along with its cable off the upper case.


