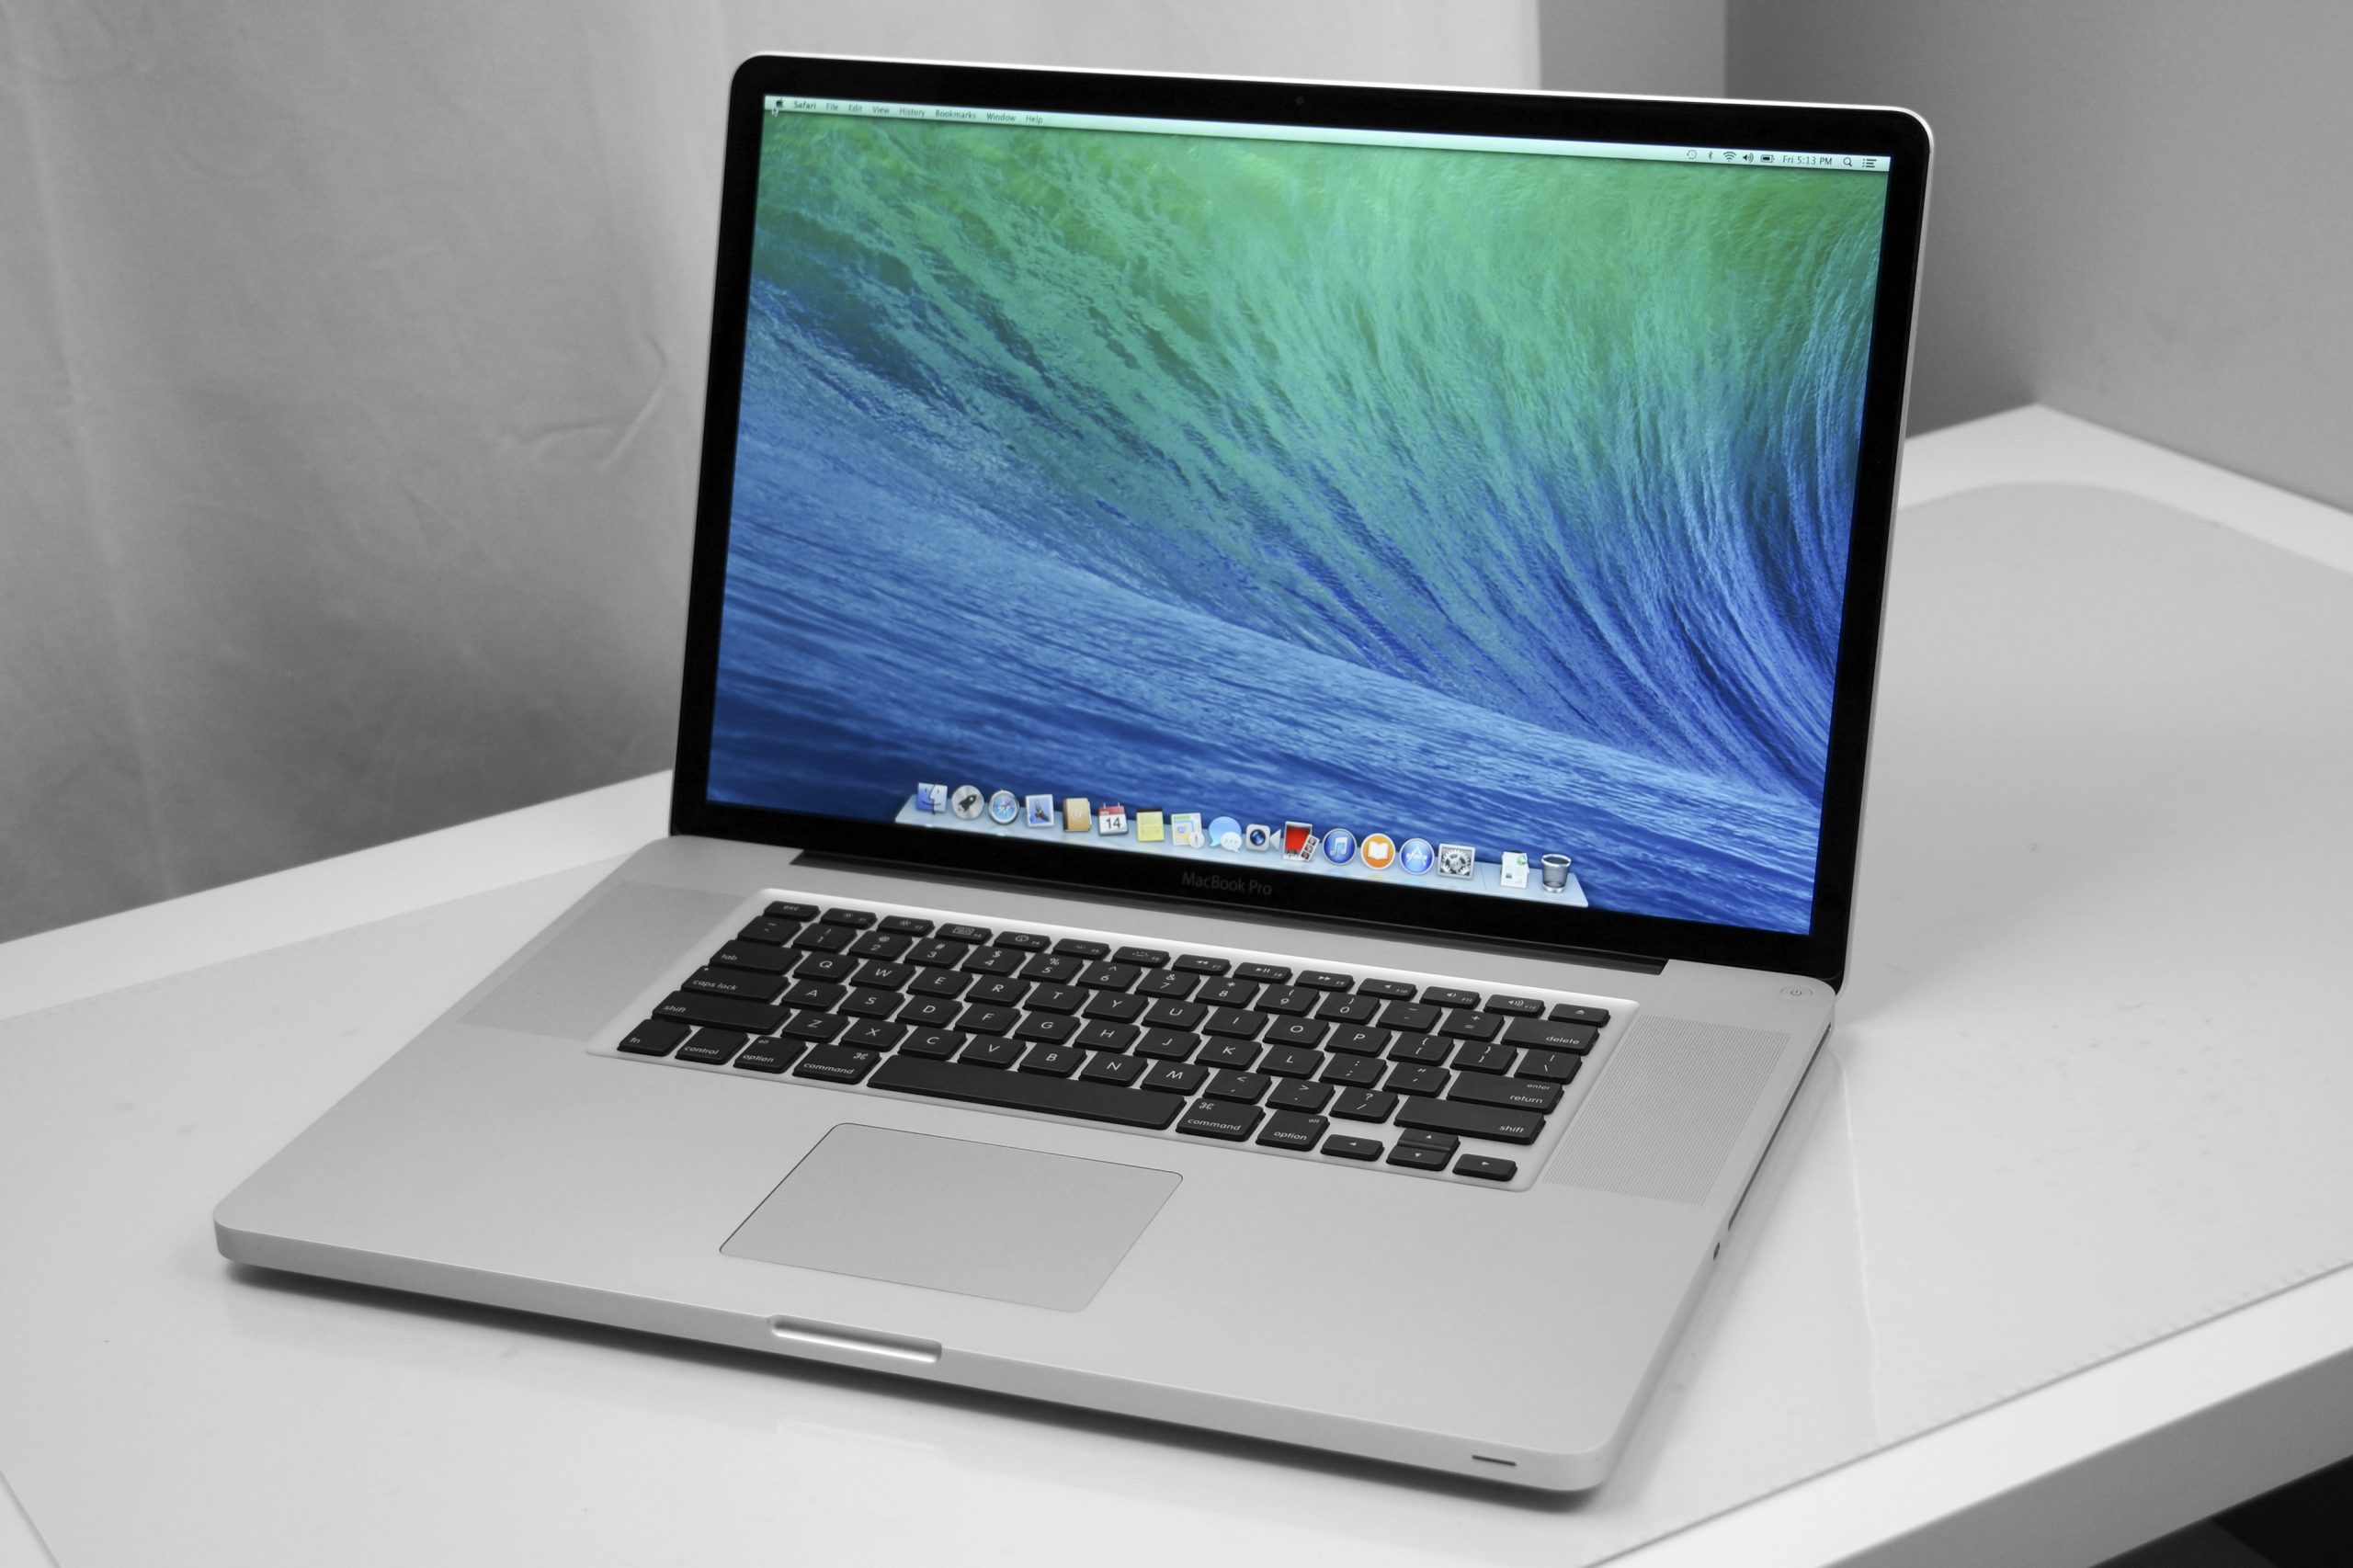
DIY Tutorial: MacBook Pro 15 Right Fan Replacement Guide
Duration: 45 minutes
Steps: 13 Steps
Heads up, tech adventurer! Make sure to have your tools ready and your workspace clear. Let’s keep it neat and safe as we dive into the repair. And remember, if you hit a snag, help is just a click away at schedule a repair.
Swapping out a funky fan is a breeze and will keep your laptop feeling chill.
Step 2
– Whip out your Phillips screwdriver and unscrew those three funky identical screws from the memory door. Let’s get this party started!
Step 3
– Gently lift the memory door just enough to get a good grip on it, then slide it toward yourself and pull it away from the casing like you’re opening a treasure chest.
Step 4
– Whip out your screwdriver and unscrew those two cheeky 2.8 mm Phillips screws chilling in the battery compartment near the latch!
Step 5
– Unscrew the following 6 screws:
Step 6
– Unscrew the quartet of 3.2 mm Phillips screws chilling on the port side of your tech buddy.
Step 7
– Give your computer a little twirl, spinning it 90 degrees, and then whisk away the two 3.2 mm Phillips screws from the back. It’s like a mini dance move with your screwdriver!
Step 8
– Give that computer a cool 90-degree spin and zip out those four 3.2 mm Phillips screws from the side. Keep it groovy!
Step 9
Whoa there, slow down, champ! Gently lift the upper case, but watch out—it’s still tethered to the logic board by a sneaky ribbon cable!
– Start by lifting the rear end of the case, then wiggle your fingers along the sides to loosen it. Keep going until the sides are free. You might need to give the case a little shimmy up and down to disengage the front part—there are some sneaky plastic clips hiding there that need to pop off.
Step 10
– Unplug the trackpad and keyboard ribbon cables from the logic board. Peel off any tape you encounter with a flourish!
– Wiggle that upper case off like a pro!
Step 11
– Pop off the right fan cable from the logic board with a spudger. Just slide it under the cable and give it a gentle lift. Easy peasy!
Tools Used
Step 12
– Unscrew the trio of shiny T6 Torx screws that are keeping the right fan snug against the logic board and lower case. It’s like setting the fan free!


