How to Replace Smart Soldering Iron Tip – DIY Guide
Duration: 45 minutes
Steps: 8 Steps
Hey there! Just a friendly reminder: make sure you’re working in a nice, tidy space with all your tools at the ready. If you find yourself scratching your head or need a little extra support, remember, you can always schedule a repair. You’ve got this!
Get ready to swap out the Quick-Swap Soldering Tip in your FixHub Smart Soldering Iron! It’s easier than you think. Check out our store for a variety of soldering iron tips to keep your projects sizzling. And remember, if you need help, you can always schedule a repair!
Step 1


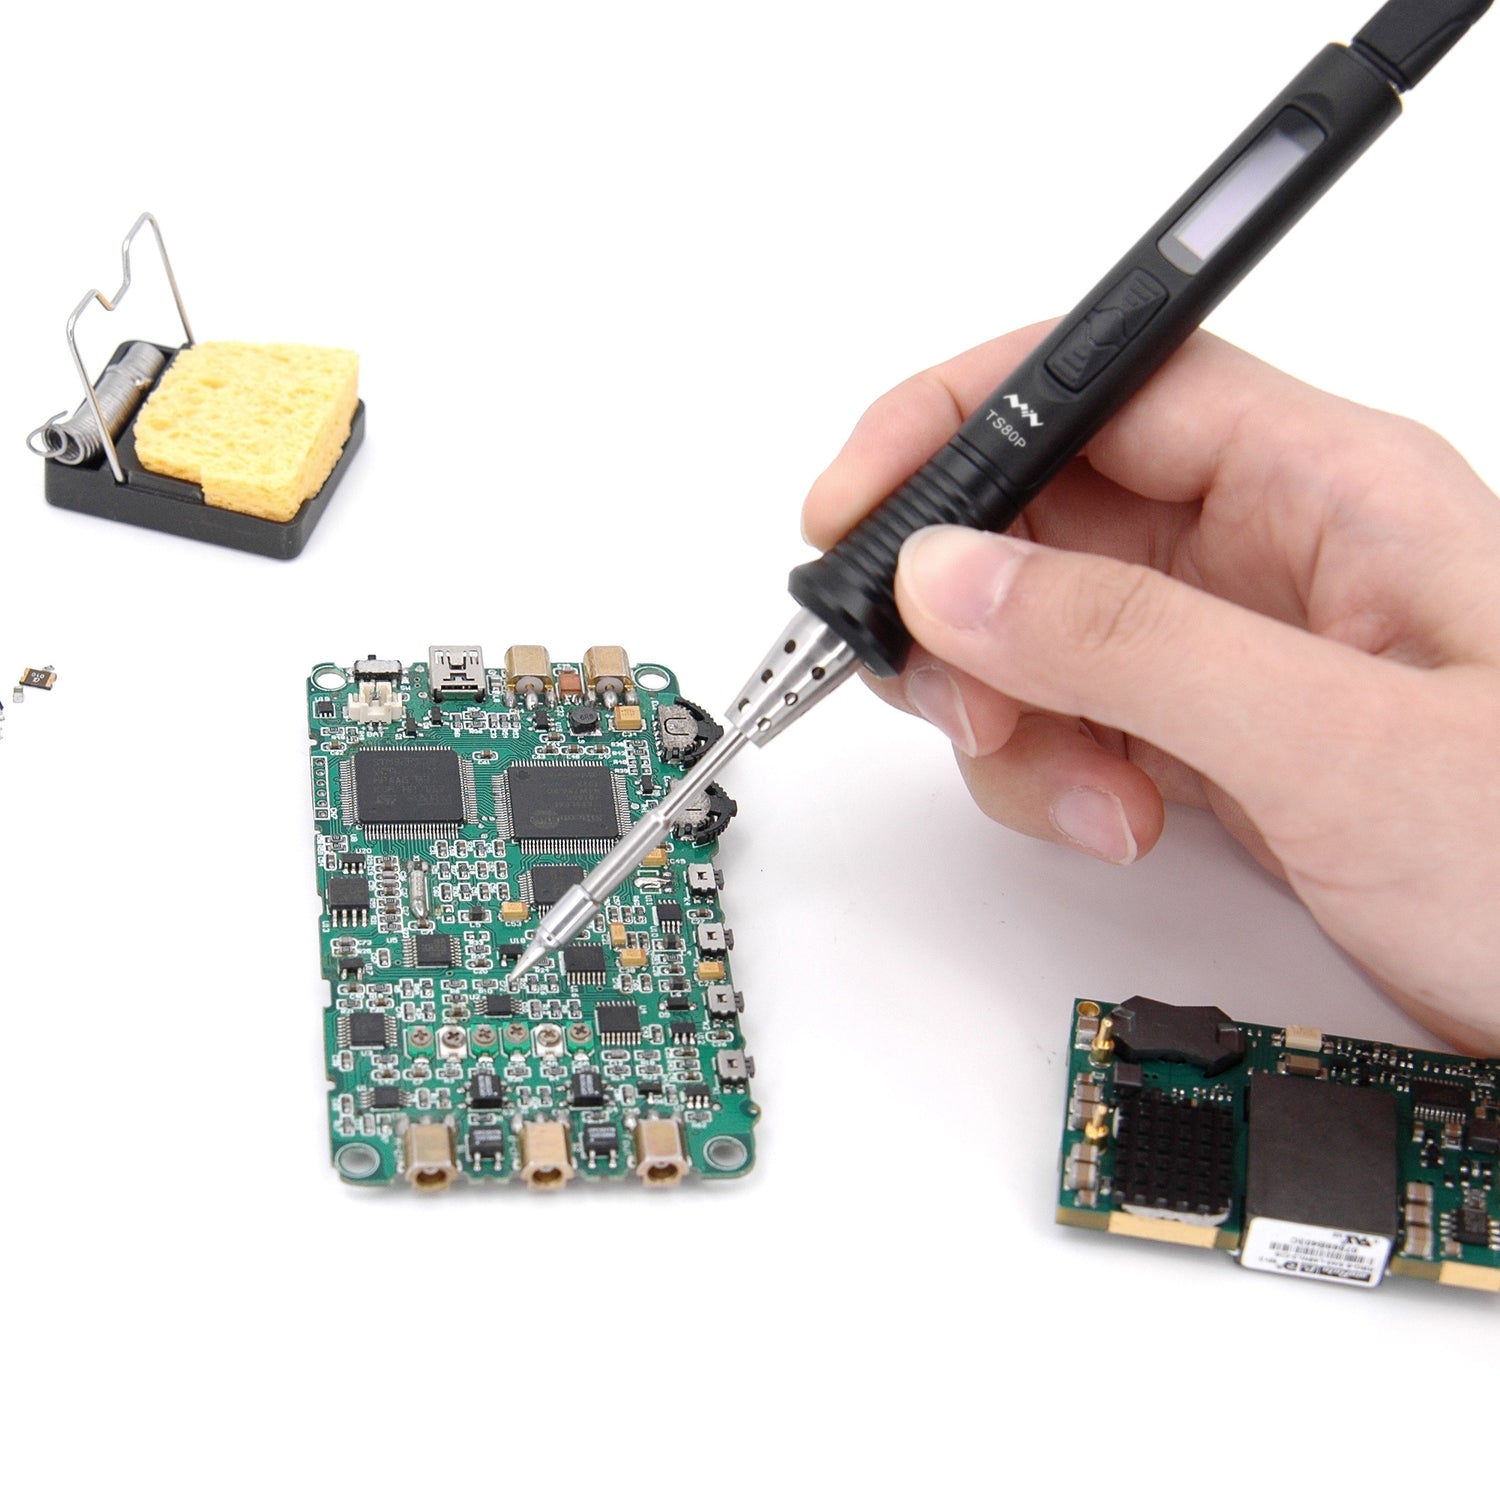
The color of the Touch-Safe Indicator LED lets you know how your soldering iron tip is doing. And just a heads up: the soldering iron grip is always safe to handle, so no worries there!
– Blue LED: Your iron has cooled down to a comfy below 40 °C (100 °F), making it safe to give it a little touch!
– Purple LED: If it’s flashing, your iron is in the heating or cooling dance. When it’s steady, it’s taking a break in Idle Mode. Just a heads up, the iron tip is not safe to touch during this time.
– Orange LED: The iron has hit the sweet spot temperature and is all set for some soldering action. Remember, the iron tip is still not safe to touch.
Step 2
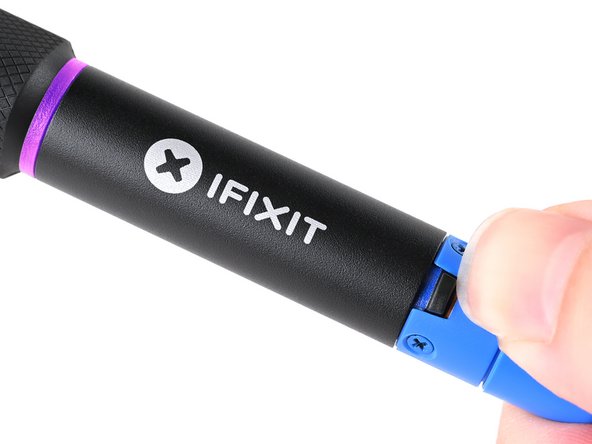


Check out the sliding power switch! It features a nifty color indicator for each setting:
When the LED glows purple and starts to pulse, that’s your cue that the iron is winding down. Pretty cool, right?
– Gently slide the power switch to the blue OFF position. You’ve got this!
– Keep that soldering iron plugged in until the indicator ring lights up blue, which means it’s totally safe to handle the tip. Safety first, my friend!
Step 3
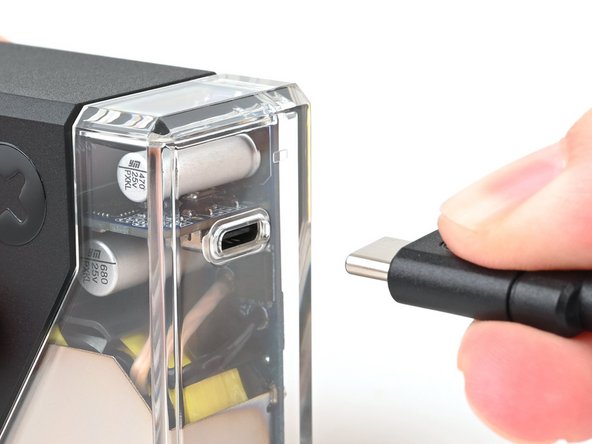

– Unplug the iron’s USB-C cable from its power source, and let’s get this show on the road!
Step 4


– Give that blue cable collar a gentle twist to the left, and then pull it up to set it free from the iron. You’ve got this!
Step 5

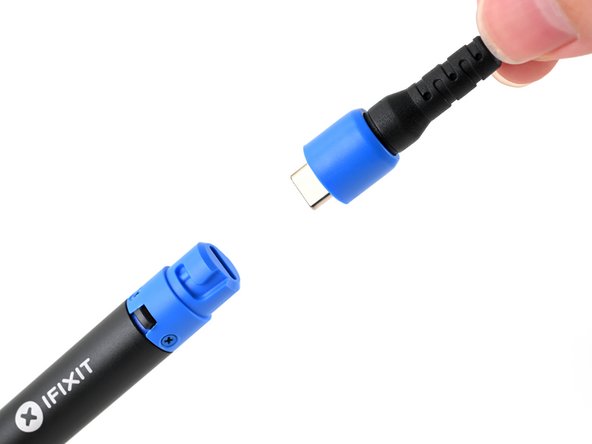
– Unplug the USB-C cable from the Smart Soldering Iron and give it a little wave goodbye!
Step 6

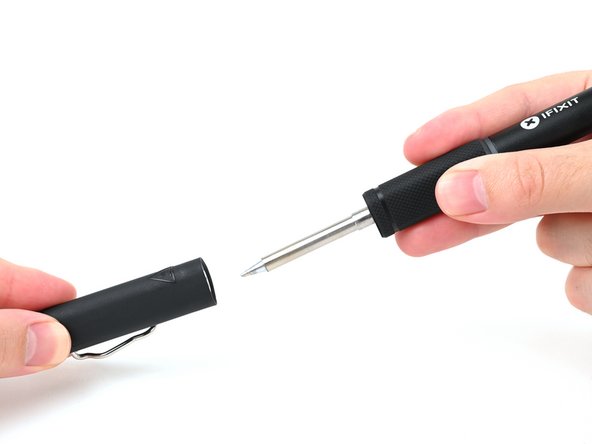
– Grip the iron by both ends and give a gentle pull to pop off the cap.
Step 7
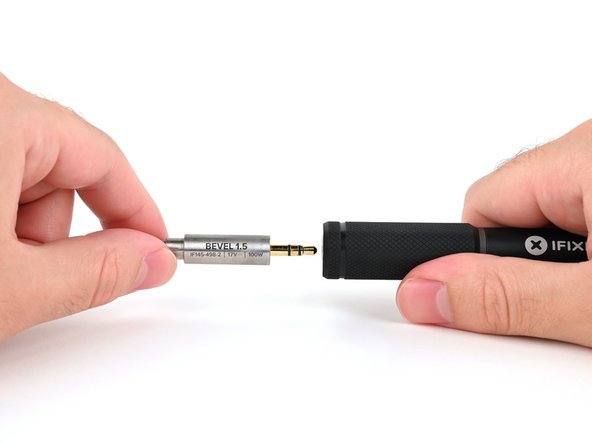

Let that tip chill for a bit before you go touching it!
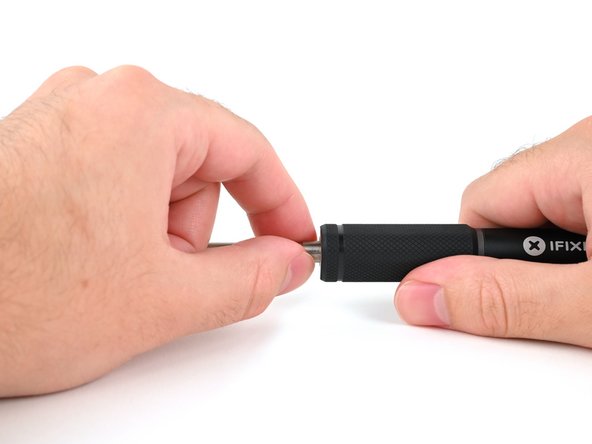
– Grab the base of the tip with a firm grip and gently pull it away from the front of the iron handle to take it off.
Step 8

– Before you pop that new tip in, give it a little spin to find the perfect angle you want it to sit at in relation to the handle. This is especially handy for those quirky asymmetrical tips like a bevel or knife.
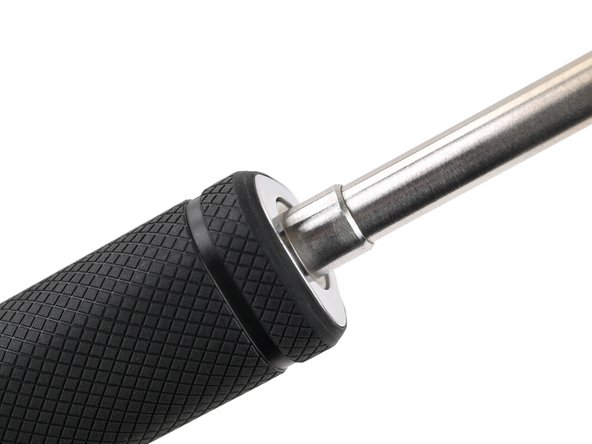
– Now, just push that tip into the iron enclosure in the handle until you hear a satisfying click. You’re all set!