How to Replace the Grip on Power Tool Soldering Iron
Duration: 45 minutes
Steps: 12 Steps
Heads up! Before you dive in, make sure you’re in a well-lit spot and have all your tools at the ready. If things get tricky, no worries! Just remember, you can always schedule a repair for some extra help!
Get ready to jazz up your FixHub Smart Soldering Iron by swapping out that grip! It’s easier than you think, and we’re here to guide you through every step. If you need help, you can always schedule a repair.
Step 1


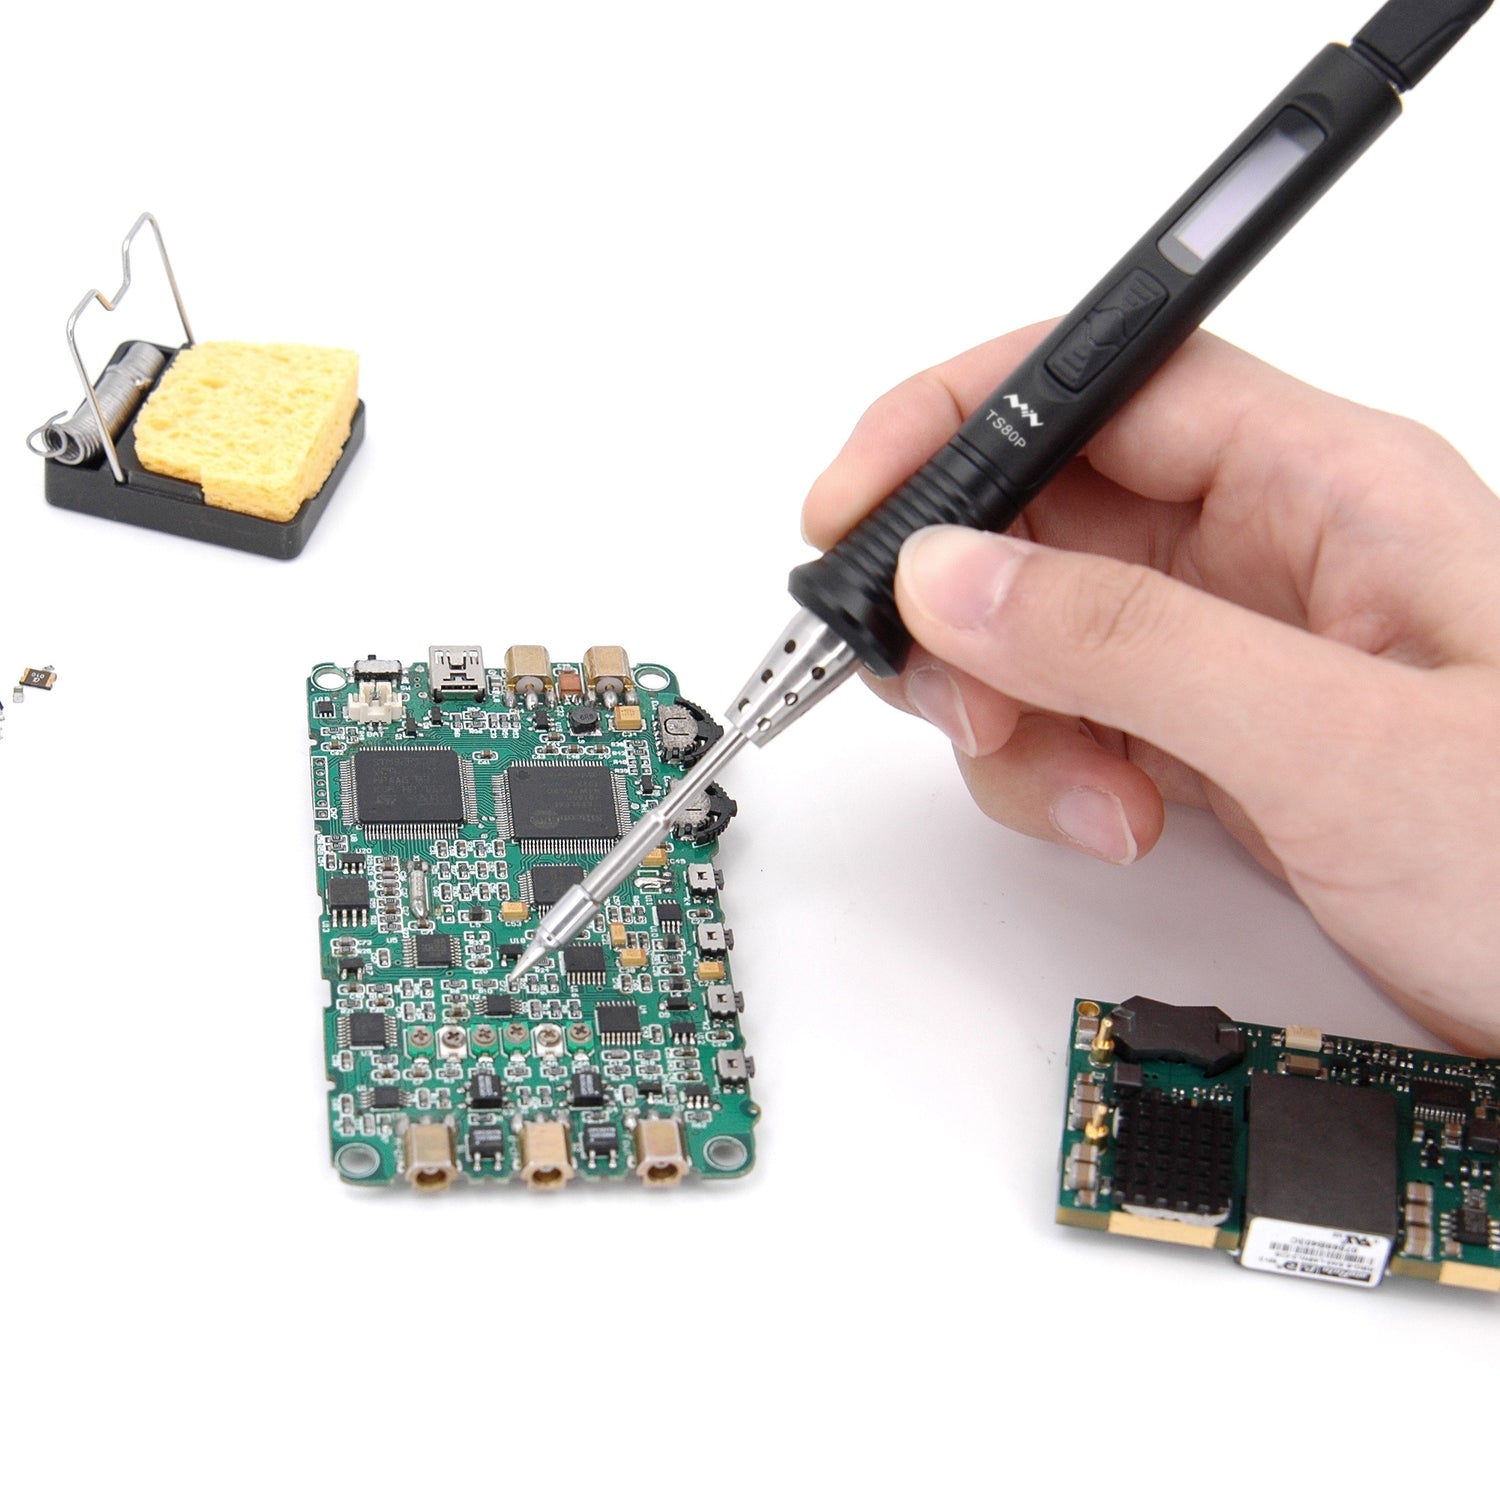
The Touch-Safe Indicator LED color tells you how your soldering iron tip is doing. Just a heads up: the grip of the soldering iron is totally cool to touch anytime!
– Blue LED: Your iron is cool as a cucumber at below 40 °C (100 °F), making the tip totally safe to handle.
– Purple LED: If it’s pulsing, your iron is in the zone, either heating up or cooling down. If it’s steady, it’s chilling in Idle Mode. Just a heads up, the tip is not safe to touch during this time.
– Orange LED: Your iron has hit the sweet spot with the set temperature and is all set for some serious soldering action. But remember, the tip is still too hot to handle!
Step 2
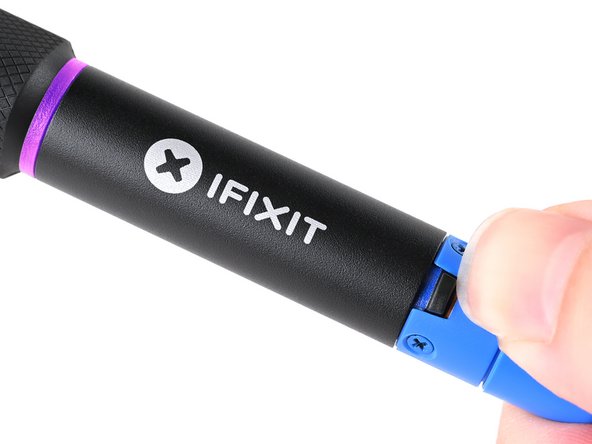


The sliding power switch comes with a handy color indicator for each position:
When it’s time to power down, the LED will glow a soothing purple and pulse gently, letting you know the iron is getting ready to chill out.
– Give that power switch a gentle slide to the chill blue OFF position.
– Keep your soldering iron plugged in until the indicator ring lights up in blue – that’s your cue that it’s safe to give the tip a little touch!
Step 3
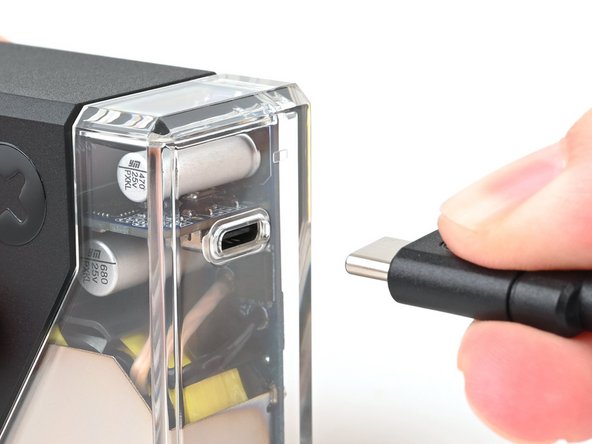

– Unplug the iron’s USB-C cable from its power source.
Step 4


– Give that blue cable collar a little twist to the left and gently pull it up to set it free from the iron. You’ve got this!
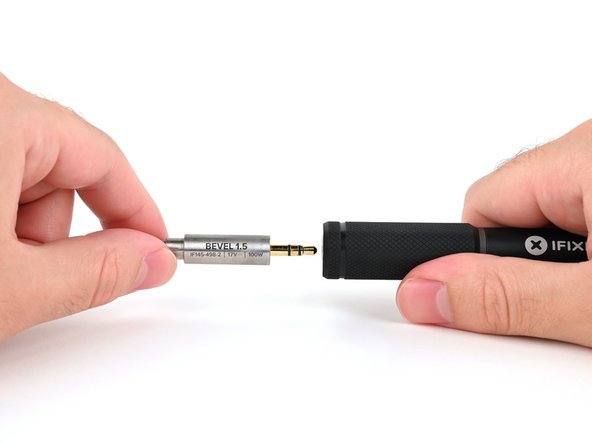
Step 5

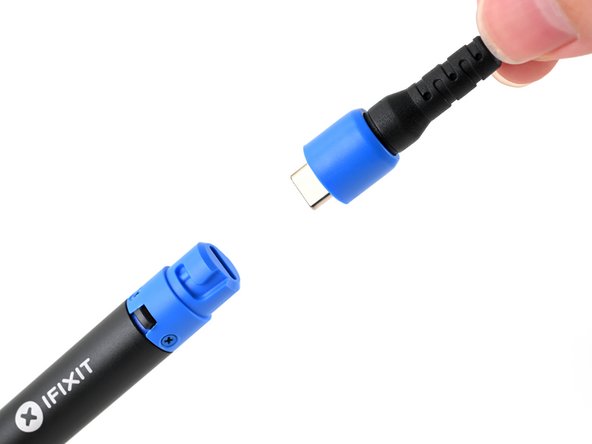
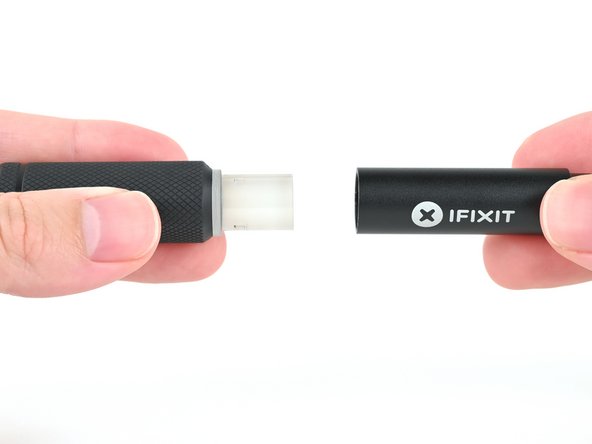
– Unplug the USB-C cable from your Smart Soldering Iron and give yourself a pat on the back for being awesome!
Step 6

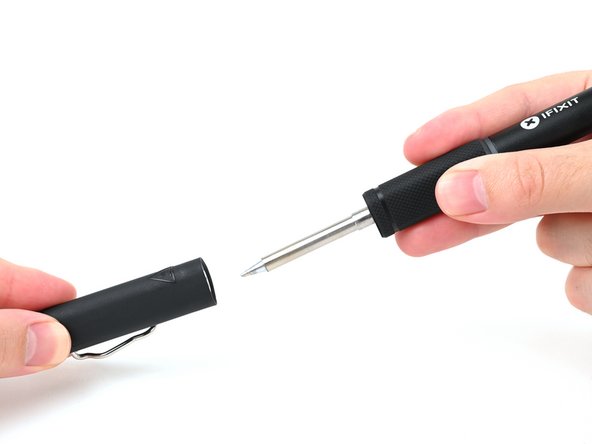
– Grab the iron by both ends and give a gentle tug to pop off the cap.
Step 7

Be sure to let that tip chill out completely before giving it a touch!
– Grip the base of the tip securely and give it a gentle tug away from the front of the iron handle to pop it off.
Step 8

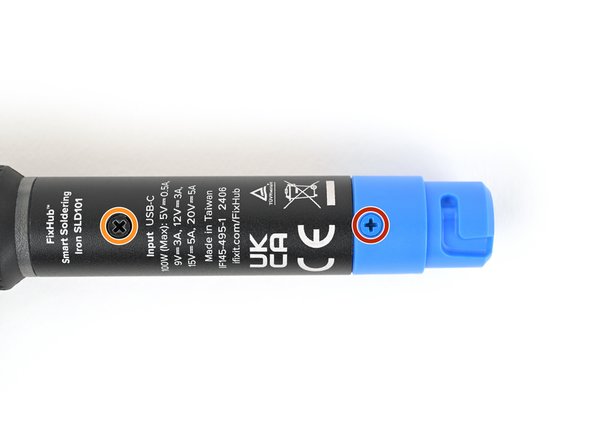
– Grab your trusty Phillips screwdriver and take out those three shiny blue screws, each measuring 3.4 mm long, that are keeping the blue end cap in place. You got this!
– Next, turn that Phillips screwdriver towards the base of the enclosure and remove the one lone black screw, also 3.4 mm long. You’re making great progress!
Step 9
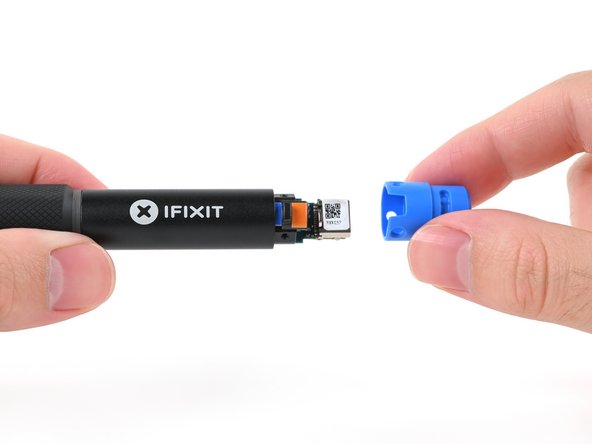

– Give a gentle tug to detach the blue end cap from the iron handle. You’ve got this!
Step 10

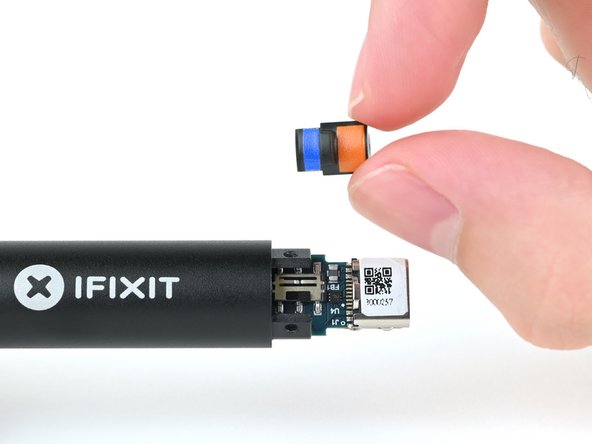
– Say goodbye to the blue and orange power switch and gently pop them off!
Step 11
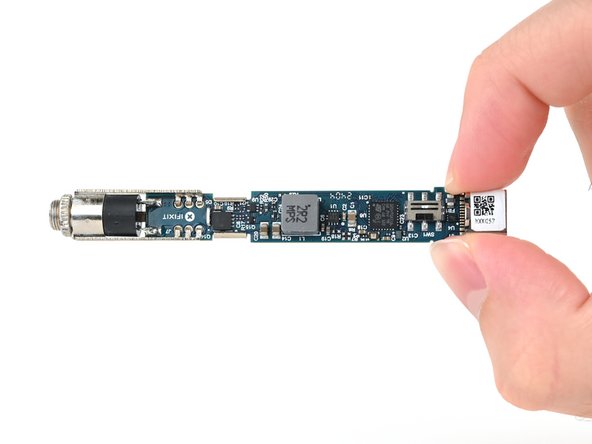

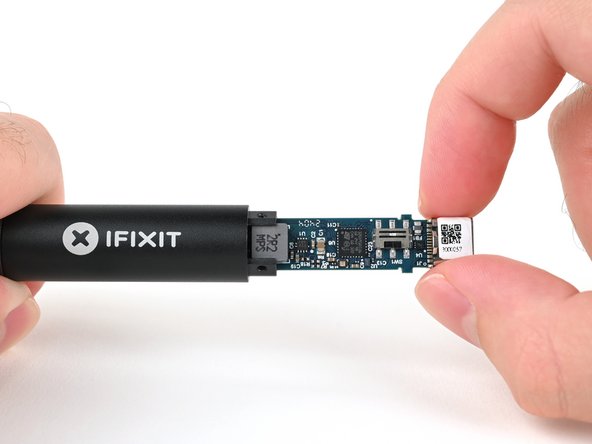
– Grab hold of the end of the main board peeking out from the handle of your soldering iron.
– Gently pull to slide that main board out, like you’re giving it a little nudge.
– When it’s time to put everything back together, remember to slide the main board in with the shiny iron auxiliary port end going in first. You’re doing great!
Step 12

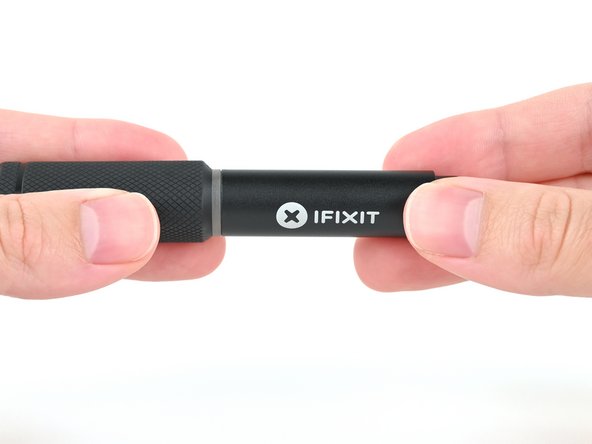
– Give that iron enclosure a little twist below the grip and gently pull it apart to free the grip from the enclosure. Now you’re left with just the grip!