DIY Portable Soldering Iron Quick Start Guide
Duration: 45 minutes
Steps: 23 Steps
Let’s take a peek at the power station components, shall we?
Get to know your soldering iron – it’s a real game changer!
Time to juice up that power station!
Ready, set, power on the station!
Safety first! Here are some best practices for your soldering adventures.
Need a tip change? We’ve got you covered on how to swap those soldering iron tips.
Plug in that USB-C cable like a pro!
Now, let’s connect that soldering iron to the power station – it’s a match made in heaven!
Want to make your soldering iron stand out? Here’s how to use the cap as a nifty stand!
Keep an eye on the Touch-Safe Indicator LED – it’s your buddy for safety.
Heads up! Here’s the scoop on free fall detection.
Understanding Active, Idle, and Sleep modes – it’s easier than it sounds!
Curious about the Ready Screen? Let’s break it down.
Setting the temperature scale is a breeze – let’s get started!
Time to dial in the perfect temperature!
Ready to rock? Here’s how to power up and start using that iron!
Welcome to your go-to guide for getting to know the FixHub Portable Soldering Station! We’ll take a quick tour of its parts, features, and how to operate it like a pro. From the power station and soldering iron components to turning everything on, we’ve got you covered. Learn the ins and outs of soldering iron safety, swapping out tips, and connecting the USB-C cable. We’ll even show you how to use the cap as a handy stand and decode the Touch-Safe Indicator LED. Plus, get the scoop on free fall detection, Active, Idle, and Sleep modes, and how to read the Ready Screen. Ready to set your temperature scale and get that iron fired up? Let’s dive in and start soldering like a champ! If you need help, you can always schedule a repair.
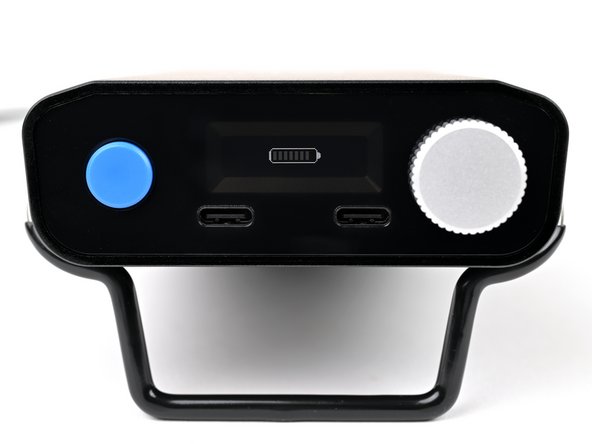
Step 1


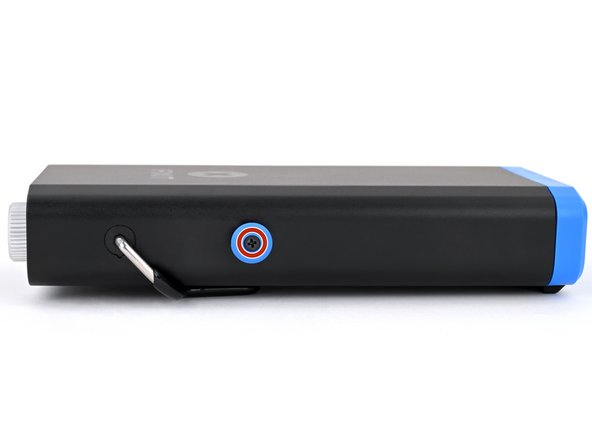
– Get to know the parts, buttons, knobs, and ports of your Portable Power Station like they’re your new best friends!
Step 2

For a closer look at the various parts of the soldering iron, check out this awesome exploded diagram.
– Here’s a fun rundown of all the components that come together to create the Smart Soldering Iron:
Step 3

– Plug in a USB-C power cable to a USB-C charger. For the best results, we suggest using one that’s at least 45W.
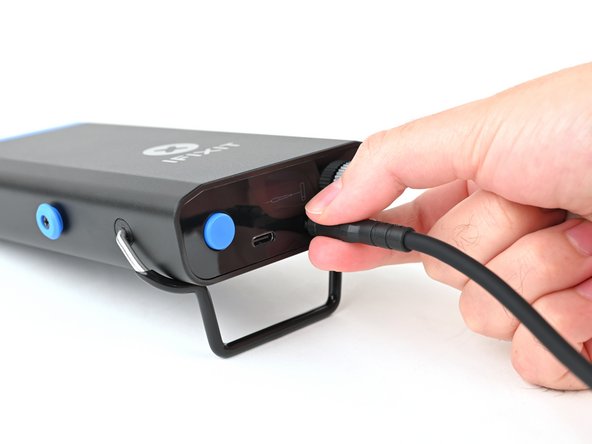
Step 4

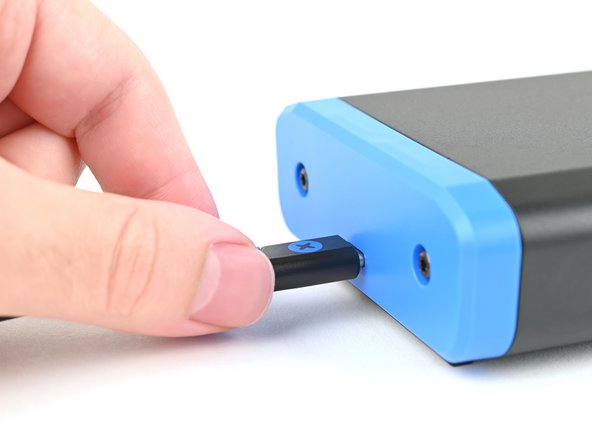
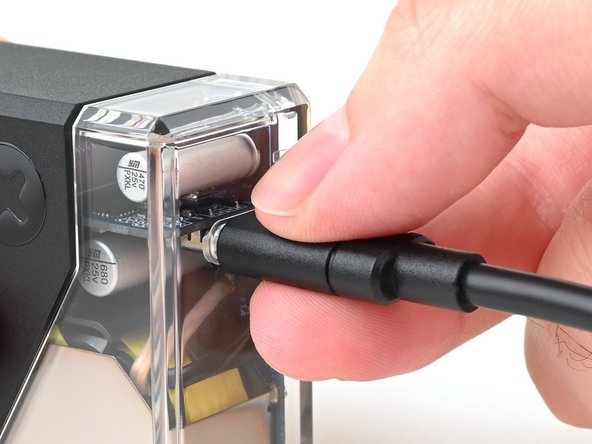
– Plug the other end of your cable into the back USB-C port on the power station (that’s the side without the screen, just so you know!).
– Watch as a fun charging animation lights up the display, letting you know things are happening!
– Keep that USB-C charger connected until the battery indicator is showing full power. You’re almost there!
Step 5
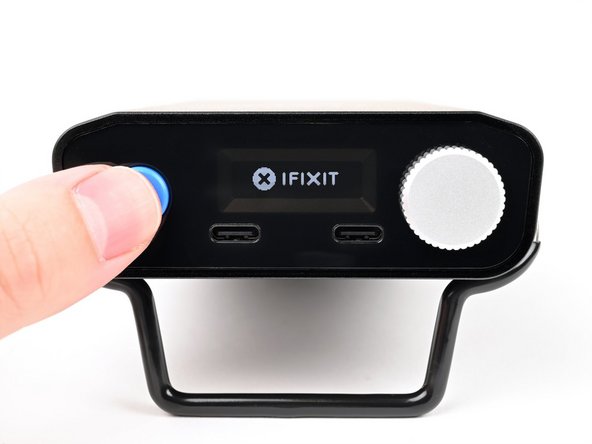

– Give that blue action button a solid press and hold for three seconds to fire up the power station!
Step 6

Keep your fingers off the metal tip of the soldering iron, especially when that Touch-Safe Indicator LED is glowing orange or purple. It’s a hot one, and we don’t want any singed fingers around here! Always treat that tip like it’s fresh out of the oven.
Never turn your back on the soldering iron when it’s in the orange ON position. It might look like it’s just chilling, but it’s ready to heat things up!
– For your safety, keep the cap on your iron when it’s taking a break. The cap is heat-resistant and can snugly cover your iron, even if it’s still warm. Stay safe while you repair!
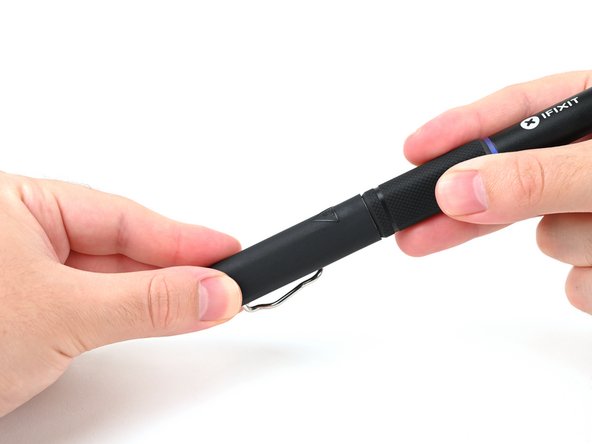
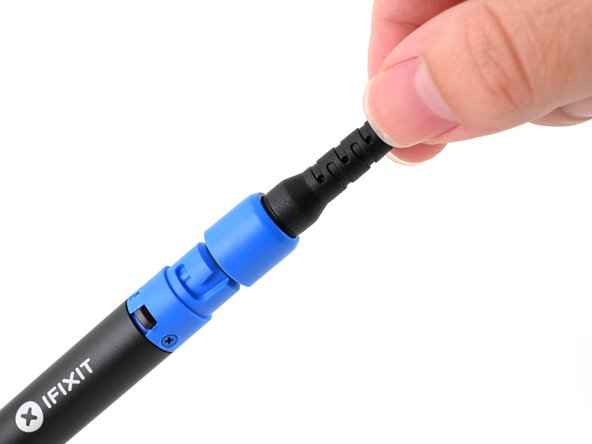
Step 7

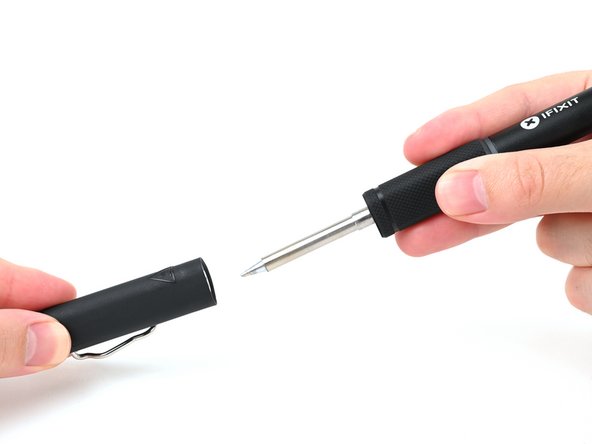
– Grab the iron by both ends and gently pull to pop off the cap.
Step 8

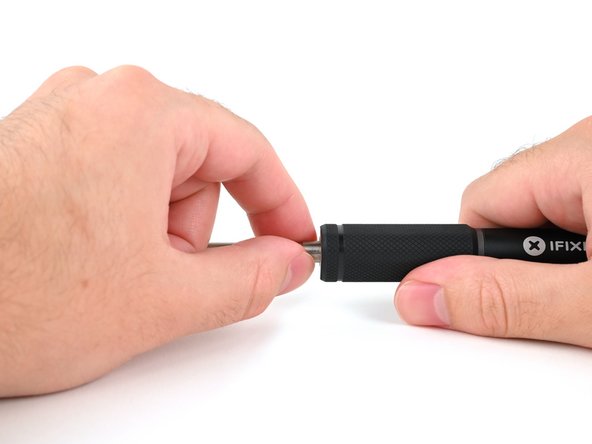
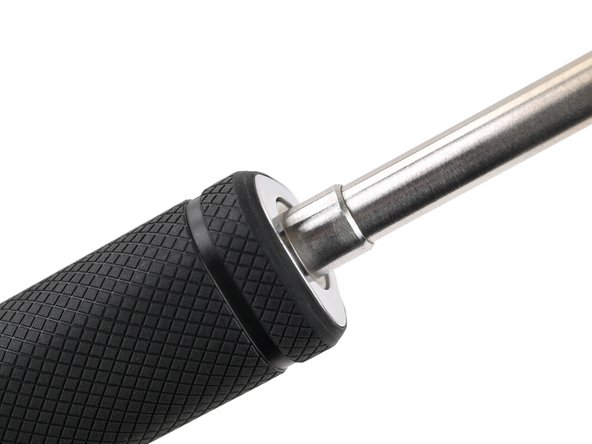
Wait until the tip has completely cooled down before you go ahead and touch it. Safety first, my friend!
– Grip the base of the tip with confidence and gently pull it away from the front of the iron handle to detach it.
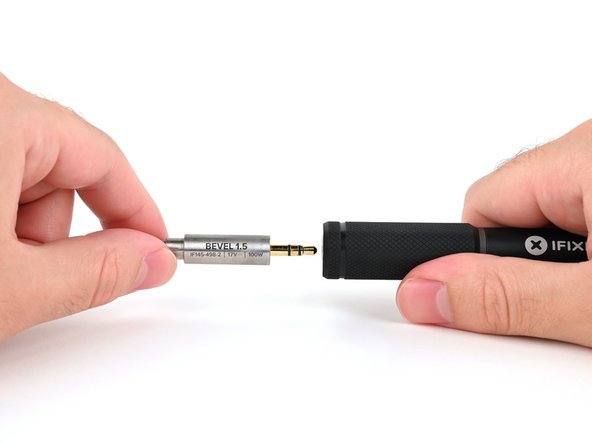
Step 9

– Before you pop that new tip into the handle, make sure it’s rotated just the way you want it. This is especially handy for those quirky asymmetrical tips like bevels or knives!
– Give that tip a gentle push into the iron enclosure of the handle until you hear it click snugly into place.
Step 10

– First things first, let’s ensure the soldering iron is in the cool blue OFF position. Safety first, right?
– Now, grab that USB-C cable and line it up with the snazzy blue locking collar. Give it a gentle push to connect it to the blue USB-C port on the soldering iron. You got this!
Step 11
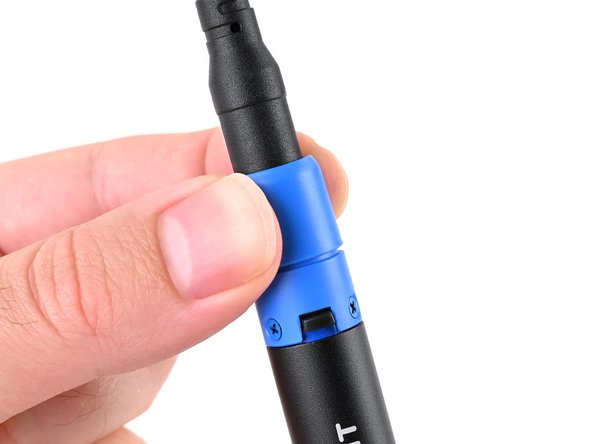
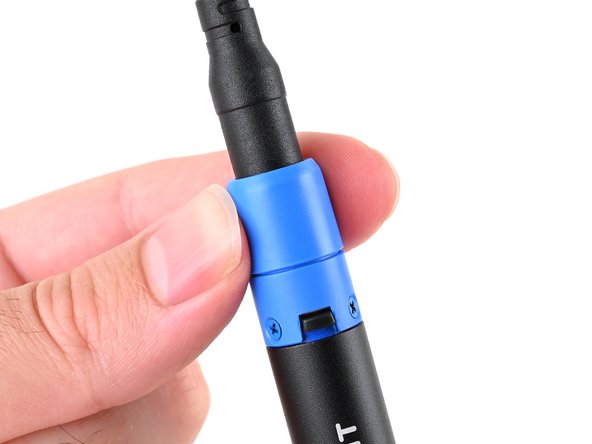

– Get those nubs in the collar lined up with the slots on the soldering iron like a pro!
– Once they’re aligned, snug the collar up against the soldering iron and give it a twist to the right to secure it.
Step 12

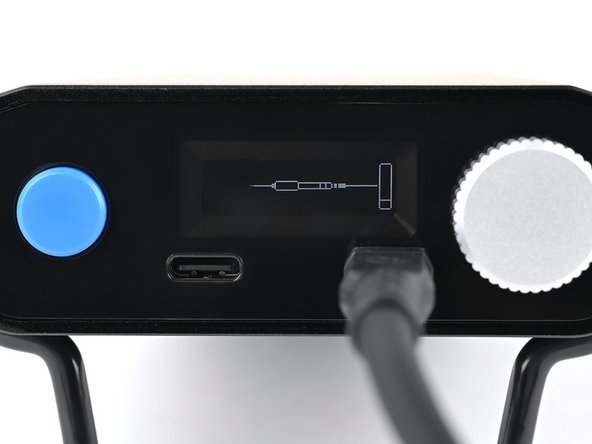
Watch as the display puts on a little show, letting you know that the soldering iron has officially joined the party!
– Plug the other end of the soldering iron’s USB-C cable into one of the USB-C ports located at the front of the power station. Let’s get that connection going!
Step 13


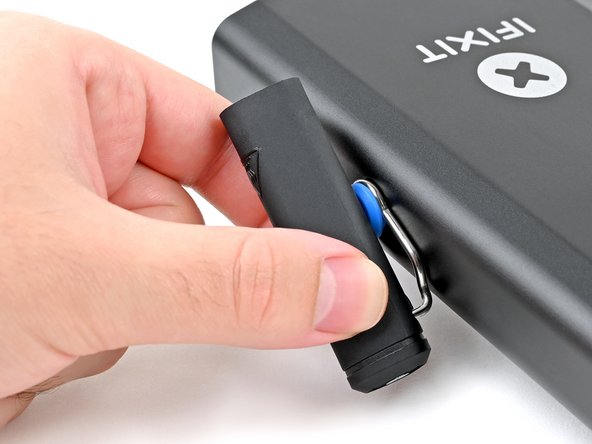
If you’re feeling adventurous, you can totally keep the cap on the iron while securing it in place.
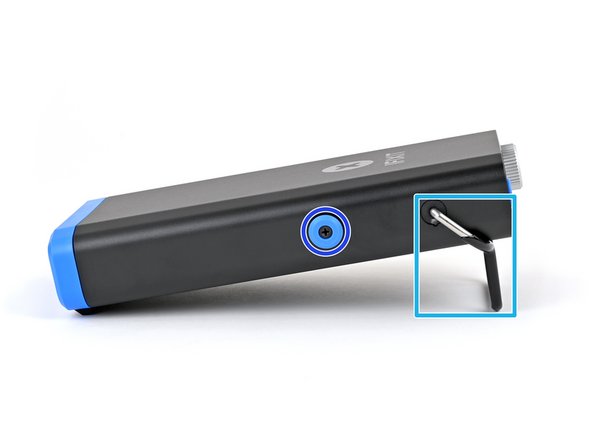
– First things first, line up the widest part of the cap’s spring clip with the circular blue tool mount found on either side of your Portable Power Station. It’s a snug fit, so take your time!
– Next, gently place the spring clip over the mount and slide the cap down until it clicks into place. You’ve got this!
Step 14

Heads up! Always keep an eye on that soldering iron when it’s in the orange ON position—it’s not a good idea to let it chill by itself.
When the iron is on and taking a breather for 30 seconds without any action, it will switch to Idle Mode. But don’t worry! As soon as you give it a little nudge, it will spring back to life and heat up to your chosen temperature in a flash.
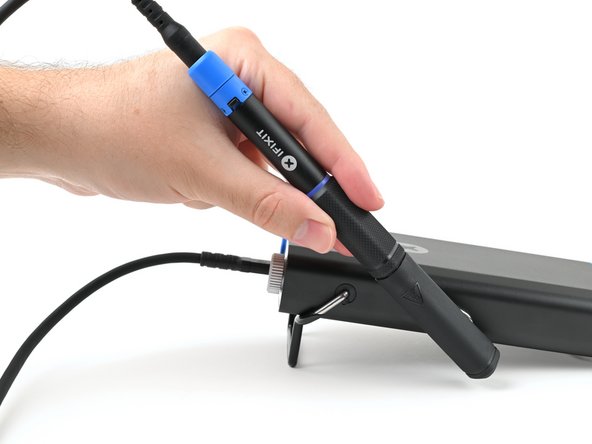
– Set your iron down snugly in its cap.
Step 15


The Touch-Safe Indicator LED shines in different colors to let you know how your soldering iron tip is doing. And don’t worry, the grip of the soldering iron is always cool to the touch!
– Blue LED: The iron has cooled down to below 40 °C (100 °F), so it’s safe to give it a touch!
– Purple LED: If it’s pulsing, the iron is in the process of heating up or cooling down. When it’s steady, the iron is chilling in Idle Mode. Just a heads up, the iron tip is still too hot to handle.
– Orange LED: The iron has hit that sweet spot temperature and is all set for some soldering action. Remember, the iron tip is still not safe to touch.
Step 16

The Smart Soldering Iron comes with a cool auto safety feature powered by an accelerometer. It’s like having a little guardian watching over you while you work!
Step 17


Keep an eye on that soldering iron – it loves to be the center of attention, so don’t leave it alone when it’s hot!
Remember, the tip of the soldering iron is like a secret club: only the cool tools get to touch it, so keep your fingers away!
In Active Mode, the iron is either heating up or keeping cozy at the set temperature. If you see a purple LED pulsing, it’s heating up; if it’s orange, it’s maintaining that sweet spot.
Step 18

Watch out for that hot soldering iron tip—it’s not a toy, even when it’s on break!
While you can turn off Idle Mode, keeping it on is a smart move to help your tip stay in tip-top shape.
If your soldering iron is feeling a bit lazy and hasn’t moved for 30 seconds, don’t worry! It simply switches to Idle Mode, cooling down to a chill 200 °C to save energy. Just like a nap for your tools!
Step 19

After the Idle Mode takes a break, Sleep Mode kicks in when the iron decides to chill out completely for a little while. Don’t worry, it’s just taking a breather!
Feel free to give the soldering iron tip a gentle touch when it’s in this laid-back state, as long as that indicator ring is shining blue. You’re all good!
Step 20

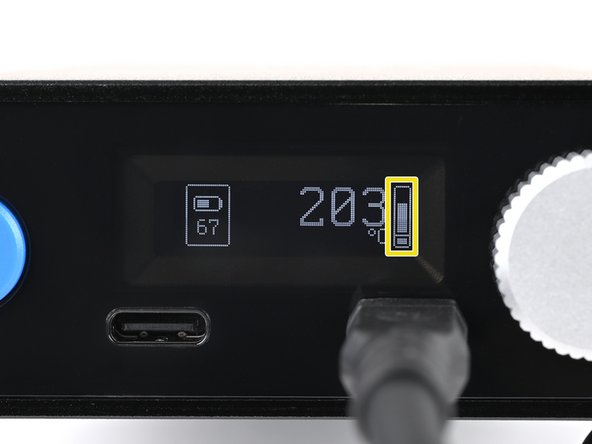
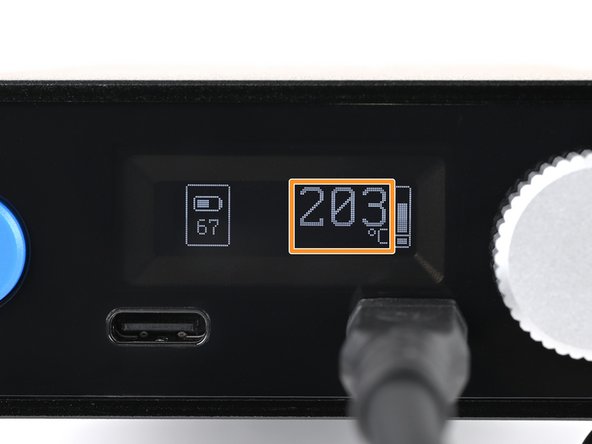
– The power station’s default display is affectionately known as the Ready Screen. It shows:
Step 21

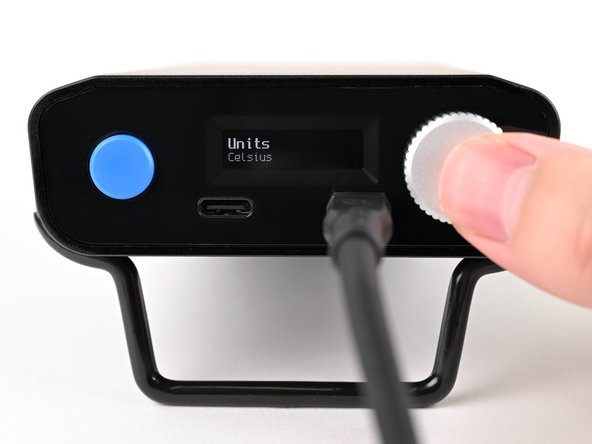

– Kick things off from the Ready Screen by giving that selector knob a press to dive into the configuration menu.
– Press it again to slide into the Units sub-menu.
– Now, spin that selector knob to pick your favorite temperature scale (ºC or ºF), and give it another press to lock it in.
– When you’re ready to wrap things up, hit the blue action button to back out of the Units sub-menu, then press again to exit the configuration menu. You’ll be back at the Ready Screen in no time!
Step 22
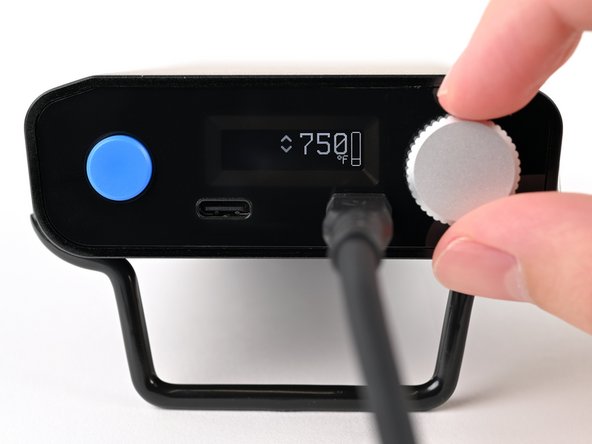

From the Ready Screen, just give that selector knob a twist to adjust the temperature to your liking!
– Give that selector knob a clockwise spin to crank up the heat, or twist it counter-clockwise to cool things down a bit.
– Once you’ve dialed in your perfect temperature, hang tight for a second or just give the knob a little press to jump back to the Ready Screen.
Step 23

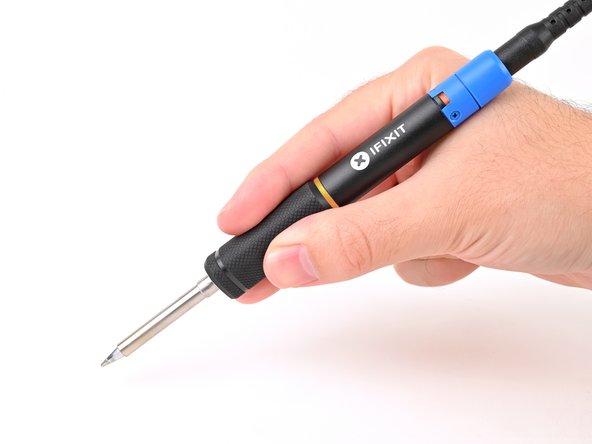
Keep your eyes on that soldering iron when it’s switched on to orange! It deserves your full attention.
Remember, don’t grip the soldering iron too far down! The tip can get super hot, and we definitely don’t want any burns. Always treat that tip like it’s glowing lava!
– Check out the sliding power switch – it’s got a cool color indicator for each position:
– Give that power switch a gentle slide to the orange ON position. You’re all set to dive into some soldering magic!
– Grip the soldering iron by the base of the handle, letting your fingers cozy up on the knurled grip. You’re in control!