How to Use the FixHub Web Console for Soldering Iron
Duration: 45 minutes
Steps: 5 Steps
Hey there! Before you dive into this repair journey, remember to keep your workspace tidy and your tools handy. If you ever feel a bit lost or need an extra pair of hands, don’t hesitate to schedule a repair. You’ve got this!
Get ready to tweak those settings and jazz up the firmware on your FixHub Portable Power Station using your trusty computer. Let’s make it happen!
Step 1


To use the FixHub Web Console, you need a browser that supports Web Serial, like Brave, Chrome, Edge, or Opera. For an extra smooth experience, check out our repair services at schedule a repair!
– Connect your Portable Power Station to your computer by plugging the cable into the rear port (that’s the side opposite the screen, just in case).
– Head over to iFixit.com/FixHub/console
Step 2
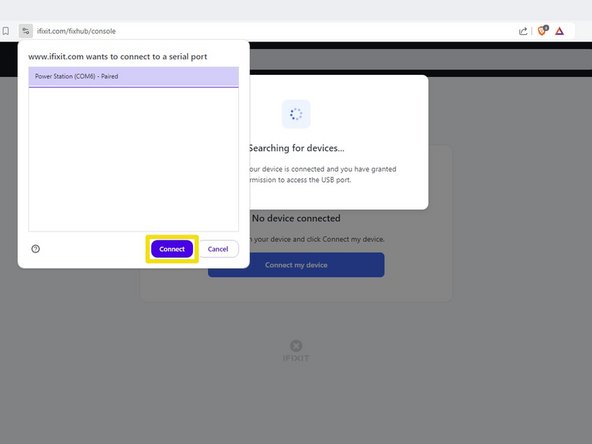

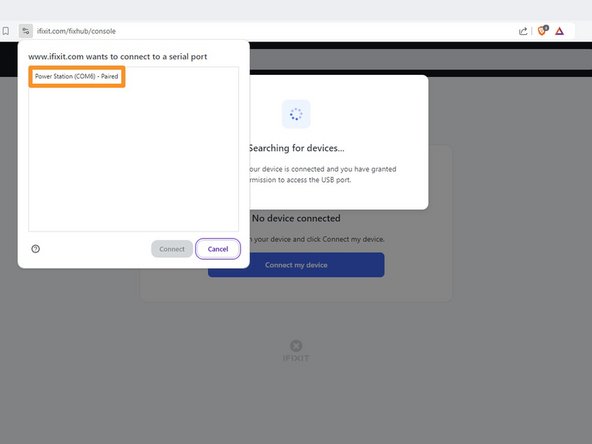
– Go ahead and click on ‘Connect my device’.
– From the pop-up window that appears, choose your Portable Power Station to connect via the serial port.
– Now, hit that ‘Connect’ button and let’s get rolling!
Step 3

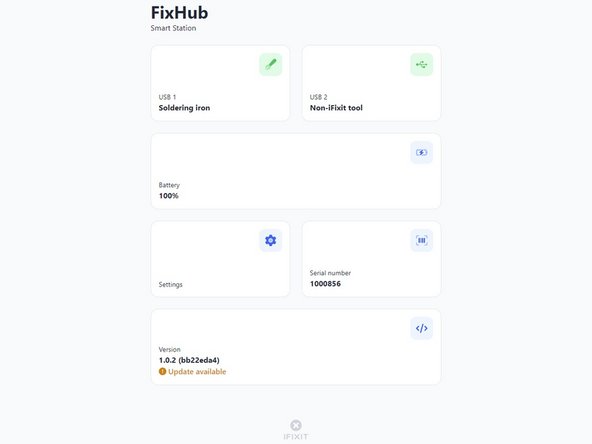
When the FixHub Web Console pops up, you’ll be greeted with all the cool info and settings for your power station:
Step 4
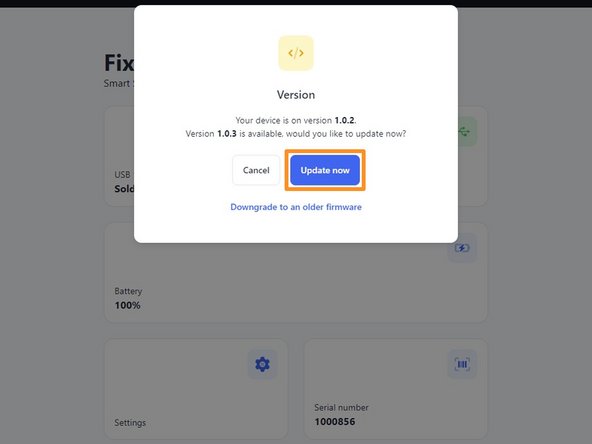

Before diving into the FixHub Web Console, make sure your firmware is up to snuff! It’s like checking your oil before a road trip.
If things take a turn for the worse, don’t fret! Just follow these steps again and hit Downgrade to roll back to an older firmware. We’ve got your back!
– First up, give that Version box a friendly click.
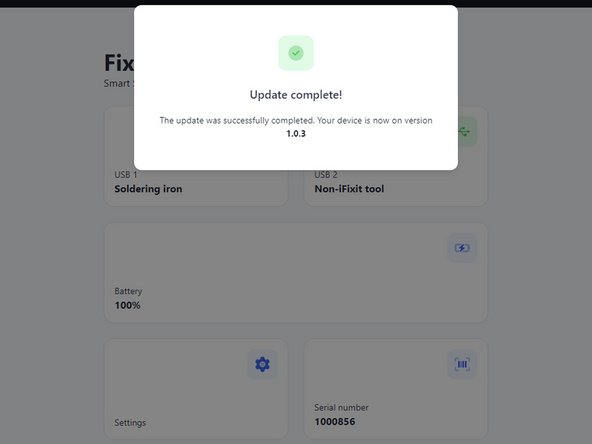
– Now, hit the Update now button and sit tight while the firmware works its magic. Remember, keep that power station plugged in and don’t close the window until the update is all wrapped up!
Step 5
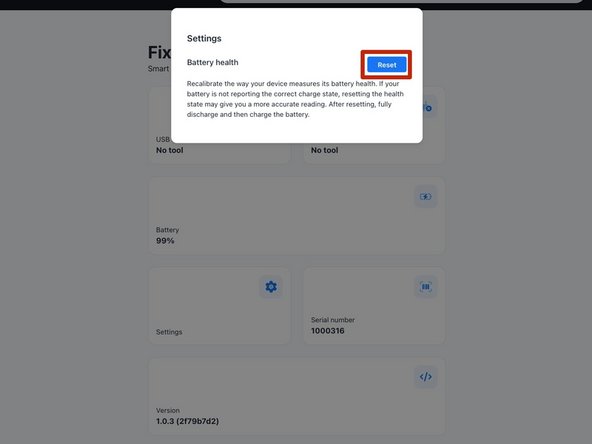

– To refresh the battery calibration data on your power station, head over to the Settings box and hit that Reset button. You’ve got this!