DIY Guide to Replace Power Tool Soldering Iron Main Board
Duration: 45 minutes
Steps: 19 Steps
Hey there! Just a friendly reminder: if you run into any hiccups during your repair journey, don’t hesitate to schedule a repair. We’re here to help you get back on track!
Get ready to dive into the world of repairs! This guide will walk you through replacing the main board (also known as the ‘motherboard’ or ‘main PCBA’) in your FixHub Portable Power Station. With a little patience and a can-do attitude, you’ll have your device up and running in no time. If you need help, you can always schedule a repair.
Step 1


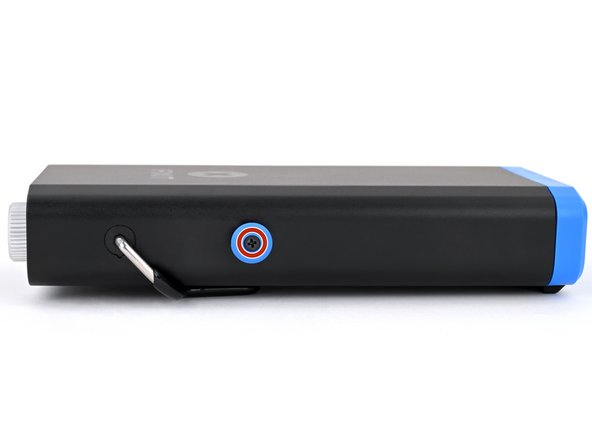
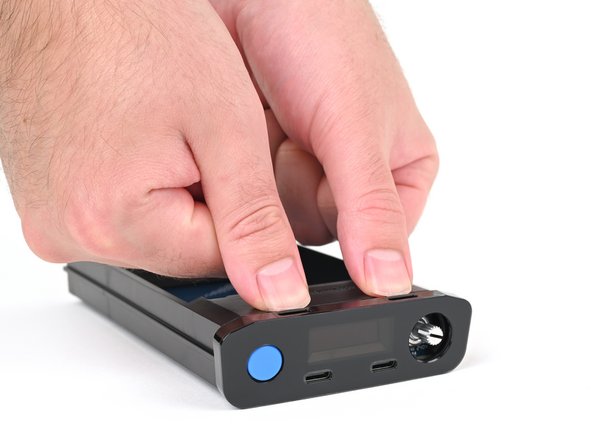
– Give that blue action button a solid five-second press to power down your power station. You’ve got this!
– Now, let’s tidy things up by folding the kickstand away.
Step 2

As you dive into this repair adventure, remember to keep an eye on each screw and return it to its cozy little home just like you found it. Happy fixing!
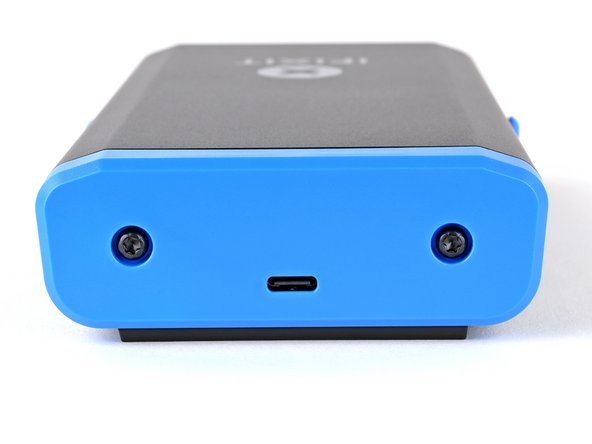
– Grab your trusty T10 Torx screwdriver and take out those two 8 mm-long screws holding the rear cover in place. You’ve got this!
Step 3
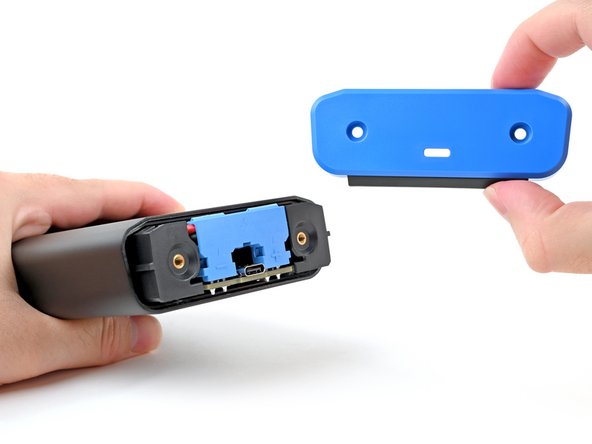

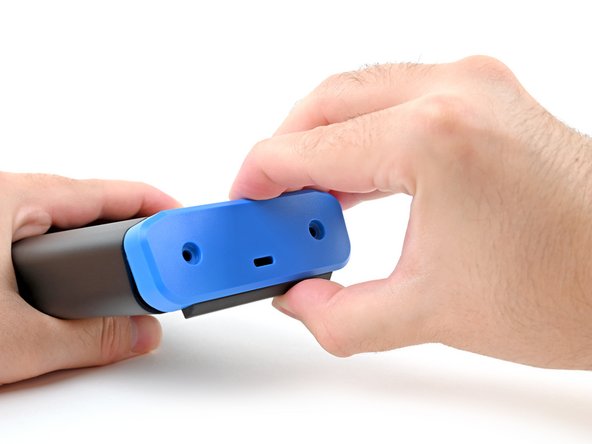
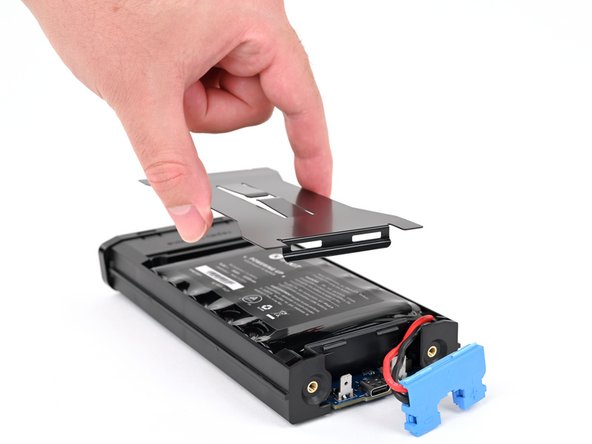
– Take hold of the rear cover and gently pull the bottom edge towards you.
– Carefully take off the rear cover.
– When putting it back together, start by securing the top edge of the rear cover first, and then press the bottom edge into place.
Step 4

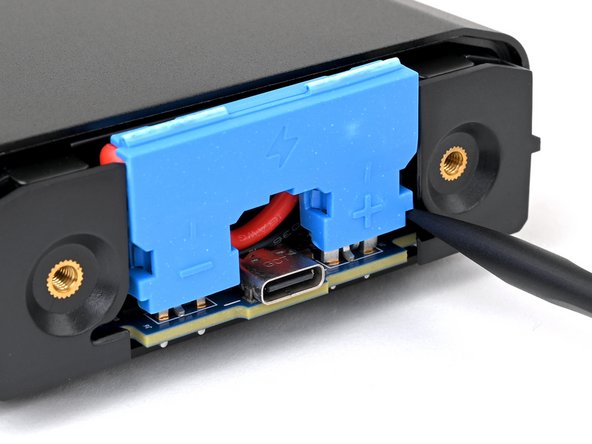
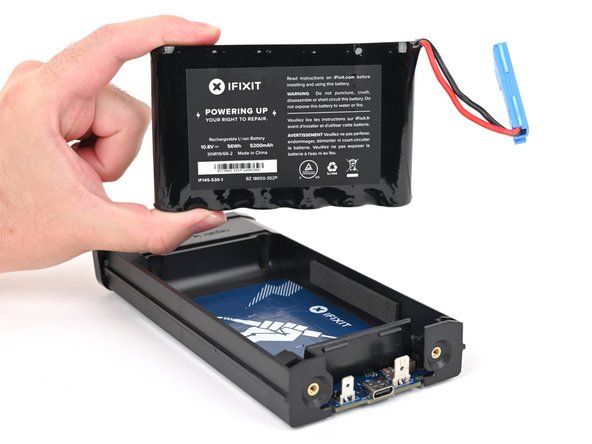
To keep things safe and sound, steer clear of metal tools when disconnecting that battery!

Step 5


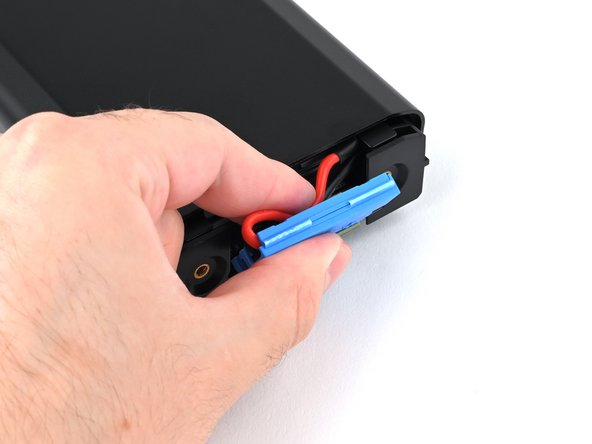
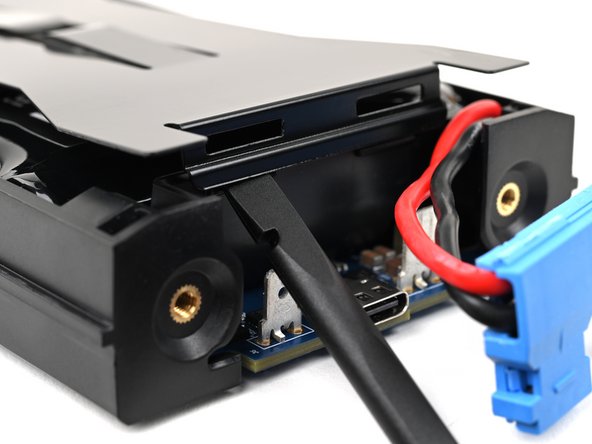
– Keep the rhythm going and gently pry up on each side of the battery connector, taking turns like a fun dance! This will help you ‘walk’ it off those two plugs just enough so you can easily grab it with your fingers.
Step 6


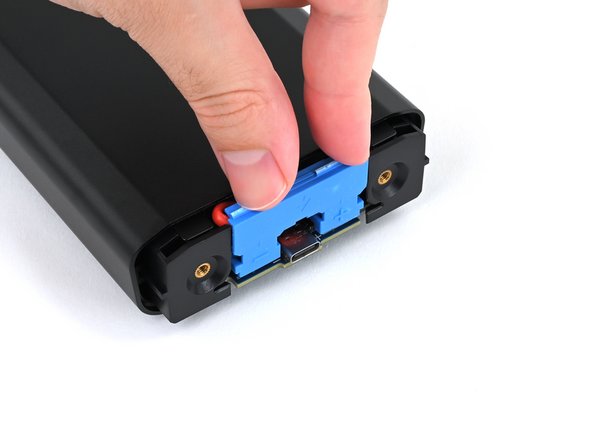
Hey there! Just a friendly reminder: don’t go all Hulk on that connector or you might end up with a little ouch from the metal edges of the enclosure. If it’s feeling stubborn, keep gently prying with your spudger until it’s loose enough to pop off without a fuss.
Step 7

– As you gear up for reassembly, here’s the fun part—let’s get that battery reconnected!
Step 8

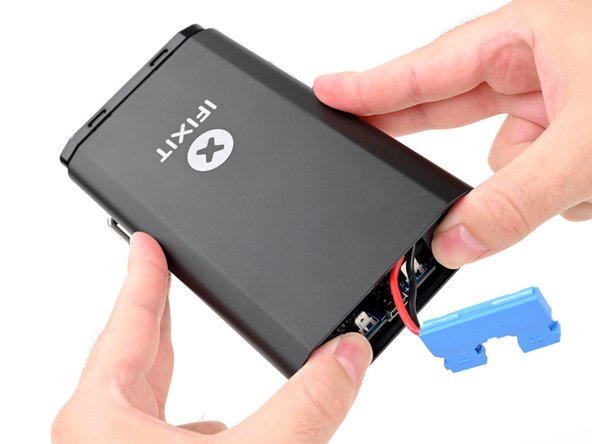
– Gently press your fingers on the screw holes of the rear cover and give the chassis a little nudge to pop it out of the enclosure. You’ve got this!
Step 9
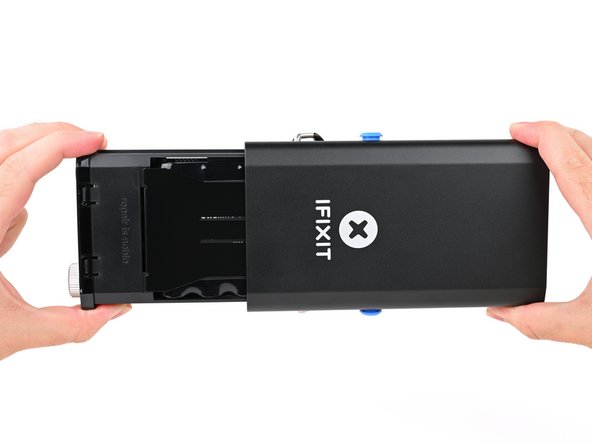

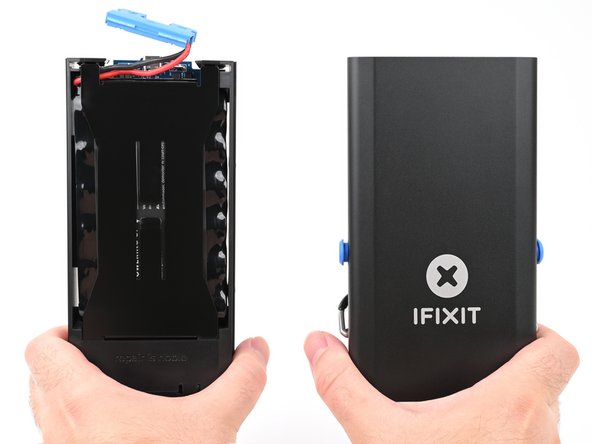
– Gently slide the chassis all the way out of the enclosure, just keep an eye on that battery connector—let’s not let it get caught up in the action!
– As you start putting everything back together:


Step 13
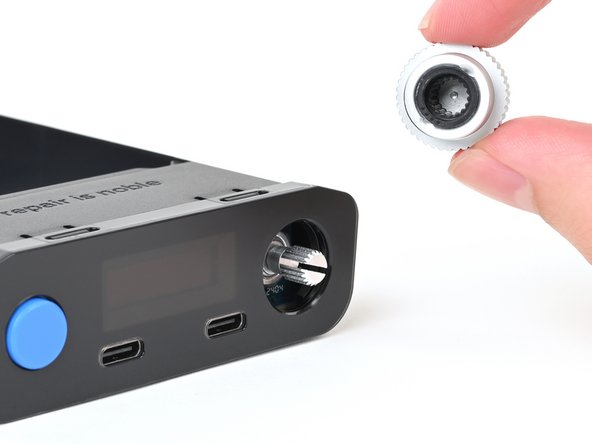

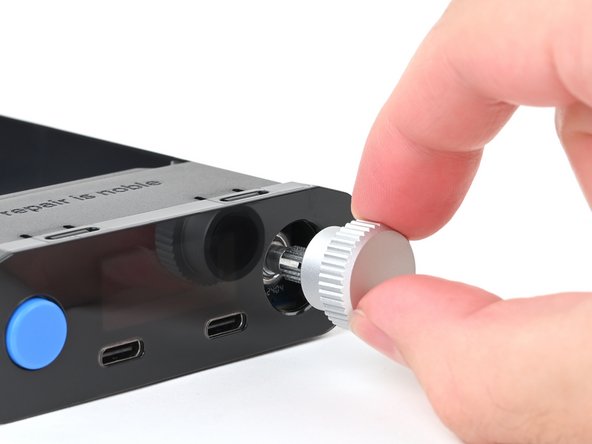
– Gently tug the shiny silver selector knob straight out from the front panel to set it free.
Step 14

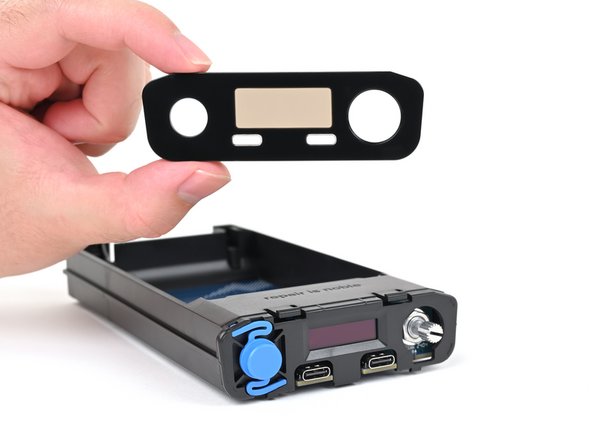
– Press down on those two little locking tabs with your fingers to free the front panel.
– While you’re keeping those tabs pressed, gently push the front panel away from the chassis and take it off.
– When putting everything back together:
Step 15

– Let’s get started by flipping your power station upside down!
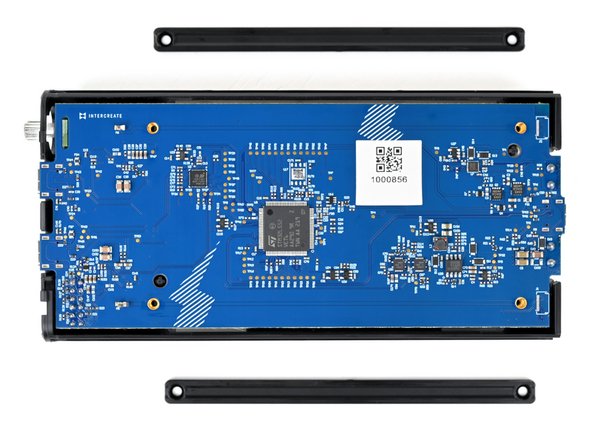
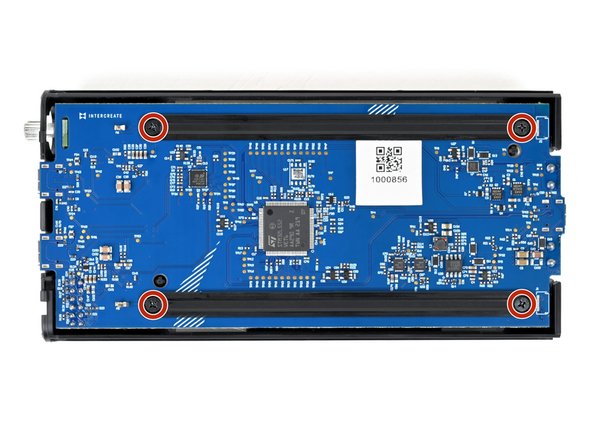
– Grab your trusty Phillips screwdriver and carefully unscrew those four 6 mm-long screws that are holding the two main board supports in place.
– Now, go ahead and remove those main board supports like a pro.
– When it’s time to put everything back together, just remember to orient the beveled sides of the main board support screw holes facing up. You’ve got this!
Step 16


– Gently nudge the main board up by the USB‑C port with your finger, just enough to grab the edges of the board like a pro.
Step 17

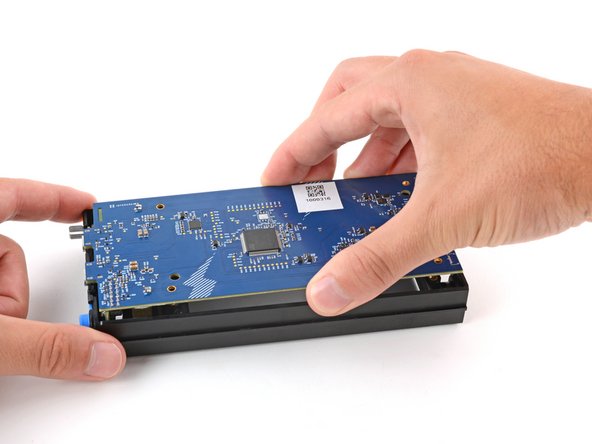
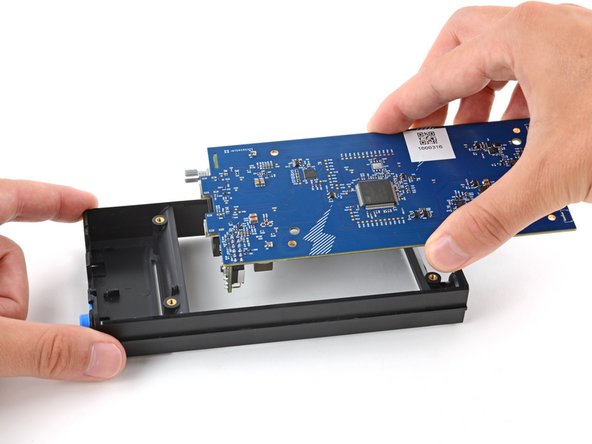
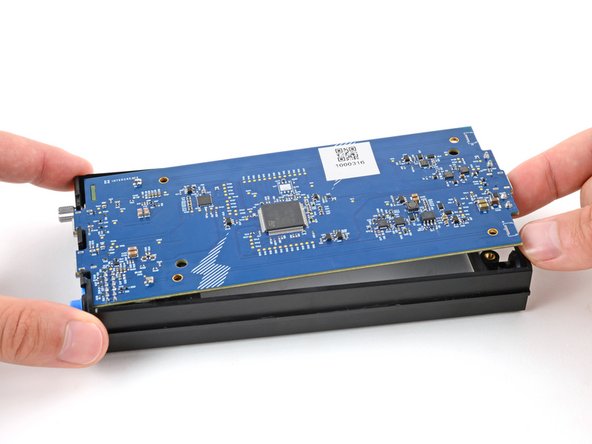
– With one hand, hold the chassis steady like a pro.
– With your other hand, grasp the main board near the center like you’re about to lift a trophy.
– Gently lift the board straight up and away from the display, making sure to guide the selector knob through its cutout like a boss.
Step 18

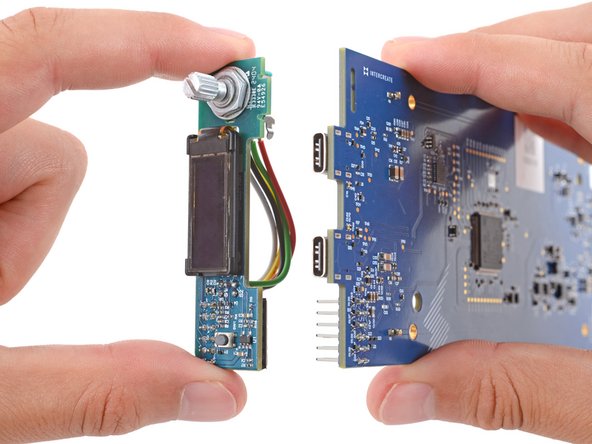
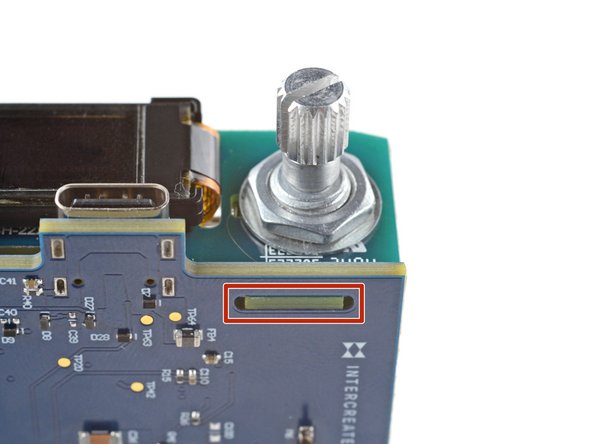
The long pins on the main board fit snugly into the UI board, keeping everything securely in place. No worries, it’s like a cozy hug for your device!
– Grab the main board with one hand and hold it steady.
– With your other hand, take hold of the UI board by its edges and give it a gentle yet firm tug straight out from the main board to disconnect them.
– And remember, when you’re putting everything back together:
Step 19

– Just the main board is left!