How to Replace Power Tool Soldering Iron Front Panel
Duration: 45 minutes
Steps: 11 Steps
Hey there, repair hero! Just a little heads-up: make sure to stay safe while you’re working on your device. If anything feels off or if you’re not sure what to do next, don’t hesitate to schedule a repair. You’ve got this!
Ready to give your FixHub Portable Power Station a fresh look? This guide will walk you through replacing that scratched or damaged front panel with ease. Let’s dive in and get your device looking sharp again! And remember, if you need help, you can always schedule a repair.
Step 1


– Press and hold the blue action button for five seconds to power down your station. You’ve got this!
– Fold the kickstand away and get ready for the next step.
Step 2

As you tackle this repair, make sure to keep a close eye on each screw and return it to its original home. Let’s keep things organized and smooth sailing!
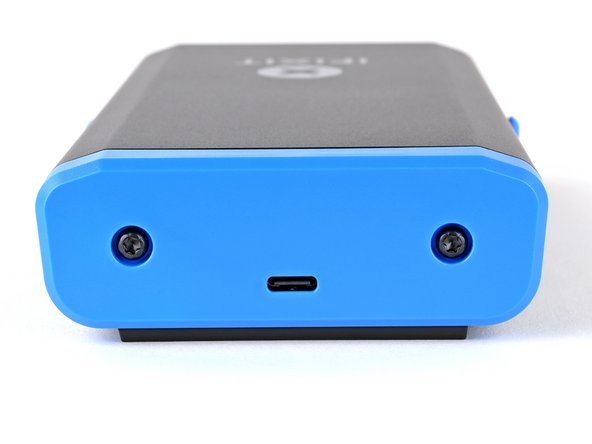
– Grab your trusty T10 Torx screwdriver and gently take out those two 8 mm-long screws holding the rear cover in place. You’ve got this!
Step 3
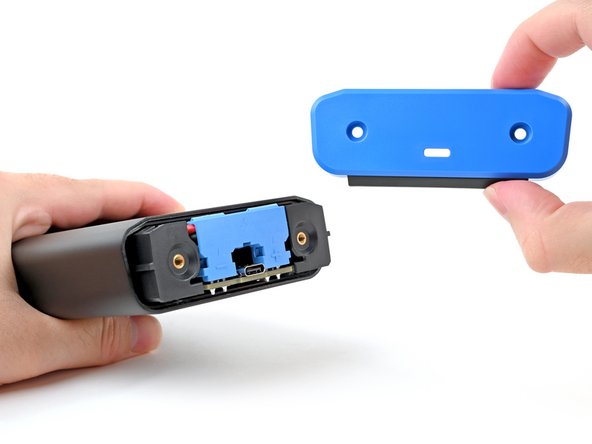

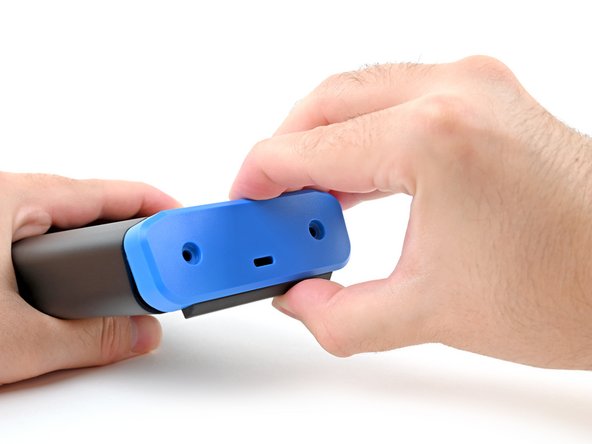
– First, grab that rear cover and gently pull the bottom edge towards you. You’re doing great!
– Next up, go ahead and remove the rear cover. Keep it safe for later!
– When it’s time to put everything back together, start by hooking in the top edge of the rear cover first. Then, just press that bottom edge into place and you’re all set!
Step 4

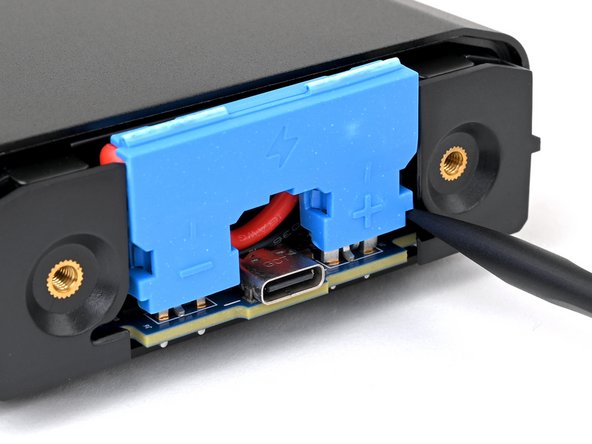
Keep it safe and sound! Avoid electrical shocks by steering clear of metal tools when disconnecting the battery.

Step 5


– Switch it up and gently lift on opposite sides of the battery connector, giving it a little ‘walk’ off those two plugs until it’s loose enough for you to grab it with your fingers.
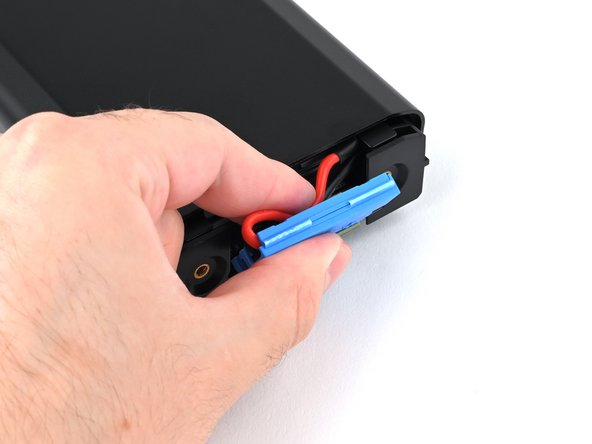
Step 6


Hey there! Just a friendly reminder: don’t go all Hulk on that connector or you might end up with a few scrapes from the sharp metal edges. If it’s being stubborn, keep gently prying with your spudger until it decides to loosen up and let go. You’ve got this!
Step 7

– As you gear up for reassembly, here’s the game plan to get that battery back in action:
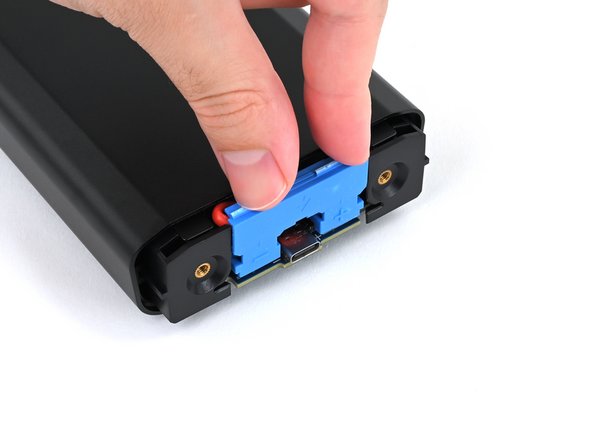
Step 8

– Gently press your fingers on those rear cover screw holes and give the chassis a little nudge to pop it out of the enclosure. You’re doing great!
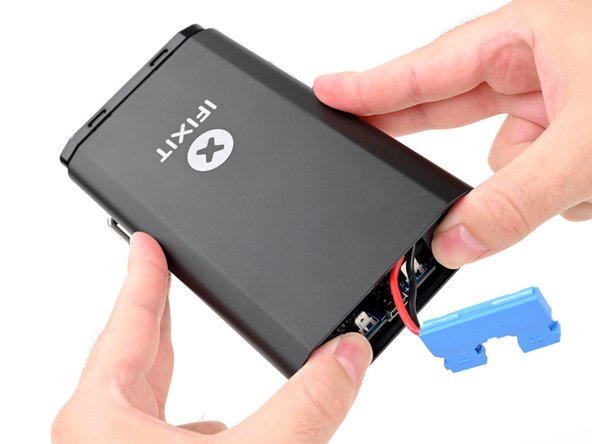
Step 9
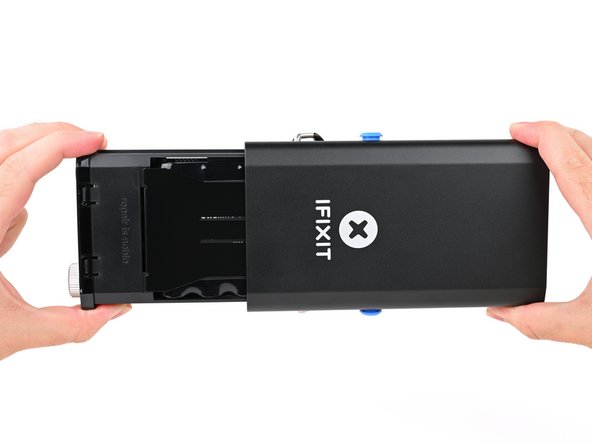

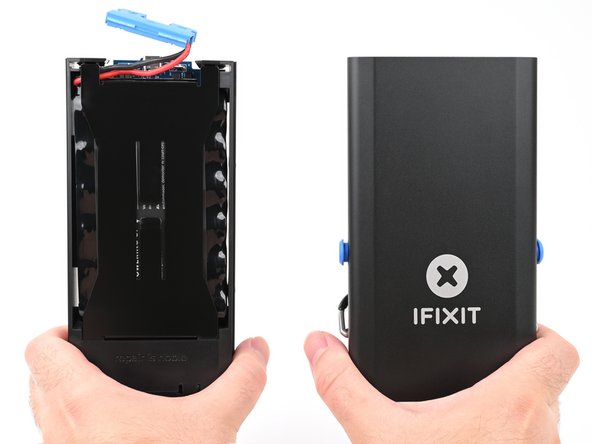
– Gently slide the chassis all the way out of the enclosure, just be sure that the battery connector doesn’t get caught on anything. You’ve got this!
– When putting everything back together:
Step 10
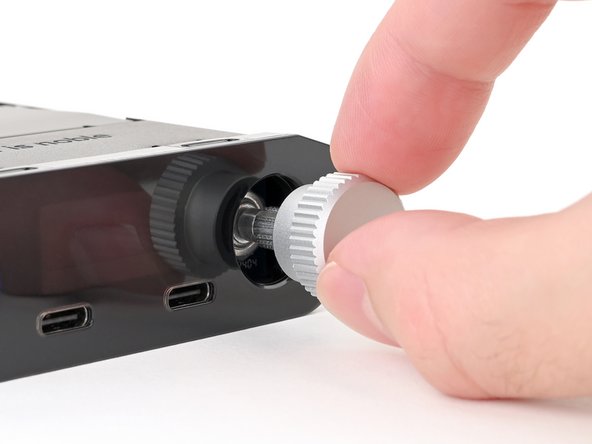

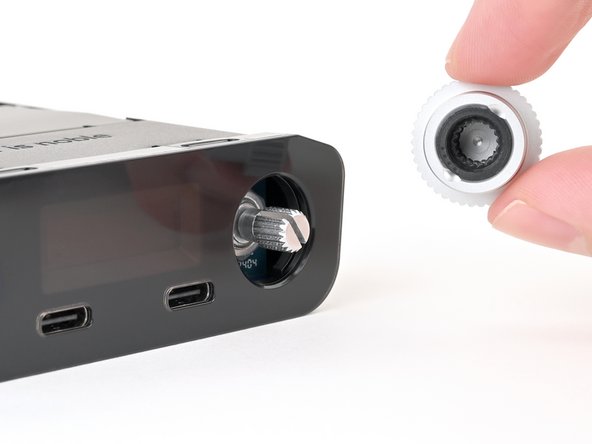
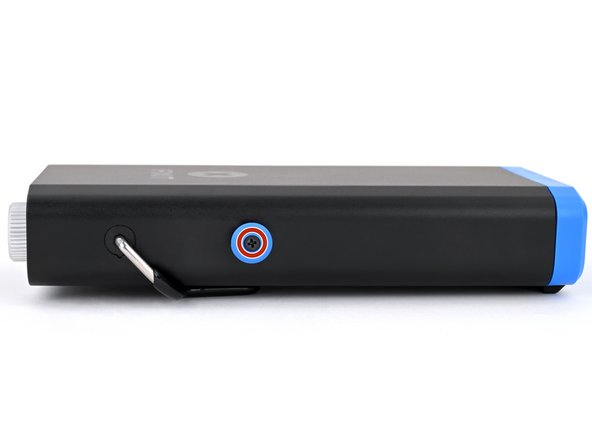
– Give that shiny silver selector knob a gentle tug straight out from the front panel to set it free!
Step 11
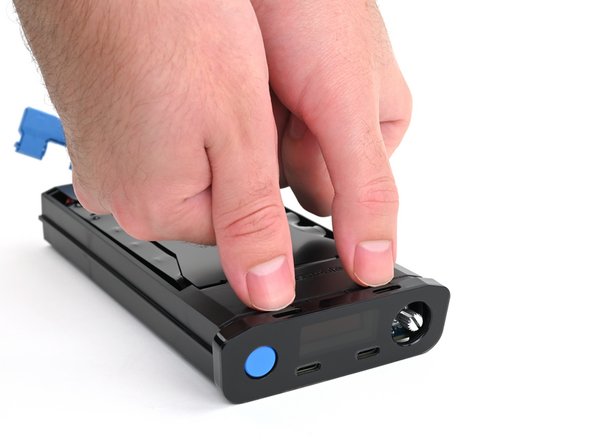

– Give those two locking tabs a little push with your fingers to set the front panel free.
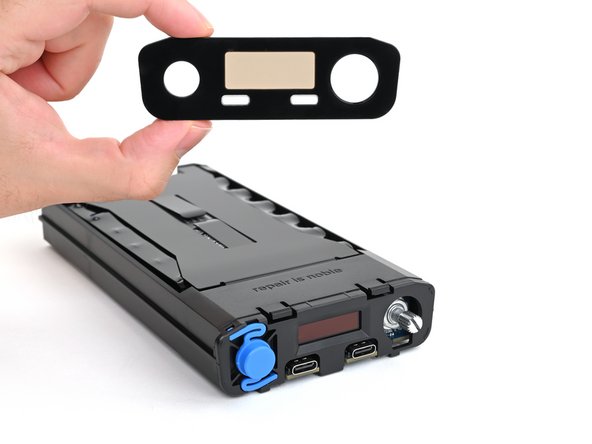
– While keeping the tabs pressed down, gently slide the front panel away from the chassis and lift it off.
– When it’s time to put everything back together: