DIY Guide to Replace Charging Port on Skills Soldering Skills
Duration: 45 minutes
Steps: 2 Steps
Heads up! Make sure you’re in a cozy spot and have all your tools ready before diving in. If you hit a snag or need a hand, just schedule a repair and we’ll be there to help!
Fixing a charge port can feel like a tricky puzzle, and we totally get it! Those tiny pins can be a real challenge, and not having the right tools can make things even tougher. Plus, there’s the risk of damaging pads. But don’t worry! We’ve put together a straightforward step-by-step guide that should work for most devices, making the process a whole lot smoother. If you need help, you can always schedule a repair.
Step 1


– First, let’s get cozy with your device by taking it apart to reveal the motherboard. Remember to wrap it up with some kapton tape to keep all those delicate components safe and sound. Next, grab your trusty heat gun and give that old port a warm-up to loosen it up!
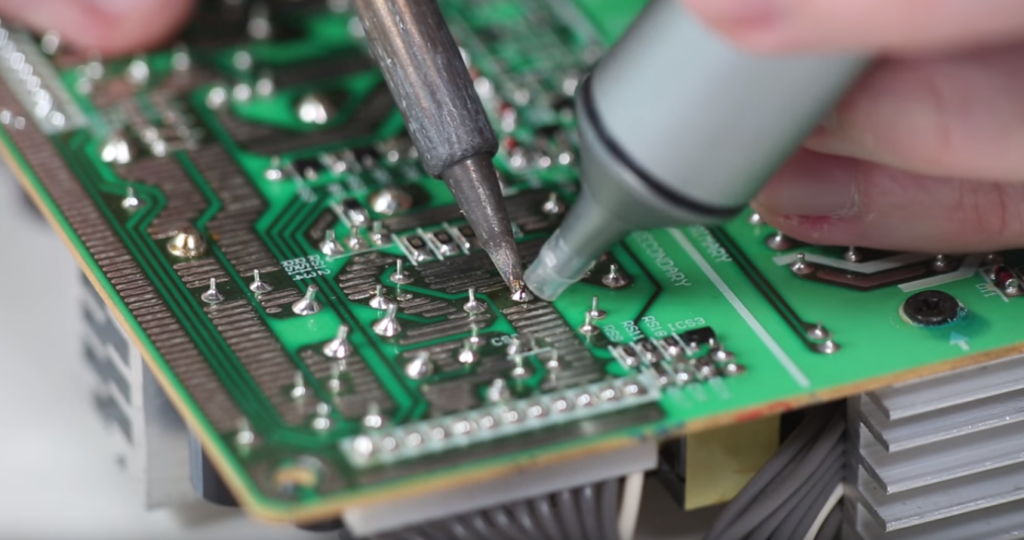
Step 2
– Grab those tweezers or your favorite tool to hold the port steady, and give it a little heat until those connections start to melt away. You’re doing great!
– Now, gently lift the charging port right off the pads. Easy peasy!