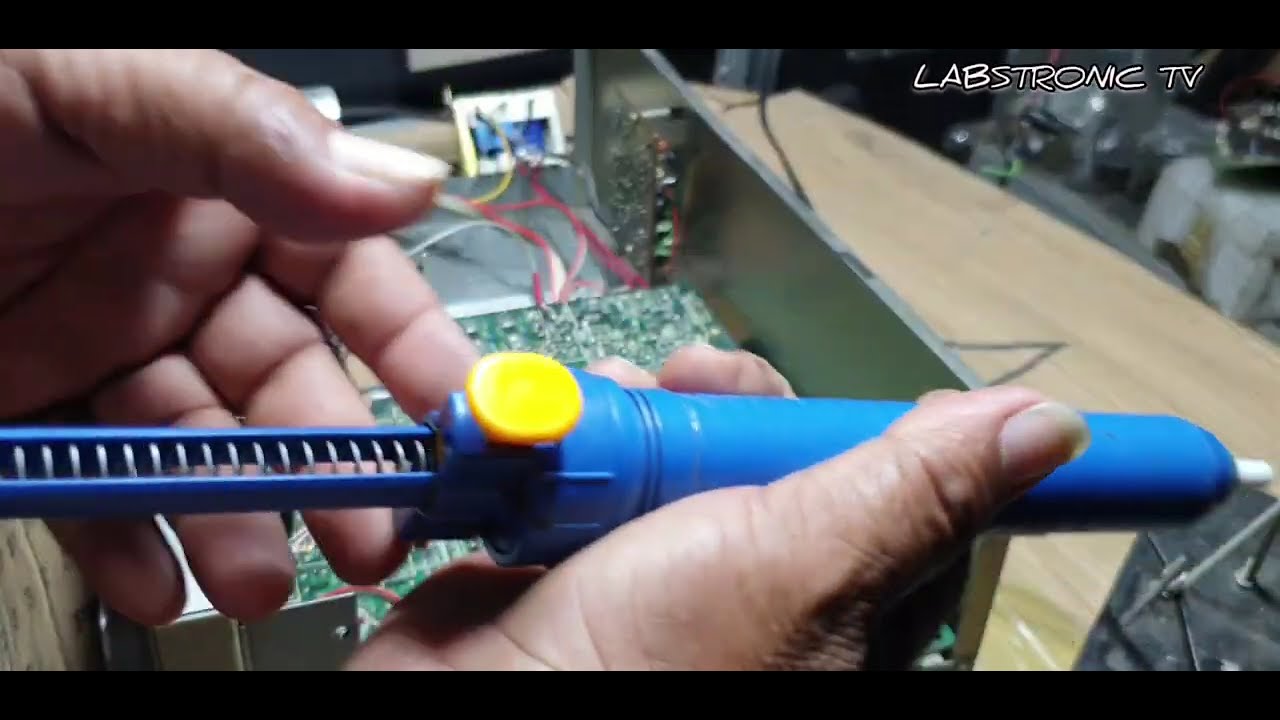
How to Use a Desoldering Pump
Duration: 45 minutes
Steps: 4 Steps
Heads up! Before you dive into this repair adventure, make sure to power down your device and unplug it from any power sources. Safety first, my friend! If you hit a snag or feel a little lost, don’t hesitate to schedule a repair with us!
A desoldering pump, also known as a solder sucker, is a super handy gadget that helps you remove molten solder like a pro! It’s perfect for desoldering through-hole components on a circuit board or fixing up those pesky bad solder joints. In this guide, we’ll walk you through how to use and clean iFixit’s desoldering pump. And if you find some solder leftovers hanging around, don’t worry! Just grab some soldering wick and check out our guide on how to use it. If you need help, you can always schedule a repair.
Step 1
If you’re diving into the world of desoldering pumps for the first time, give that pump a little warm-up! Prime and activate it a few times before you jump into the desoldering action. You’ll be a pro in no time!
– Get a good grip on that desoldering pump—you’re going to need it!
– Press the plunger down until it clicks into place. You’ve got this!
Tools Used
Step 2
The piston release packs a punch! Make sure to steady your hand while using the pump to keep that nozzle in check.
– To get the pump up and running, just give that black side button a good press!
Step 3
Avoid using the desoldering pump near those tiny surface-mounted (SMT) components. The heat and suction can be a bit too much and might pop those little guys right off!
– Start by priming that desoldering pump—give the plunger a good press!
– Heat up the solder joint until that solder is nice and gooey. For better heat transfer, toss a bit of solder onto the tip of your soldering iron.
– Get the pump’s nozzle as close as you can to that molten solder; we want a snug fit!
– Press the side button to fire up the pump.
– Keep repeating this dance until the joint is squeaky clean. If you’re feeling fancy, you can also use some solder wick to soak up any leftover solder.
Tools Used
Step 4
In the unlikely event that your pump needs a deep clean, don’t worry! Just take it apart and give it a good scrub to keep things running smoothly.
– To give that pump a good clean, go ahead and prime it a few times! This will push a rod through the nozzle, keeping any pesky solder from blocking the way.


