Huawei P9 Battery Replacement Guide: Step-by-Step Tutorial
Duration: 45 minutes
Steps: 8 Steps
Hey there! Before you dive into disassembling your phone, make sure to drain that battery down to below 25%. If you accidentally poke it, it could get a bit fiery or even explode, but don’t worry—discharging it first really lowers those chances. Safety first, right?
Dive into this guide and learn how to swap out the battery on your Huawei P9 smartphone. Before cracking it open, make sure to drain the battery to below 25%. A low charge reduces the risk of the battery getting all fiery or going boom if it’s accidentally punctured. Stay safe and if you hit a snag, you can always schedule a repair. Happy fixing!
Step 1


If your screen is sporting a crack, grab some tape to shield your eyes from those pesky glass shards and give yourself a better grip for opening up your phone. Safety first, and let’s get this repair party started!
– First, power down your phone and whisk away that SIM card tray.
– Next up, grab your trusty screwdriver and pop out those two Pentalobe P2 screws lounging at the bottom by your device’s USB C port.
Step 2


Remember to lift the entire phone assembly and not just the display to keep the screen safe and sound. If you need help, you can always schedule a repair!
– Grab an iSclack or a trusty suction handle to gently pry the phone assembly away from the rear panel. You’ve got this!
Tools Used

Step 3


– Gently pry off the fingerprint sensor using a spudger.
Tools Used

Step 4


– First things first, let’s disconnect that antenna cable. Give it a gentle tug and it’s free!
– Now, it’s time to peel off that sneaky sticker hiding the screw. Go ahead and remove it carefully!
Step 5


– First up, grab your trusty Phillips #00 screwdriver and take out those two little screws holding down the metal plate. Nice and easy does it!
– Now, that plate is acting all shy, covering the battery connector like it owns the place. It’s got these cute little hooks on each side, so use your tweezers like a pro to gently unhook them. Then, give the plate a gentle lift upwards to set it free. Remember, if things get sticky, you can always schedule a repair.


Step 7


– Loosen the ends of those adhesive pull tabs so you can grab onto them with ease!
Step 8


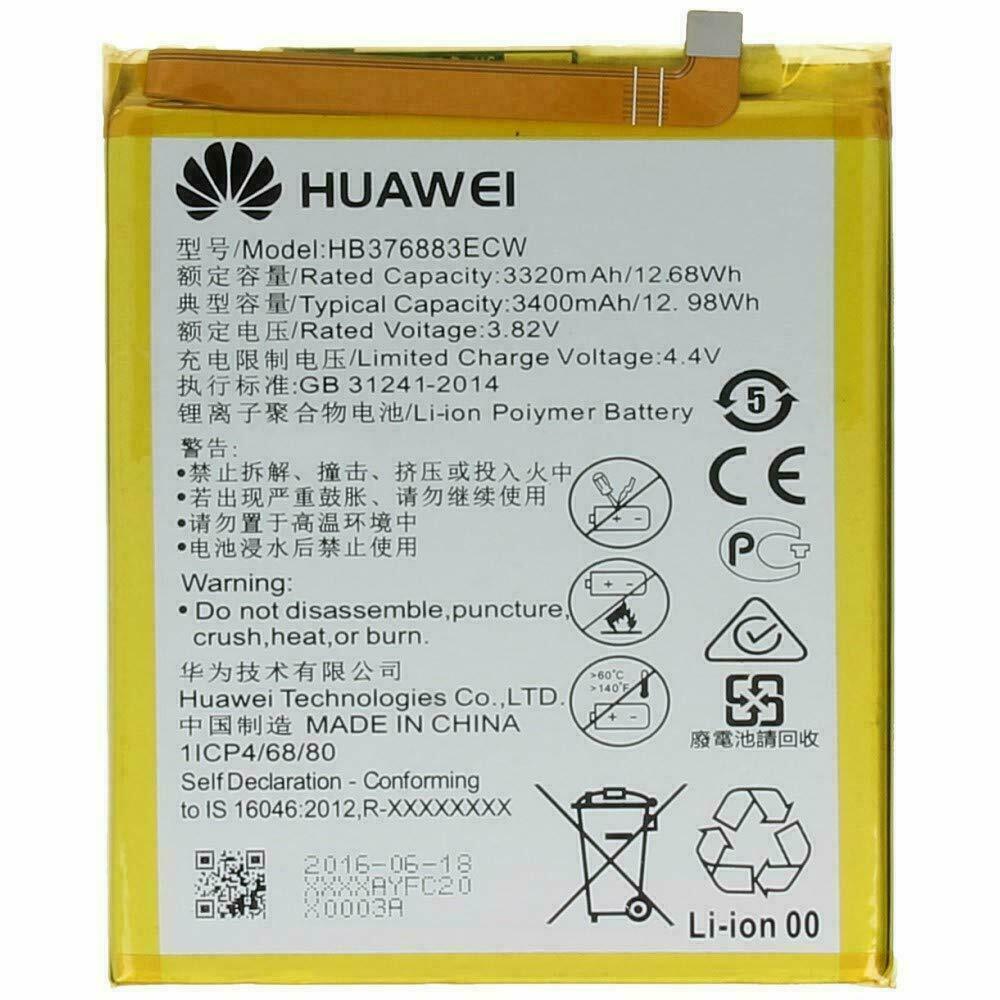
– Your trusty battery is locked in place with three sneaky pieces of sticky goodness: a removable pull-tab in the center and another on the SIM tray side. On the button side, there’s a stealthy adhesive strip without a pull-tab.
– Gently tug those adhesive tabs in a smooth, steady motion to release the battery. It’s like peeling a stubborn sticker, but you got this!
– Carefully lift the battery towards the button side and liberate it from that last hidden sticky grip.
– When you’re putting your gadget back together, swap out the old adhesive with fresh stretch-release

