How to Install a 2.5 SSD into a Silicone Enclosure – Electronics Skills
Duration: 45 minutes
Steps: 3 Steps
Get ready to jazz up your tech by installing a snazzy 2.5” SSD into a silicone enclosure from iFixit! It’s easier than it sounds, and with this guide, you’ll be up and running in no time. And remember, if you need help, you can always schedule a repair.
Step 1


– Before sliding in that shiny new hard drive, take a moment to check out the orientation of those SATA connectors nestled in the enclosure. It’s a small detail that makes a big difference!
Step 2


– Take a moment to position the new drive just right so that its SATA connectors fit snugly into the enclosure’s welcoming embrace.
– Gently slide the drive into the opening of the enclosure, like tucking in a cozy blanket.
– Now, give the drive a little nudge until it settles in completely, ensuring those SATA connectors are perfectly aligned and happy.
Step 3
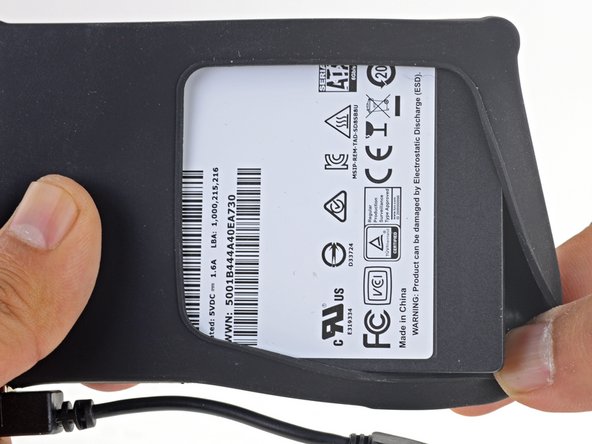
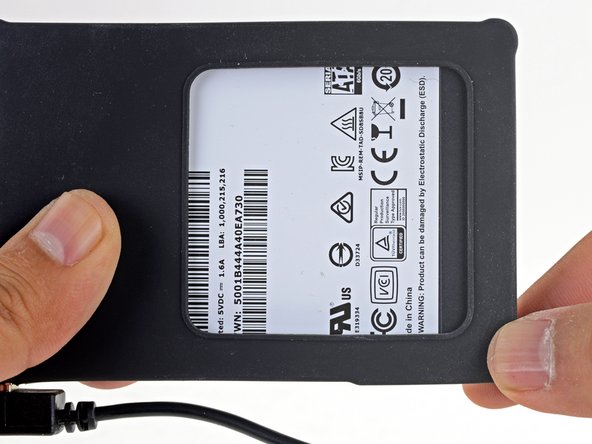

– Gently pull the remaining corners of the enclosure over the drive so that the silicone cover snugly wraps around it.