How to Install a 2.5-inch Hard Drive into iFixit External Enclosure
Duration: 45 minutes
Steps: 6 Steps
Hey there, repair warrior! Just a friendly reminder to be super careful while tackling this repair. Take your time, follow the steps, and if you find yourself in a jam, don’t hesitate to schedule a repair. You’ve got this!
Ready to give your aluminum enclosure from iFixit a new buddy? This guide will walk you through the steps to install a snazzy 2.5-inch hard drive. Whether you’re going for a speedy SSD or a classic 2.5-inch platter hard drive, as long as they’ve got the right SATA connectors, you’re good to go! If you happen to have a silicone enclosure, don’t worry—just follow the other guide we’ve got for that. And remember, if you need help, you can always schedule a repair.
Step 1

Before diving in, take a moment to check out your hard drive’s ports and ensure it has the correct connectors:
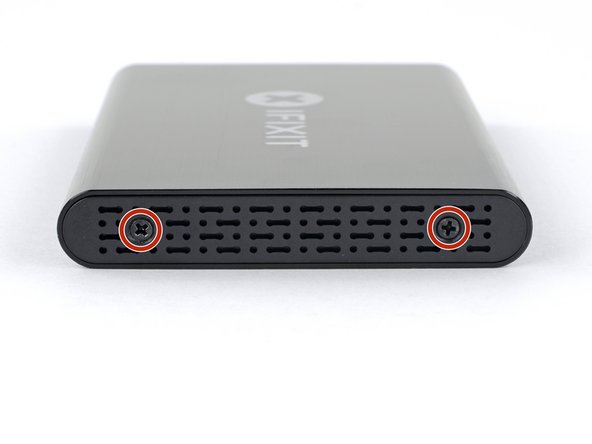
Step 2

– Grab that handy screwdriver we included and let’s get those two Phillips screws out of there!
Step 3


– Gently ease the plastic tray out of the aluminum housing. You’ve got this!
Step 4


– Pop that drive into the plastic tray and make sure those drive ports are lined up just right with the tray socket.
– Gently give the drive a little push into the tray socket to snugly seat those ports.
– Press down on the drive’s raised edge to secure it in the plastic tray.
Step 5

– Turn the drive tray upside down.
– Grab a Phillips screwdriver and get ready to secure that drive! Install the four mounting screws (they’re included in the kit) to firmly attach the drive to the tray.
Step 6


– Gently slide the tray back into its cozy aluminum home.
– Secure the tray in place by reinstalling the two Phillips screws. You’ve got this!