
How to Use Screen Vise Clamps for LG Device Manufacturer
Duration: 45 minutes
Steps: 5 Steps
Here are some handy tips to use your clamps like a pro while keeping your device safe and sound.
Heads up: Avoid using vise clamps to squash a bulging device! If your battery is looking a bit puffy, make sure to take the right precautions.
Screen Vise Clamps are your trusty sidekicks for tackling phone, tablet, and smartwatch screen replacements! These adjustable clamps work wonders around the edges to set that replacement adhesive just right after your repair. Just remember, it’s all about finesse, not force—so steer clear of using them to squash a bulging device! If your battery is looking a little puffy, take the necessary precautions. For specific instructions tailored to your device and repair, check out our handy repair guides. And if you need help, you can always schedule a repair.
Step 1

Avoid using vise clamps to squish a swollen device back together. It’s not a good look, and your device deserves better!
To make sure the adhesive sticks like it’s supposed to, give a nice, even squeeze around the edges of your device.
Before diving into this repair adventure, it’s a smart move to clean your device. This will help keep any pesky debris from sneaking between the vise jaws and your device.
– Gently open up the screen vise clamp and slide it over the edge of your device, pushing it as far as it can comfortably go.
Tools Used

Step 2


If your device sports a camera bump and the clamp can snugly fit right over the center of a lens, you’re in luck! Just one clamp will do the trick for that camera bump.
But if the clamp can’t sit perfectly over the center of the lens, no worries! Grab two clamps and space them out evenly across the camera bump for the best results.
Step 3


When working with watches, position those clamps close to the edges, ensuring the jaws make even contact with the display rather than pressing at an angle. You’re doing great!
Step 4


Be careful not to tighten things too much, or you might end up giving your device’s screen or back cover a bit of a workout!
– Turn the vise clamp knob to the right to gently bring the upper jaw down onto the screen.
Step 5

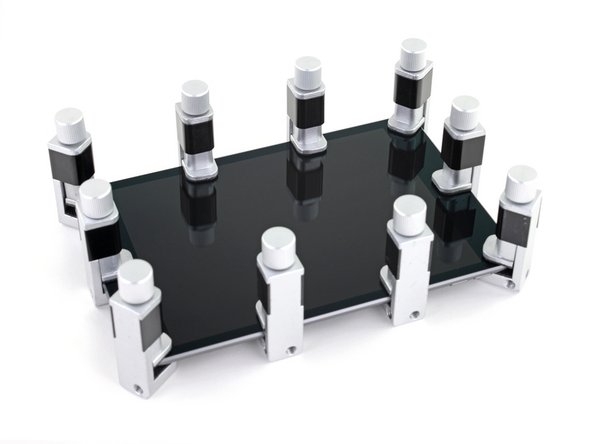

– Now, let’s keep the momentum going! Repeat the previous steps for the five remaining vise clamps: one at each of those four corners, and don’t forget the one right in the center of each long edge.
– Grab your trusty hair dryer or heat gun and give those edges a nice, even warm-up all around the device until they’re just a tad too hot to handle. This little heat dance will help the adhesive stick like it means it!
– While the device is still feeling toasty, give all six vise clamps a solid twist down one full turn. You got this!
– Now, kick back and let those vise clamps do their thing for about thirty minutes. It’s like a mini spa day for your device!