DIY MacBook Pro 13 Lower Case Replacement Guide
Duration: 45 minutes
Steps: 3 Steps
Hey there, repair superstar! Before diving in, just a heads-up: safety first! Make sure to power down your device and unplug it from any power source. Keep those fingers safe and sound, and remember, if you need help, you can always schedule a repair.
Let’s kick things off! Grab your P5 Pentalobe screwdriver to pop off the lower case and dive into your device. It’s time to get hands-on!
Step 1
– Let’s kick things off by taking out the ten screws that are holding the lower case snugly against the upper case. You’ve got this!
– As you work your way through this repair, keep an eye on each screw and remember where it belongs. This will help keep your device safe and sound!
Step 2
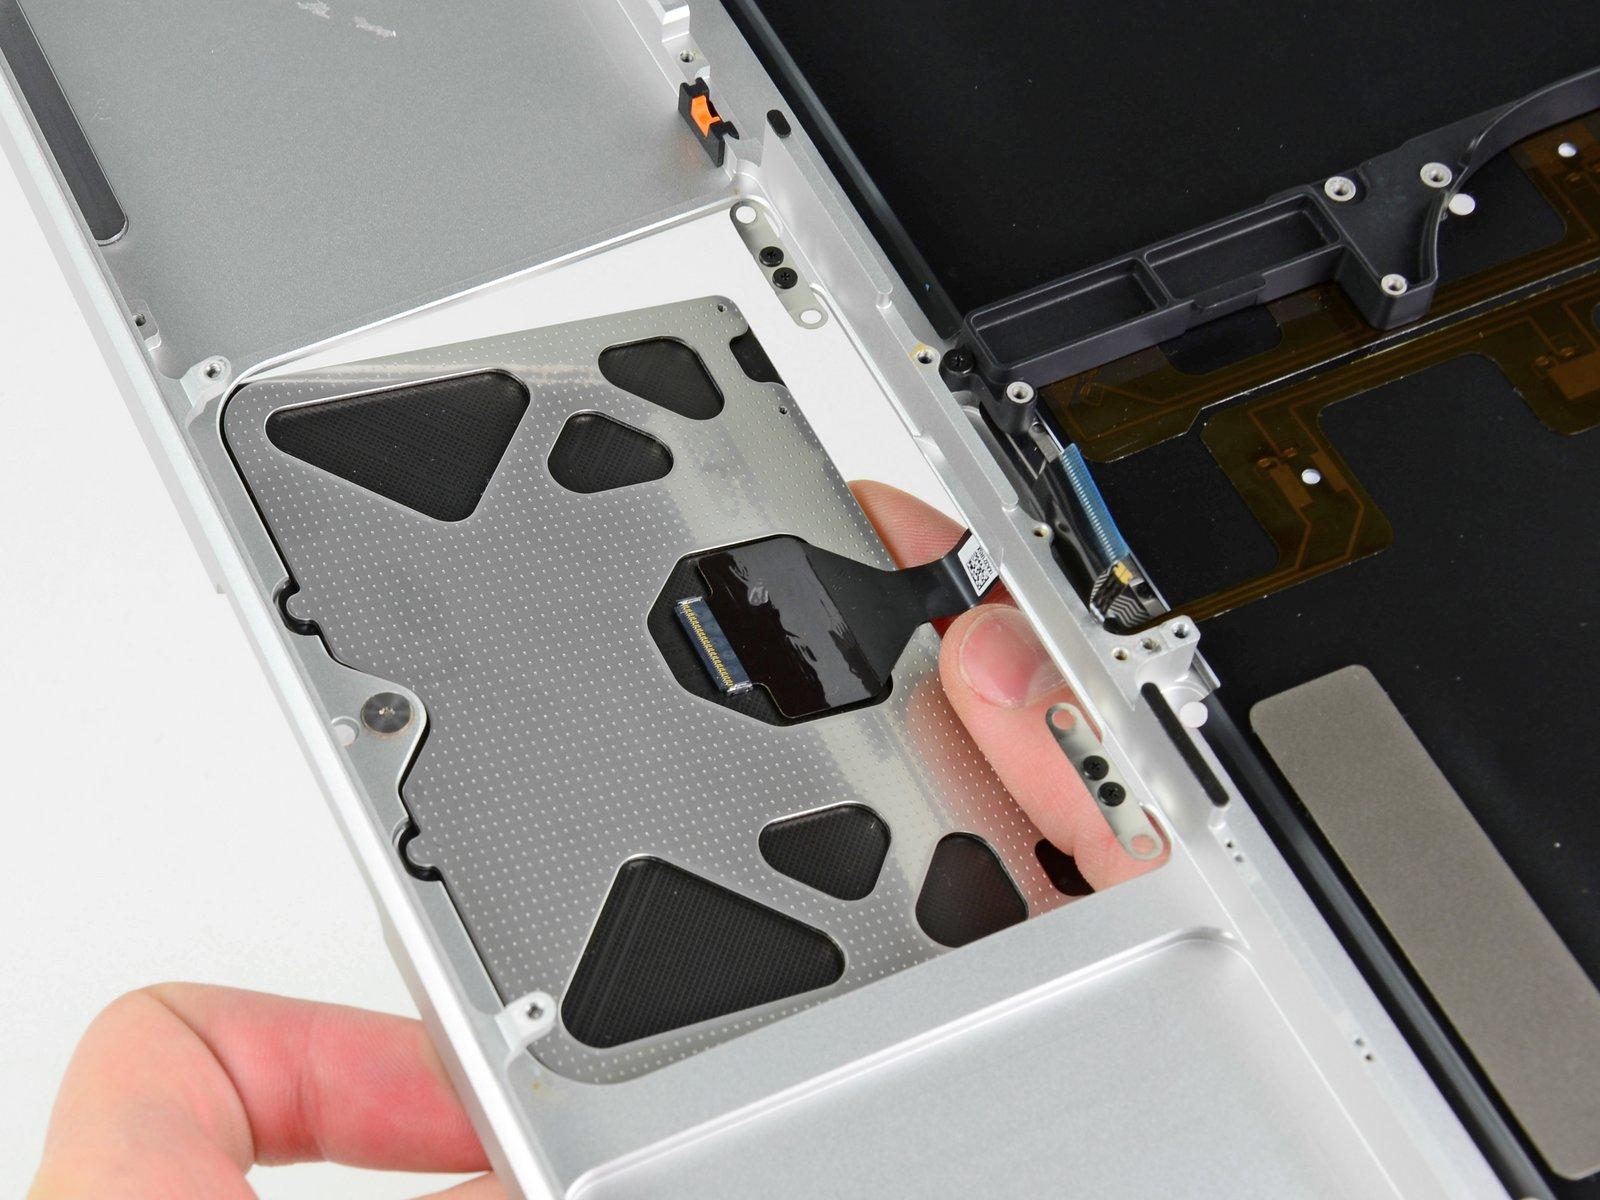
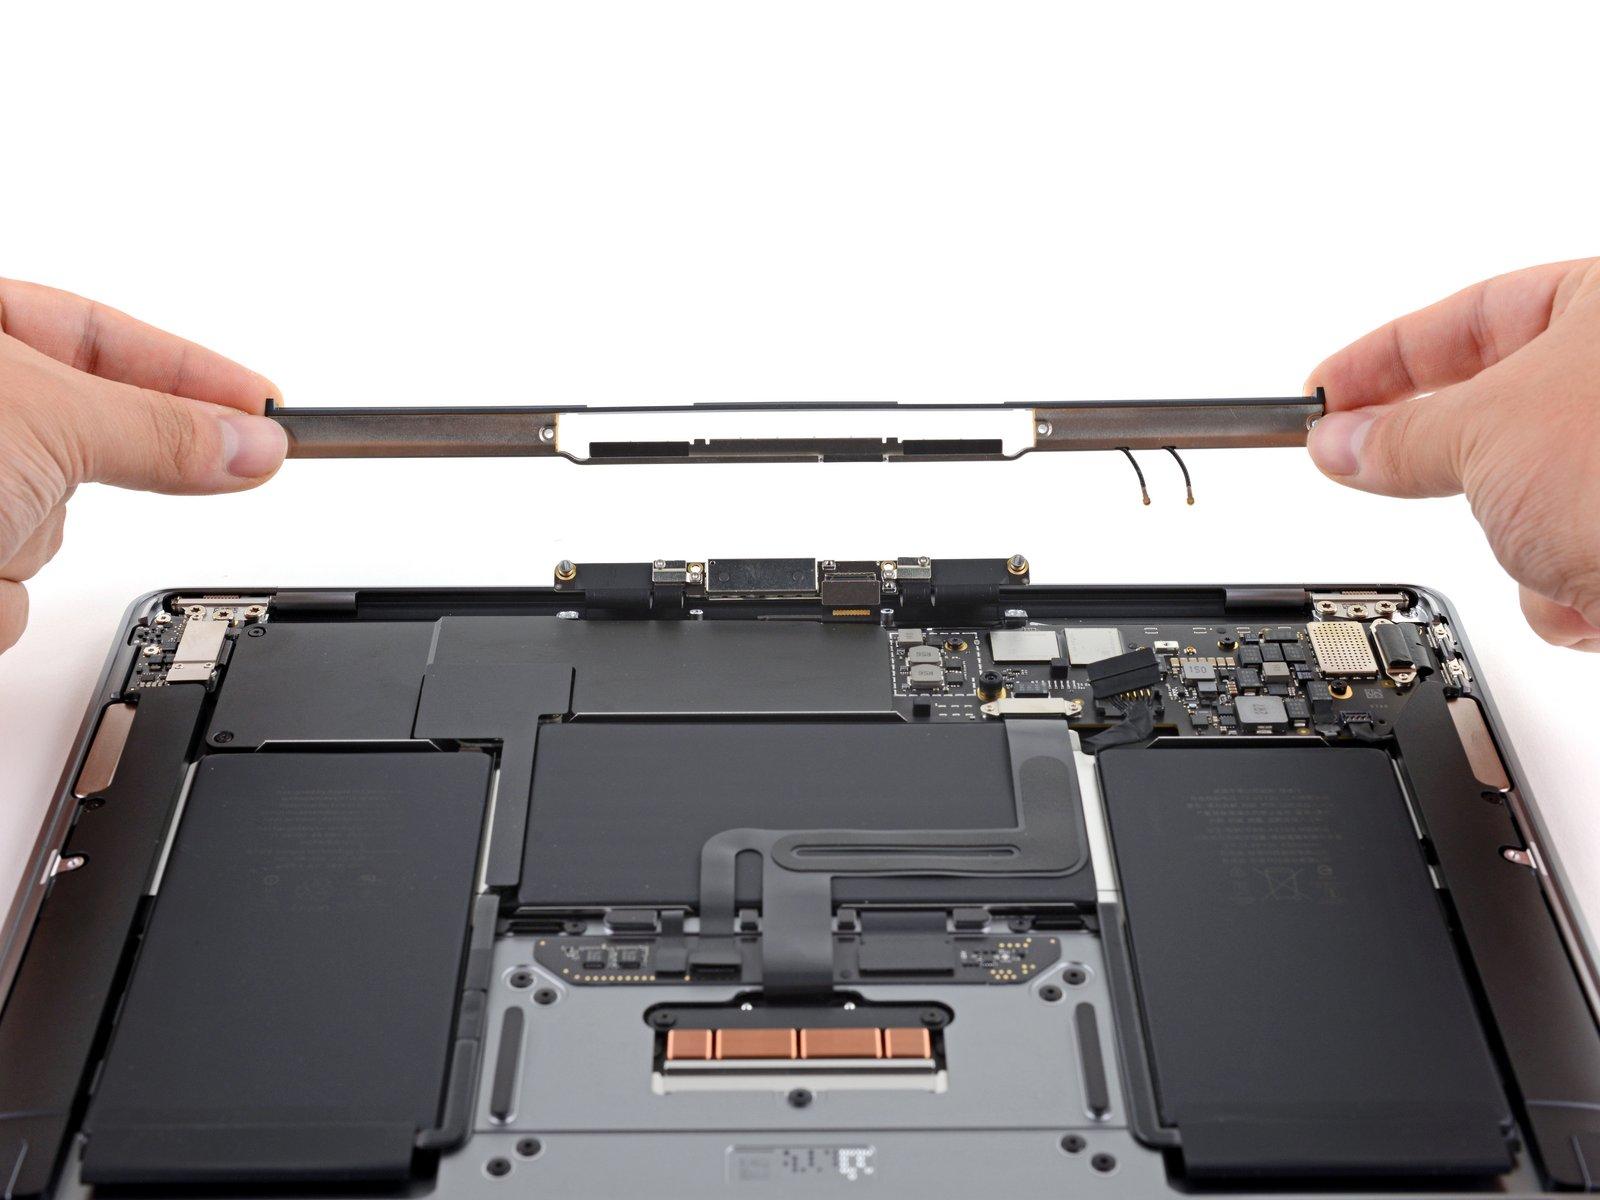
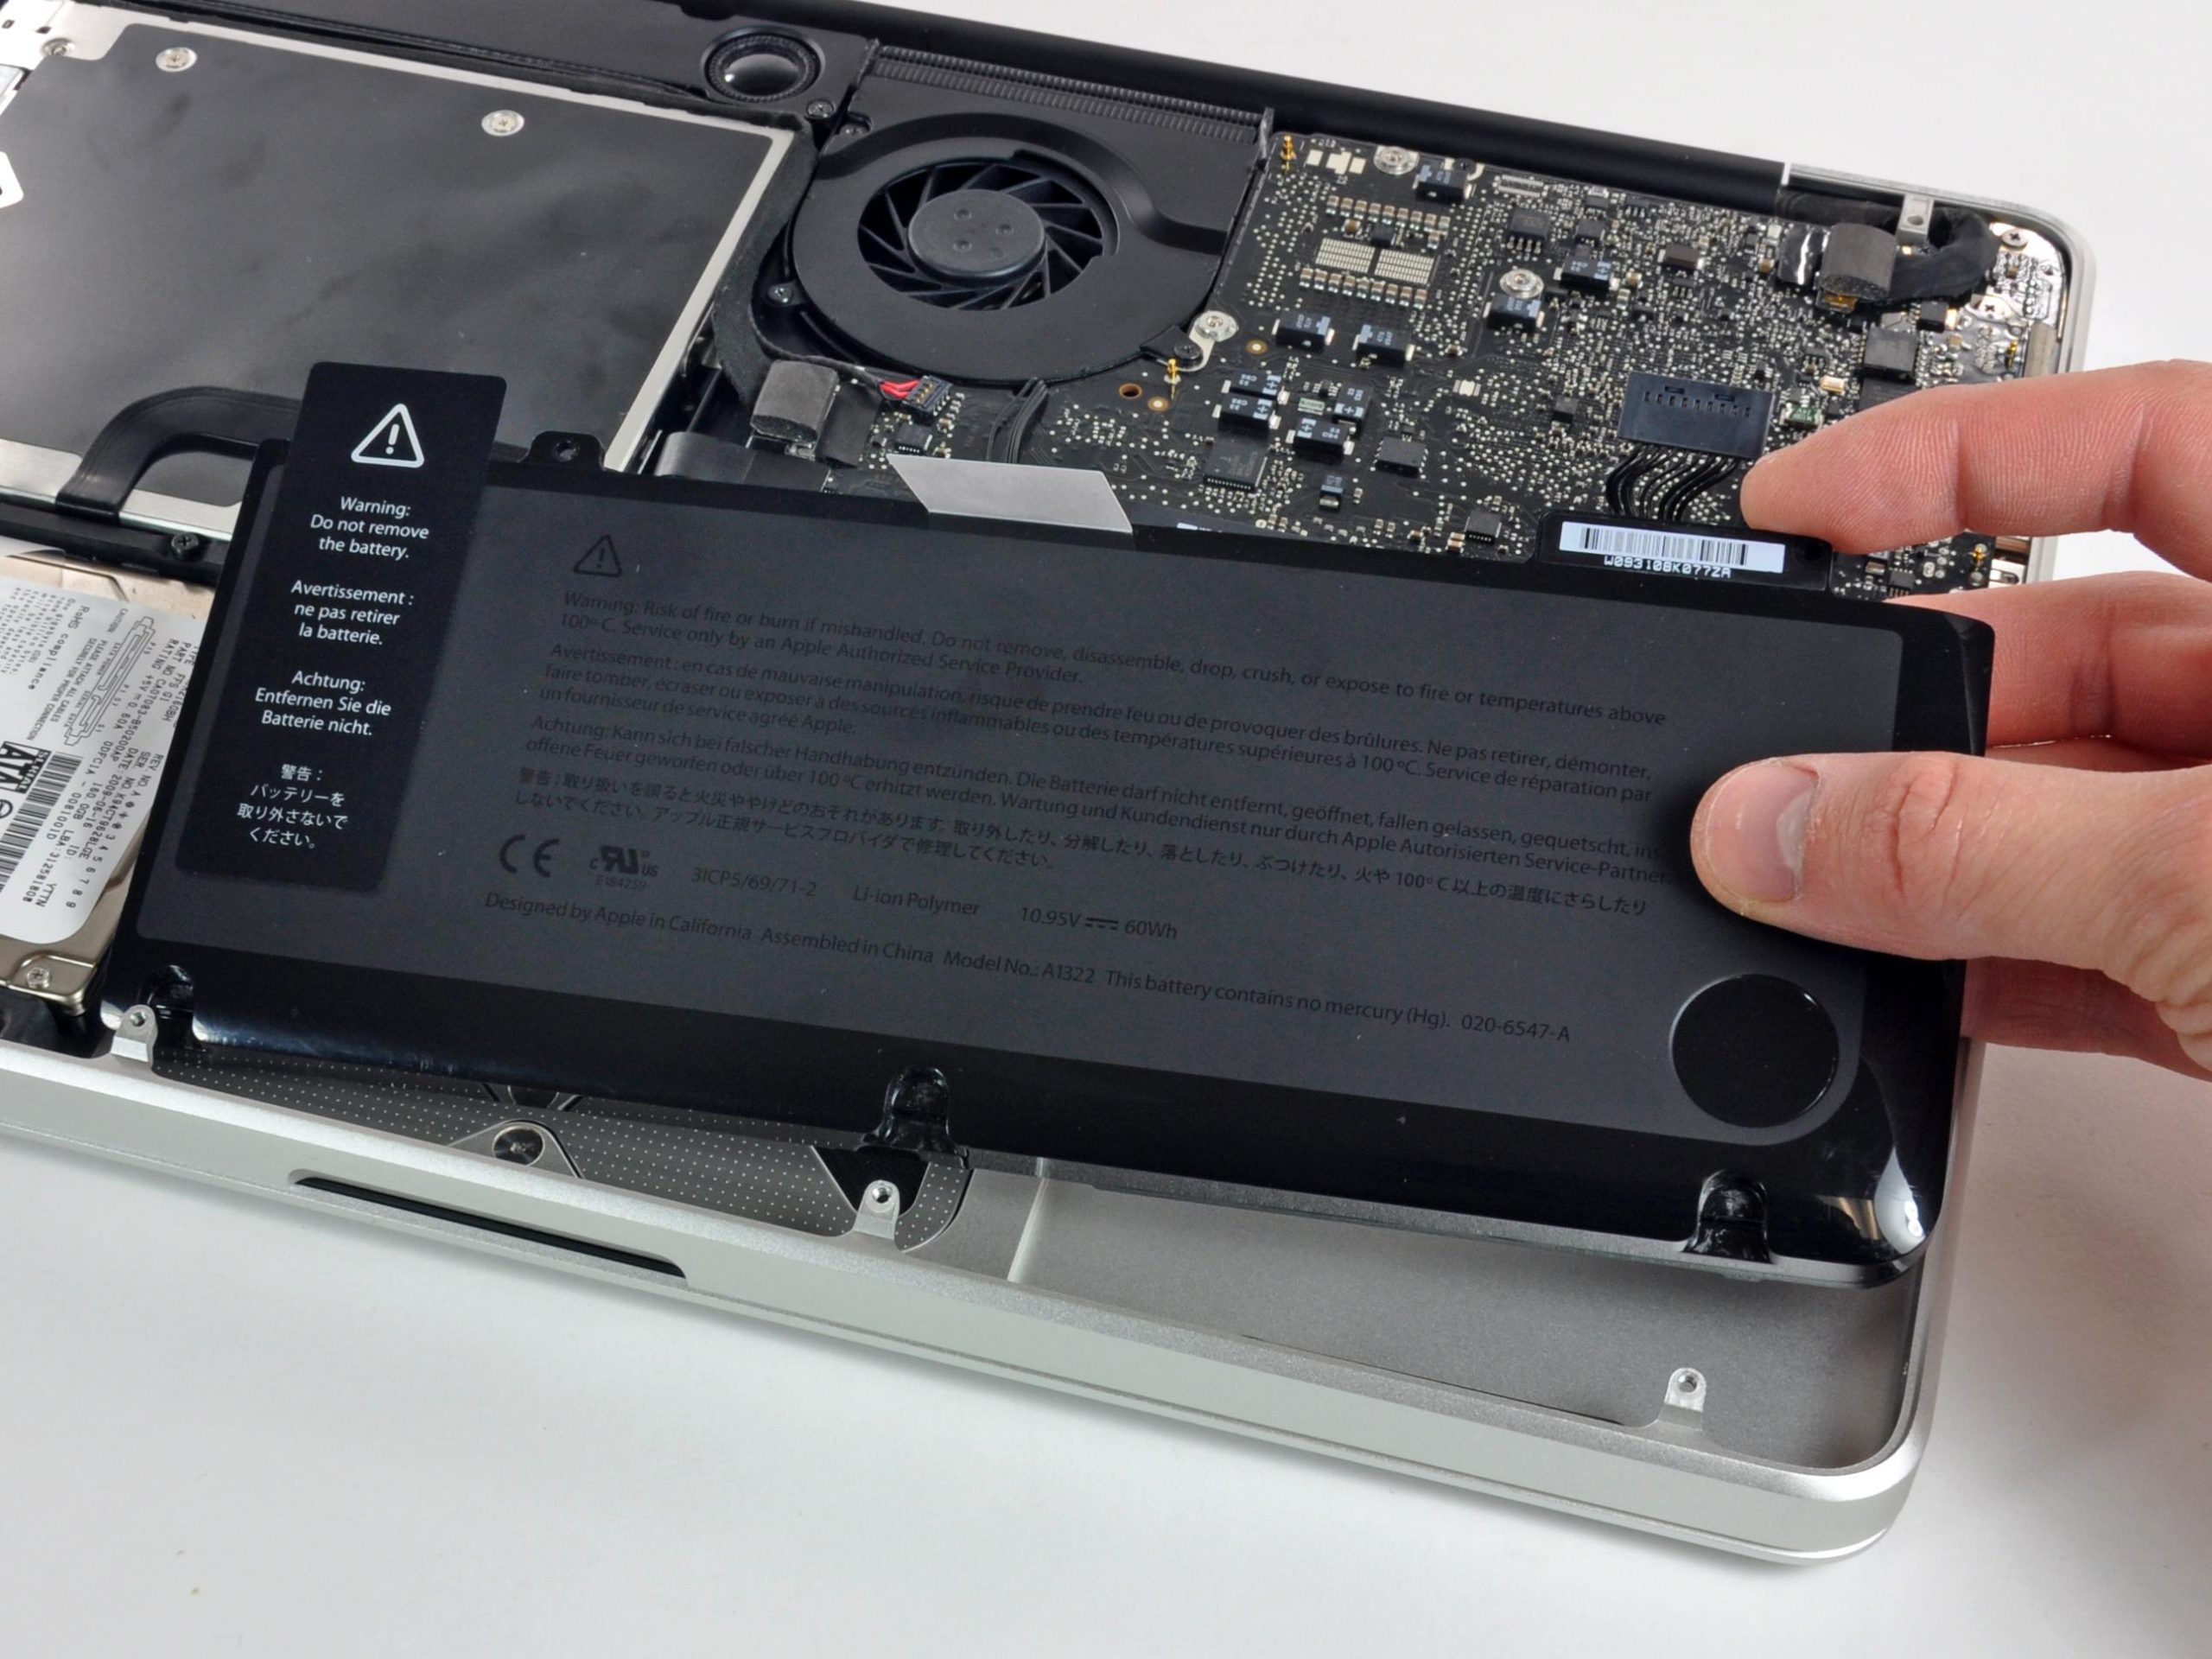
– Slip your fingers in between the top and bottom parts of the device.
– Gently tug the bottom part away from the top to free it.
Step 3
The lower case is held snugly to the upper case by a couple of handy plastic clips hanging out near the center.
– As you put everything back together, give a gentle nudge down on the center of the lower case to snap those two plastic clips back in place. You’ve got this!


