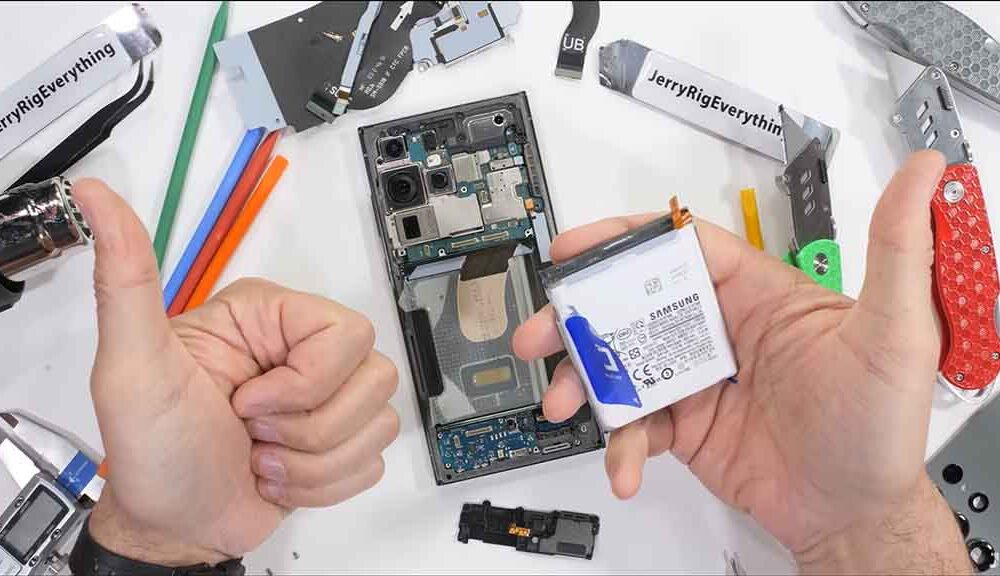
Samsung Galaxy S23 Ultra USB-C Port and Charging Board Replacement
Duration: 45 minutes
Steps: 31 Steps
Ready to swap out the USB-C port and charging board on your Samsung Galaxy S23 Ultra? Dive right in! Just a heads up: water resistance after the fix depends on how well you stick the adhesive back—so channel your inner perfectionist. Keep in mind, though, your device will lose its official IP rating.
Step 1

Before you dive in, let your phone's battery drop below 25%. Lithium‑ion batteries can be a bit dramatic if damaged while fully charged—and nobody wants surprise sparks!
- Pull the plug on all cables, give your phone the old power-down salute, and let it chill out for a sec.
Step 2


Oops! If the SIM eject tool found its way into a microphone hole, no big deal—chances are, your microphone is still safe and sound.
- Grab a SIM eject tool, a paperclip straightened out, or even a tiny bit of wire, and gently insert it into the hole on the bottom edge of your phone where the SIM tray hides. Give it a little press—think of it as a high-five for your device—and the SIM tray will pop out. Carefully pull out the tray, and you're all set to swap or inspect your SIM card. If you need help with any step, you can always schedule a repair.
Step 3

You can use a hair dryer, heat gun, or hot plate to help with the process, but watch out for overheating your phone! The display and internal battery are sensitive to heat, so keep it cool and steady.


Step 4


The adhesive is super strong in the bottom right and top left corners, so be prepared for a bit of a challenge when prying those areas loose.
- While the adhesive is getting all warm and gooey, keep this in mind:
- There's sticky stuff holding the back cover all around the edge of the frame.
Step 5


Struggling to make a gap? Hit it with a bit more heat—the adhesive will loosen up. Just follow those iOpener instructions so things don’t get too toasty.
- Stick a suction handle smack dab near the middle of the right edge on the back cover.
- Give that handle a confident tug—steady and strong—to pop open a little space between the cover and the frame.
- Slip an opening pick right into the gap you just made.
Tools Used

Step 6


- Glide the pick along the right edge, working it back and forth to loosen up that stubborn adhesive.
- Let the pick hang out near the bottom right corner to keep the sticky stuff from sneaking back together.
Step 7

- Place a hot iOpener on the bottom edge of the back cover and hold it there for about two minutes. This helps loosen things up so you can get inside more easily.
Tools Used
Step 8


Go easy around the corners—this glass is super delicate and doesn't take jokes well. Slow and steady wins the no-cracks race!
- Slide a second pick into the bottom right corner. Two picks, double the action!
- Tilt the pick so it hugs the curve, then swivel it around that corner like you’re spinning a mini record.
Step 9


- Glide your opening pick into the bottom left corner to loosen up that stubborn adhesive.
- Keep the pick chilling in the corner—this keeps the sticky stuff from making a comeback.
Step 10

- Warm up the left edge of the back cover with a heated iOpener for about two minutes.
Tools Used
Step 11


Handle the corners with care—those glass edges are pretty delicate. Take it slow to keep the glass intact and avoid any cracks.
- Slide a third pick into the bottom left corner—like you're sneaking the last slice of pizza.
- Tilt the pick up to hug the curved edge, then spin it around that corner with some smooth moves.
Step 12


Slide the pick in gently—no more than 5 mm! Any deeper and you might give the antenna flex cable or power button cable a surprise they won’t like.
- Glide your opening pick along the left side to loosen up that sticky adhesive—stop when you hit the power button.
- Keep the pick chilling in the left edge so the adhesive doesn’t sneakily stick itself back together.
Step 13

- Warm up an iOpener and gently press it against the top edge of the back cover, holding it there for about two minutes to soften the adhesive.
Tools Used
Step 14


Be gentle when handling the corners, the glass can be super delicate. Take your time and work carefully to avoid any cracks or damage.
- Let's get this repair started! Insert an opening pick into the gap at the top right edge - it's the perfect place to begin.
- Now, angle that pick upward to match the curved edge and gently rotate it around the top right corner. You're making great progress!
Step 15


Keep that pick shallow—no deeper than 4 mm—or you might poke the cameras or sensors, and they're not fans of surprise visits.
- Gently slide the plastic pick into the top left corner to loosen the adhesive. Think of it as cracking open a stubborn jar—patience is key!
- Keep that pick in place once you've got it started to stop the adhesive from sealing back up. It’s like holding the door open for the next step—keep it propped!
Step 16


Only insert the pick-up tool up to 4mm—go gentle or risk a camera mishap. Keep it smooth and steady, and if you need a hand, you can always schedule a repair.
- Slip an opening pick into the top left edge, where there's a little gap waiting for you.
- Tilt the pick up to match that stylish curve, then smoothly guide it around the top left corner.
Step 17


Keep your pick shallow—no deeper than 4 mm—or you might give your cameras a surprise they won't like!
- Gently slide the plastic pick toward the bottom camera to glide through the remaining adhesive. Just be sure to stop before you reach the power button to avoid any mishaps. If you need a hand, you can always schedule a repair.
Step 18


If the cover is still clinging on for dear life, give it a gentle nudge with your opening pick all the way around the edge until it finally lets go.
Now’s a great time to power up and make sure everything works before locking things down. Don’t forget to completely power off your phone before you get back to tinkering.
- Pop off the back cover and set it aside.
- When you're putting things back together:
- Clear away any stubborn adhesive bits using tweezers or your fingers. A little heat can help loosen those clingy pieces.
- If you've got custom-cut adhesives, follow the dedicated guide for that.
- Using double-sided tape? Check out the guide for tape tips.
Step 19


- Grab your spudger and use the pointy end to gently pry up the NFC antenna connector from the motherboard. Treat it like a little door you’re opening for the first time.
- Do the same trick for the wireless charging coil connector—lift it up with care, like you’re revealing a secret compartment.
- When it’s time to reconnect, line up each connector and press down on one side until you hear that satisfying click, then repeat on the other side. No need to squish the middle! Misaligned connectors can bend pins and make your device grumpy, so go slow and steady.
Tools Used

Step 20


The wireless charging coil has a gentle adhesive holding it to the battery. Keep that in mind while you work!
- Begin by slipping an opening pick right at the edge between the wireless charging coil and the battery. Then, gently slide the pick along the edge to break free the adhesive holding everything together.
Step 21


- Time to get this repair started! Begin by carefully inserting an opening pick between the top edge of the wireless charging coil and the frame.
- Now, gently slide the pick toward the right edge to loosen the remaining adhesive - you're making great progress!
Step 22

- Let's get started! Use a trusty Phillips screwdriver to remove the five 3.5mm-long screws that hold the NFC antenna and charging coil in place. It's an easy step, but an important one!
Step 23

- Grab your Phillips screwdriver and take out the six 3.5 mm screws holding down the loudspeaker. Simple as that!
Step 24


Skip prying against the battery. Use those handy frame bumps for extra leverage instead.
- Wedge that spudger's pointed tip into the upper right corner between the loudspeaker and the frame—just like slipping a secret note into a locker!
- Gently pry upwards to release the loudspeaker from its snug little frame. It's like giving it a little hug to help it out!
- When you're putting everything back together, give the loudspeaker a little love by pressing around its edges to snug it back into place like a warm blanket.
Tools Used
Step 25


- Carefully take out the NFC sensor, wireless charging coil, and loudspeaker from the frame. Remember, gentle hands make for happy devices!
Step 26


- Grab your spudger and gently pop that battery press connector off. You’ve got this!
Tools Used
Step 27


- Grab your trusty spudger and gently pop up the secondary interconnect cable’s press connector from the motherboard—like opening a stubborn pickle jar, but less messy.
- Do the same maneuver for the primary interconnect cable. Smooth moves!
Tools Used
Step 28


- Grab your trusty spudger and gently pry up to disconnect the secondary interconnect cable press connector from the charging board. Easy peasy!
- Now, let's do the same for the primary interconnect cable. You've got this!
Tools Used
Step 29


- Go ahead and gently detach those interconnect cables from the frame. You've got this!
Step 30

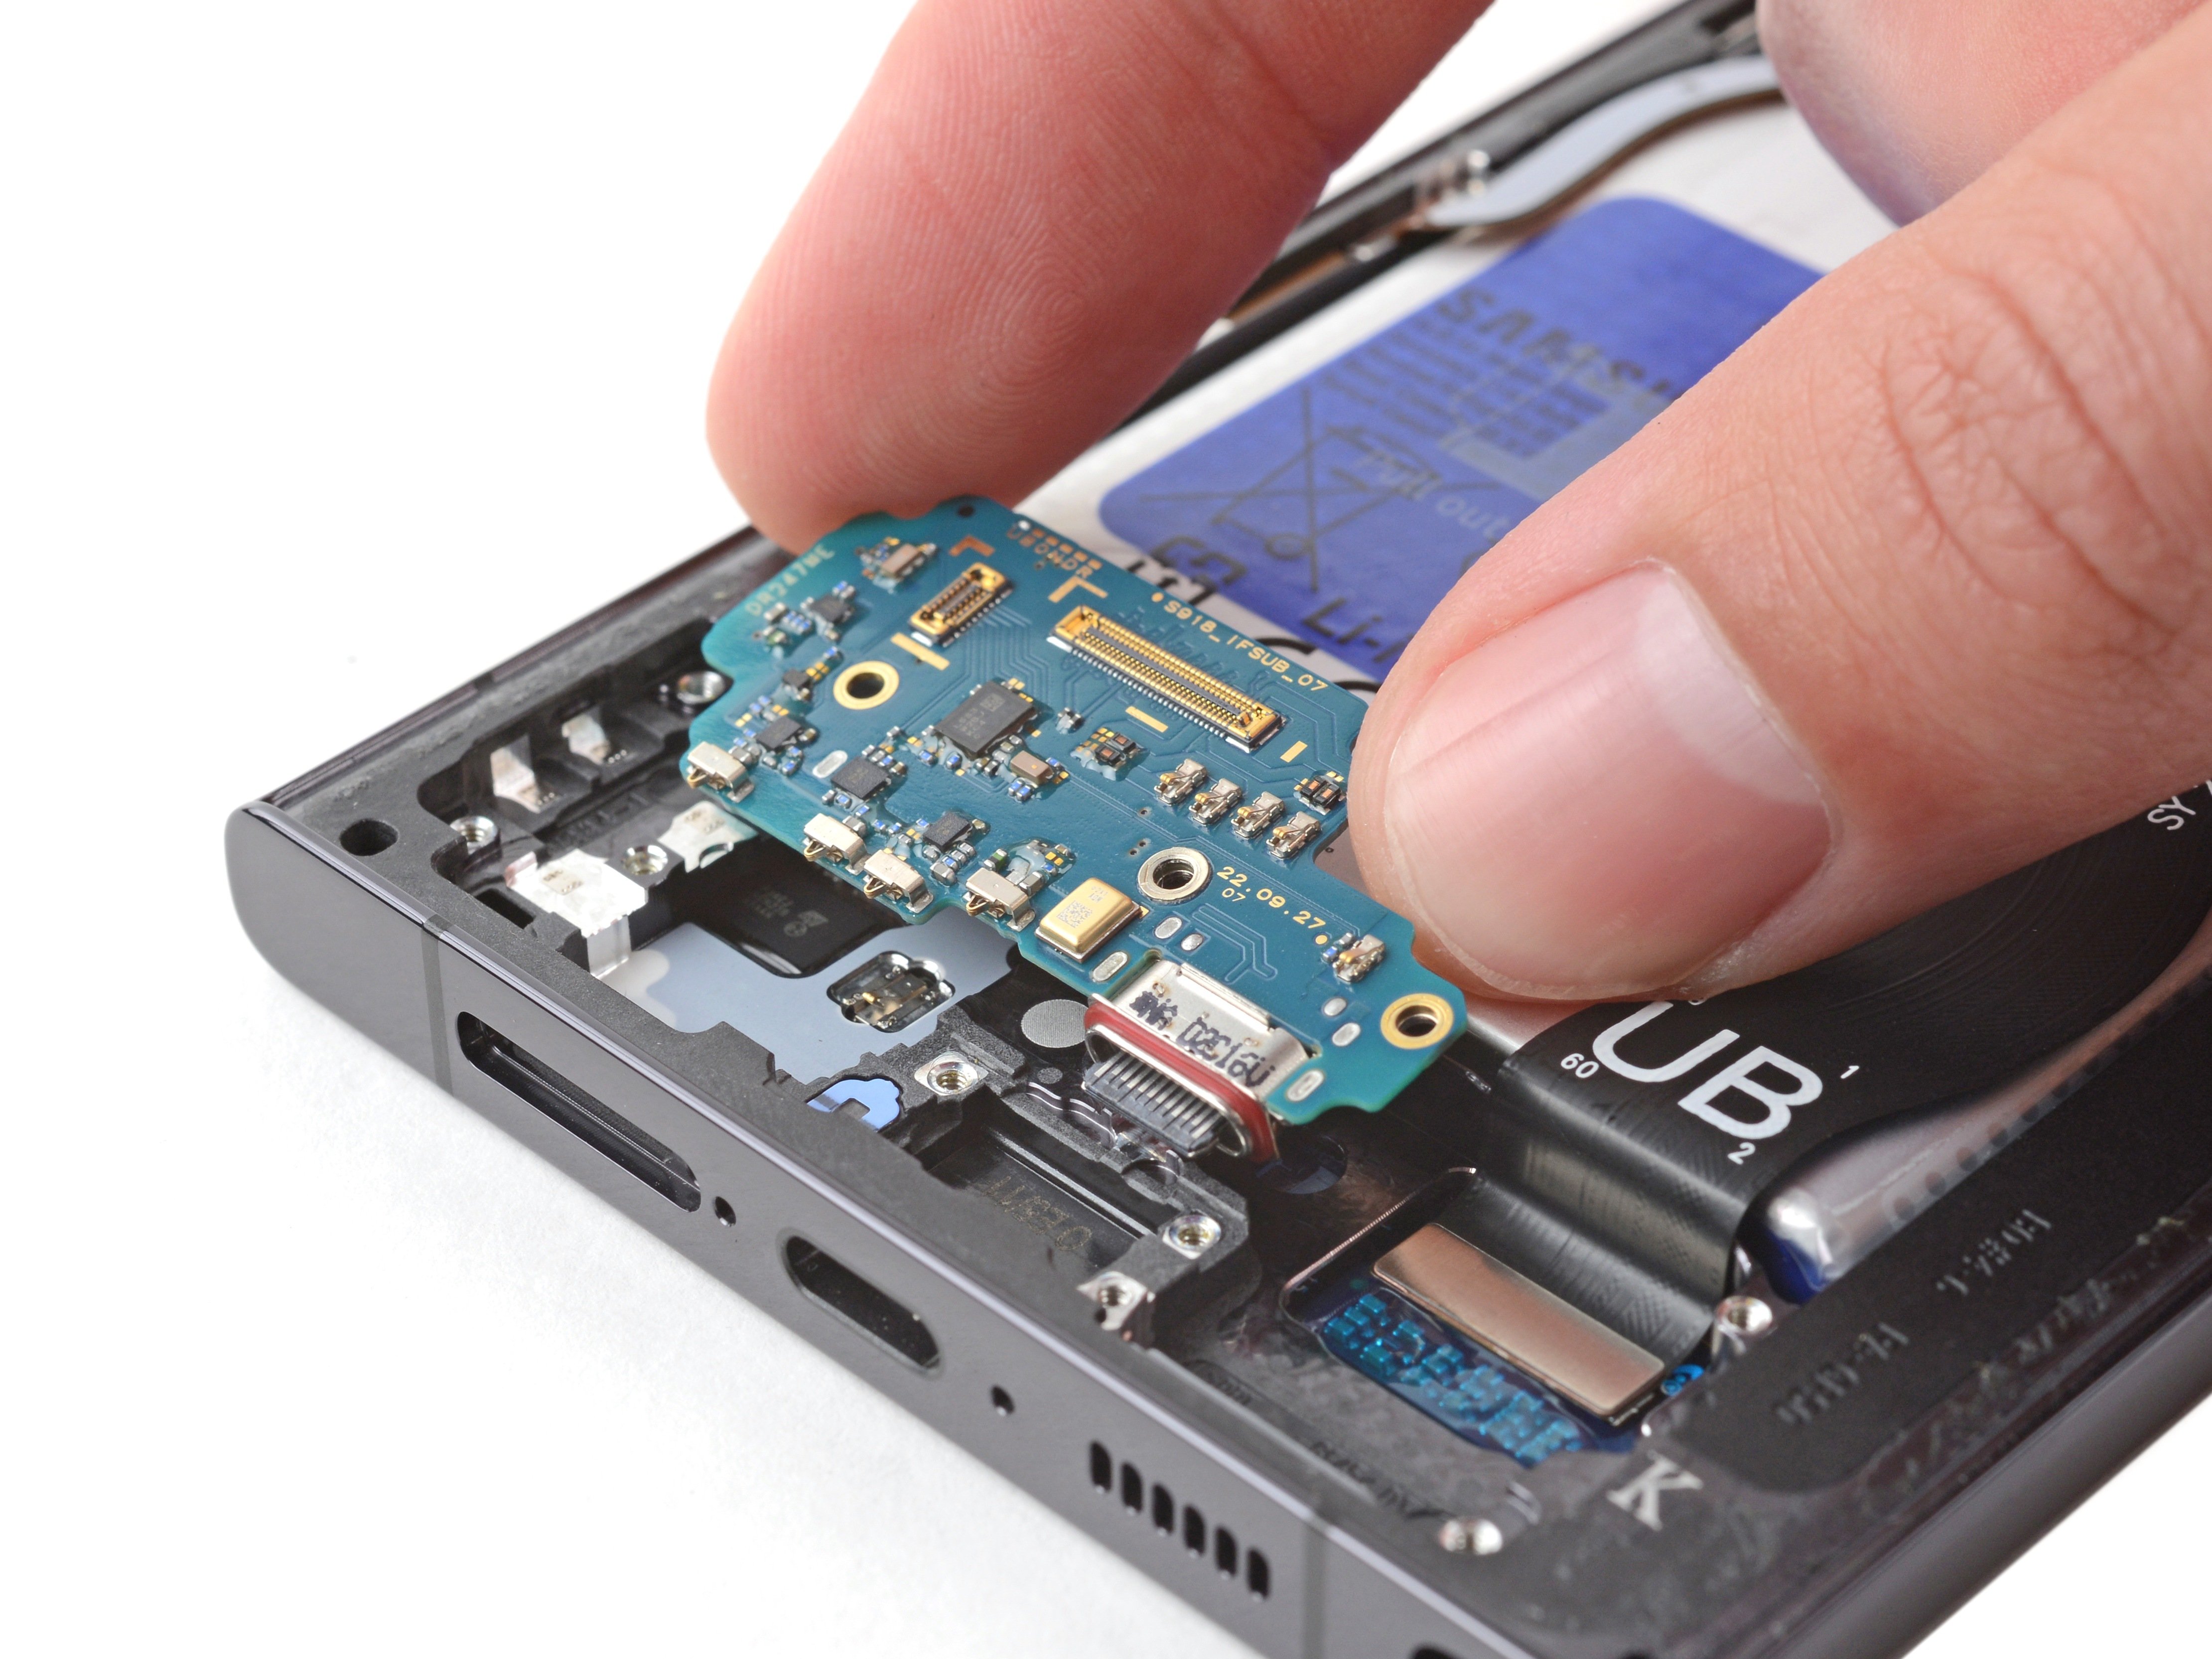
- Let's get started by removing the three 3.5mm-long screws that hold the charging board in place. Grab your trusty Phillips screwdriver and get to work!
Step 31


- To wrap things up, simply reverse the steps you followed to take your device apart, and do the opposite of what you did before - think 'put back' instead of 'take out.' Be sure to skip any steps that involved heat or prying, and keep an eye on those important details as you work through the steps.
- Once you've finished the repair, download the Samsung Members App from the Galaxy Store or the Play Store, and check out the Samsung Self-Repair document (starting on page 10) to make sure everything is working smoothly.
- Remember to responsibly recycle your e-waste by taking it to an R2 or e-Stewards certified recycler.
- If things didn't quite go as planned, don't worry! You can always schedule a repair with Salvation Repair, or check out our Answers community for some troubleshooting help.