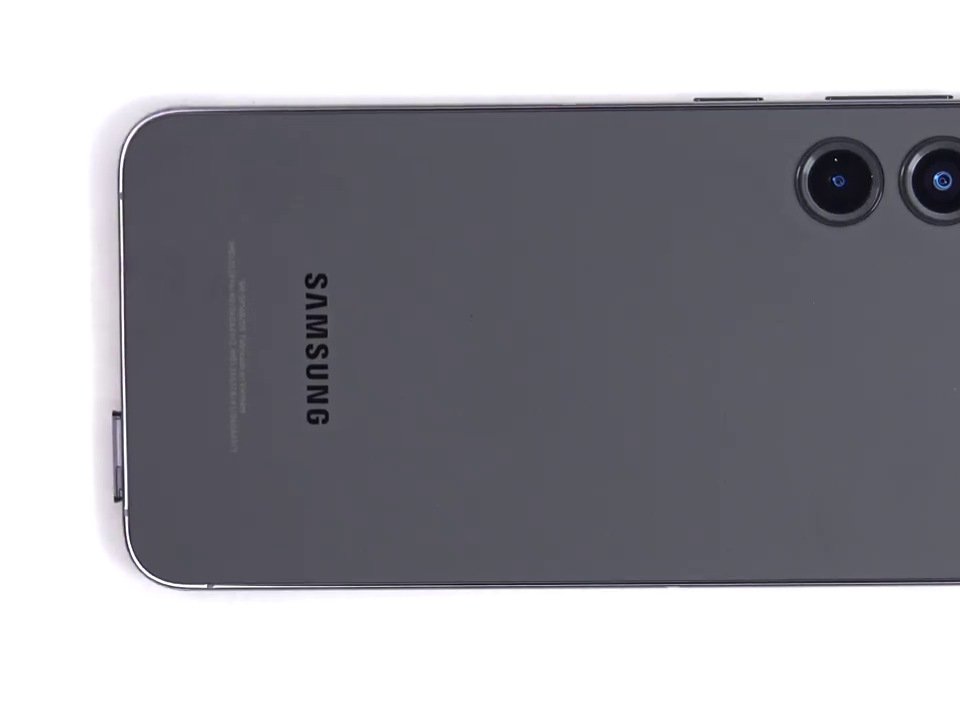
Samsung Galaxy S23 Plus Back Cover Replacement
Duration: 45 minutes
Steps: 15 Steps
Ready to swap out the back cover on your Samsung Galaxy S23+? Let’s get to it! Heads up—making your device water-resistant again depends on how neatly you stick that adhesive back down, so take your time. Still, after this fix, your Galaxy will wave goodbye to its official IP rating.
Step 1


Let your phone's battery dip below 25% before you start, since a charged lithium-ion battery can be feisty. Got a swollen battery? Handle it with care—no need for heroics.
- First things first, let's disconnect any cables from your phone. Give it some breathing room!
- Now, press and hold the side button along with the volume down button, then tap 'Power off' to gracefully shut down your phone.
Step 2

You can use a hair dryer, heat gun, or hot plate for this, but don’t crank up the heat too much—the screen and battery are not fans of high temps.
- Warm up your iOpener, then park it on the right edge of the back cover for about two minutes—just long enough for the adhesive to loosen up and wave the white flag.
Tools Used


Step 3


If you're struggling to make a gap, no worries—just apply a bit more heat to loosen up that stubborn adhesive. Be sure to follow the iOpener instructions carefully to avoid overheating, and you'll be back on track in no time!
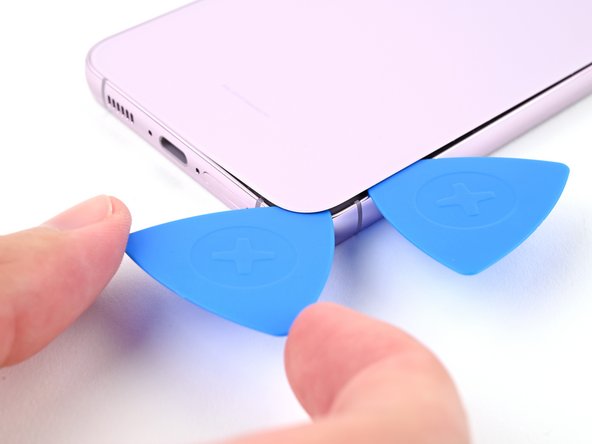
- Stick the suction cup on the back cover, right in the middle of the right-hand edge—the sweet spot.
- Give the handle a confident, steady tug to pop open a little gap. You’re looking for a gap just big enough to wiggle in a pick.
- Slide your plastic pick into the gap like you’re tucking a bookmark between pages.
Tools Used

Step 4


- Gently slide the opening tool or pick along the right side to loosen the adhesive. Keep the pick tucked near the bottom right corner to stop the adhesive from sealing back up. If you need help, you can always schedule a repair.
Step 5

- Let's get this repair started! Apply some heat to the bottom edge of the back cover using a heated iOpener for about two minutes. This will help loosen things up and make the next steps a breeze.
Tools Used
Step 6

- Slip a second pick into the bottom right corner—like you're sliding into DMs, but for your device.
- Gently twist the pick around that corner to loosen up the adhesive. Smooth moves, you're almost there!
Step 7


- Gently slide the opening pick into the bottom left corner to loosen the adhesive. Keep the pick in place there to stop the adhesive from sealing back up. If you need a hand, you can always schedule a repair.
Step 8

- Warm up the left edge of the back cover with a heated iOpener for about two minutes. Get that glue nice and soft!
Tools Used
Step 9


- Swing that opening pick around the bottom left corner to break up the sticky stuff holding things together.
Step 10


- Pop in a third opening pick at the bottom left corner.
- Gently slide your pick up towards the top left corner to break that adhesive seal.
- Keep that pick in place at the top left corner to stop the adhesive from sticking back together.
Step 11

- Grab your iOpener, heat it up, and let it chill on the top edge of the back cover for about two minutes.
Tools Used
Step 12


- Grab a fourth pick and slide it into the top left corner.
- Swing that pick around the corner to loosen up the sticky stuff holding things together.
Step 13


- Gently slide your opening pick into the top right corner to break that adhesive bond like a pro.
- Keep that pick in place at the top right corner to stop the adhesive from sealing back up. You've got this!
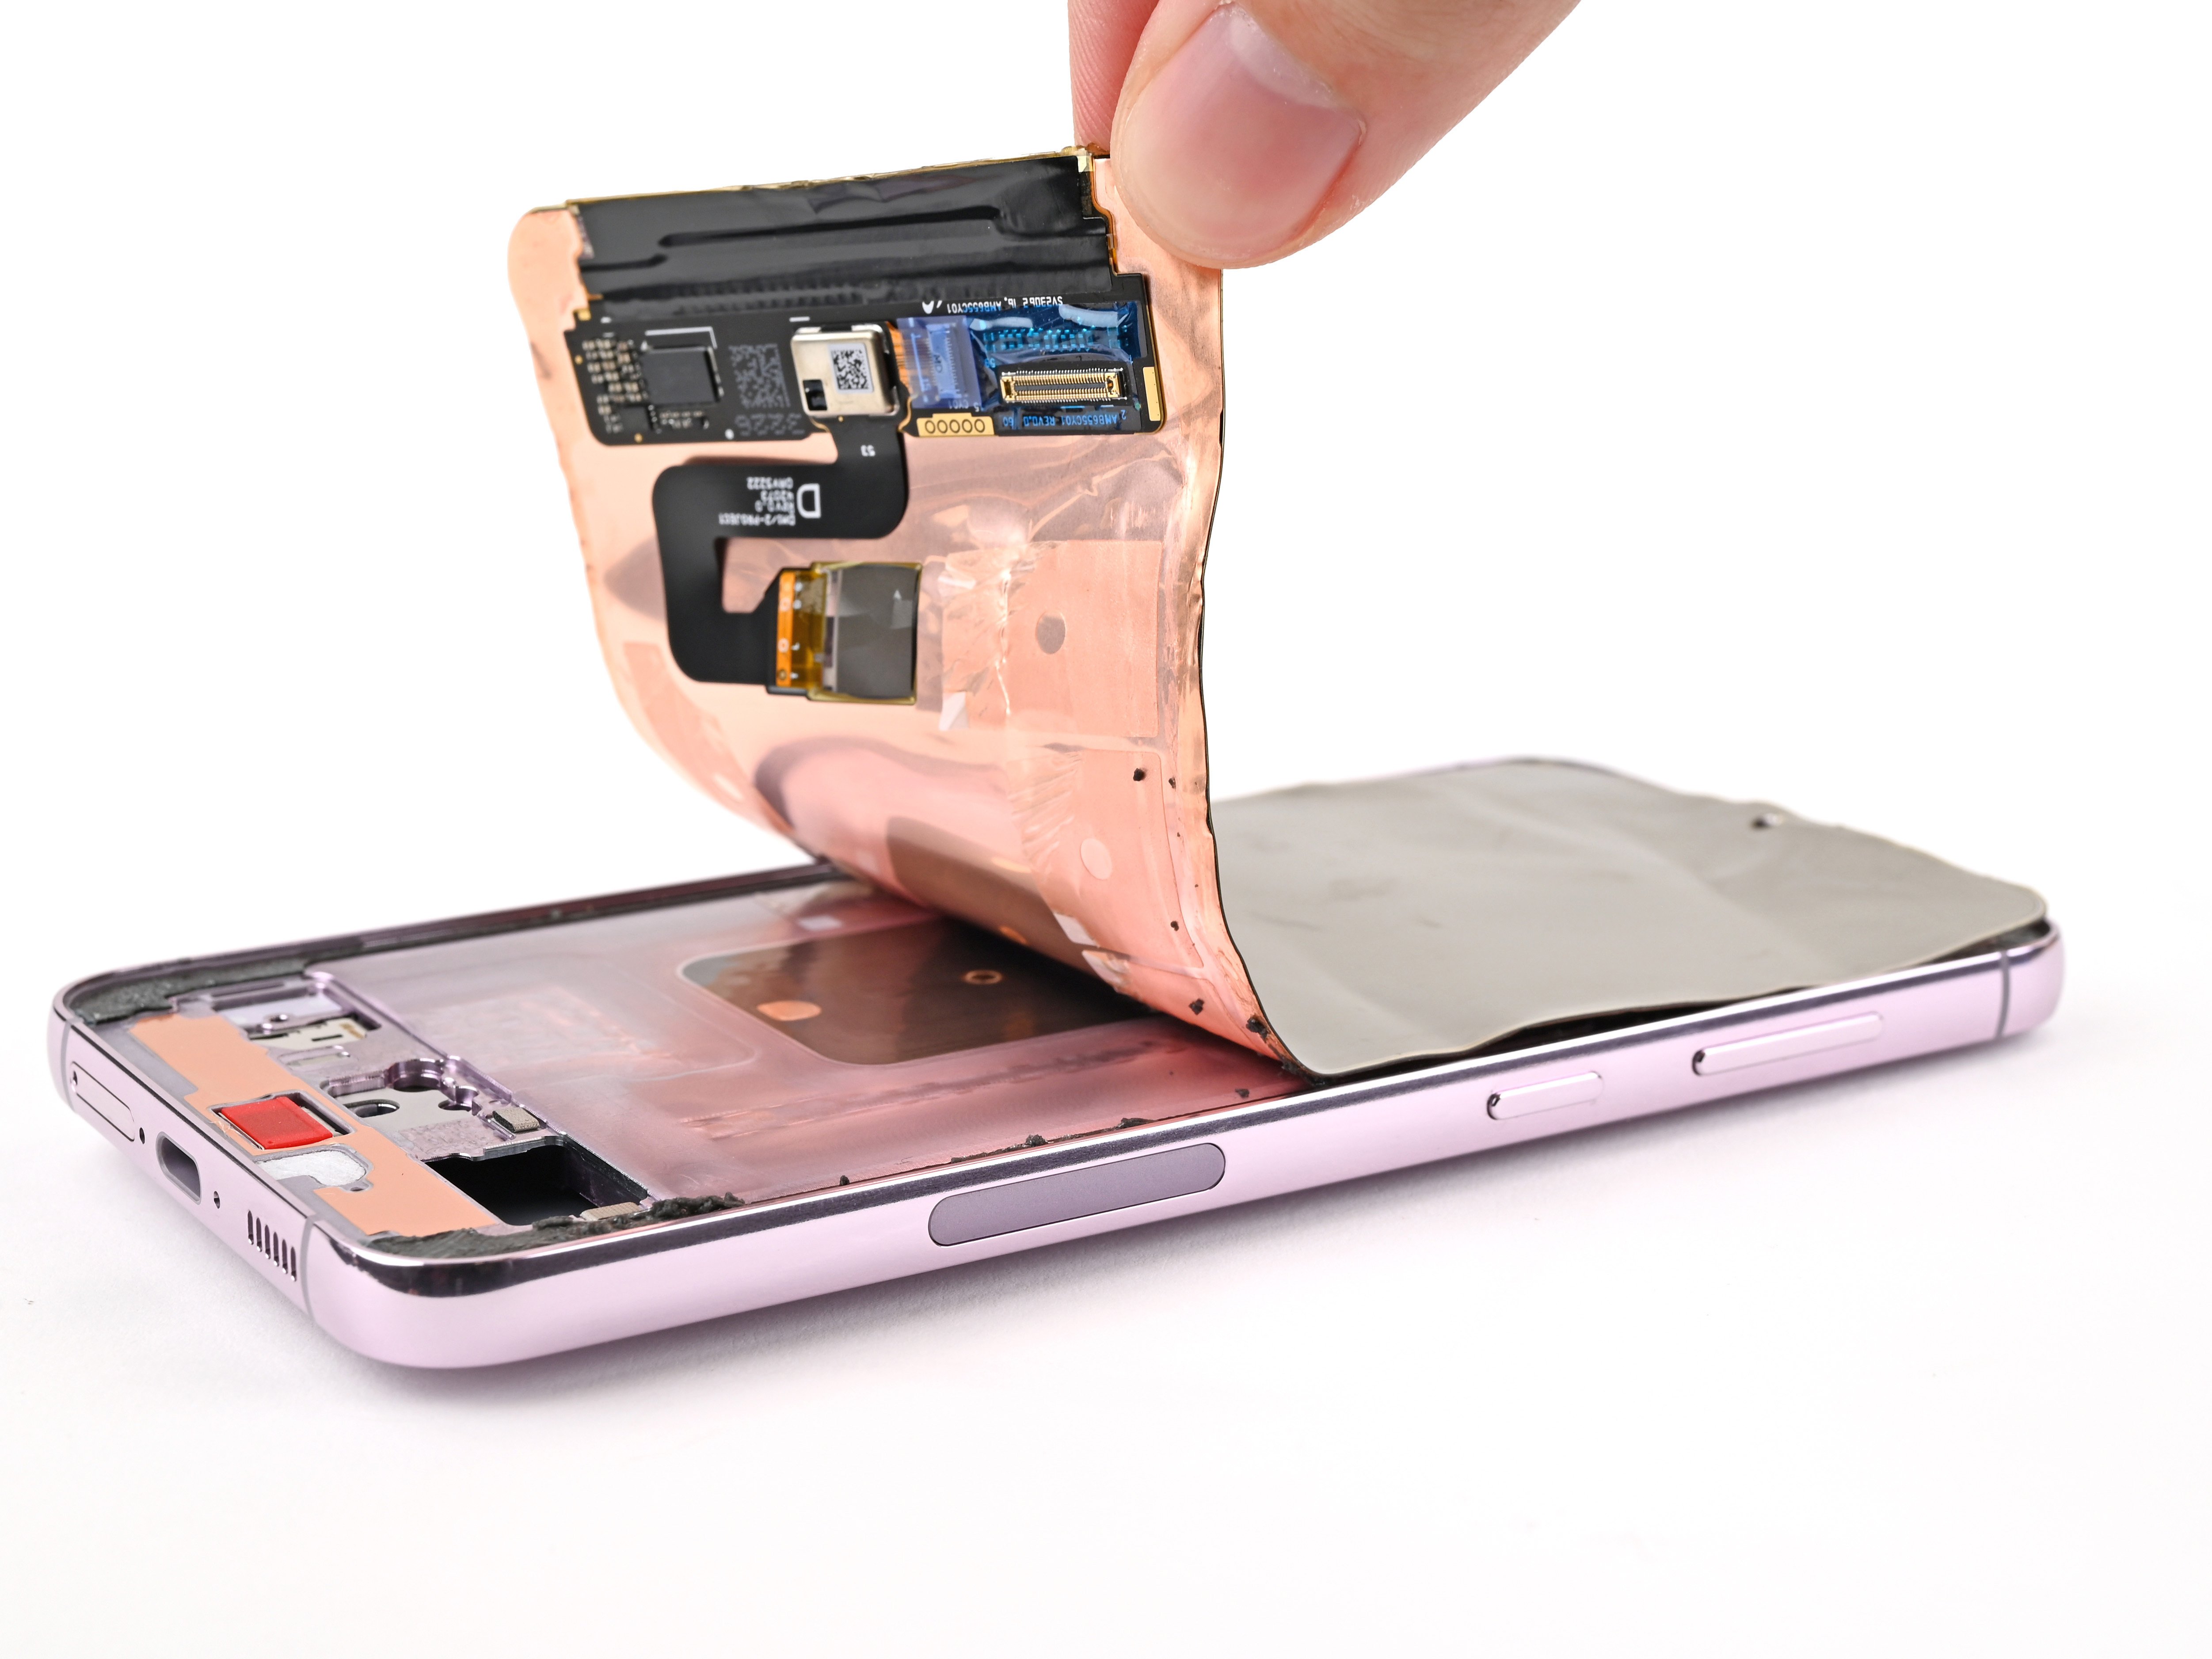
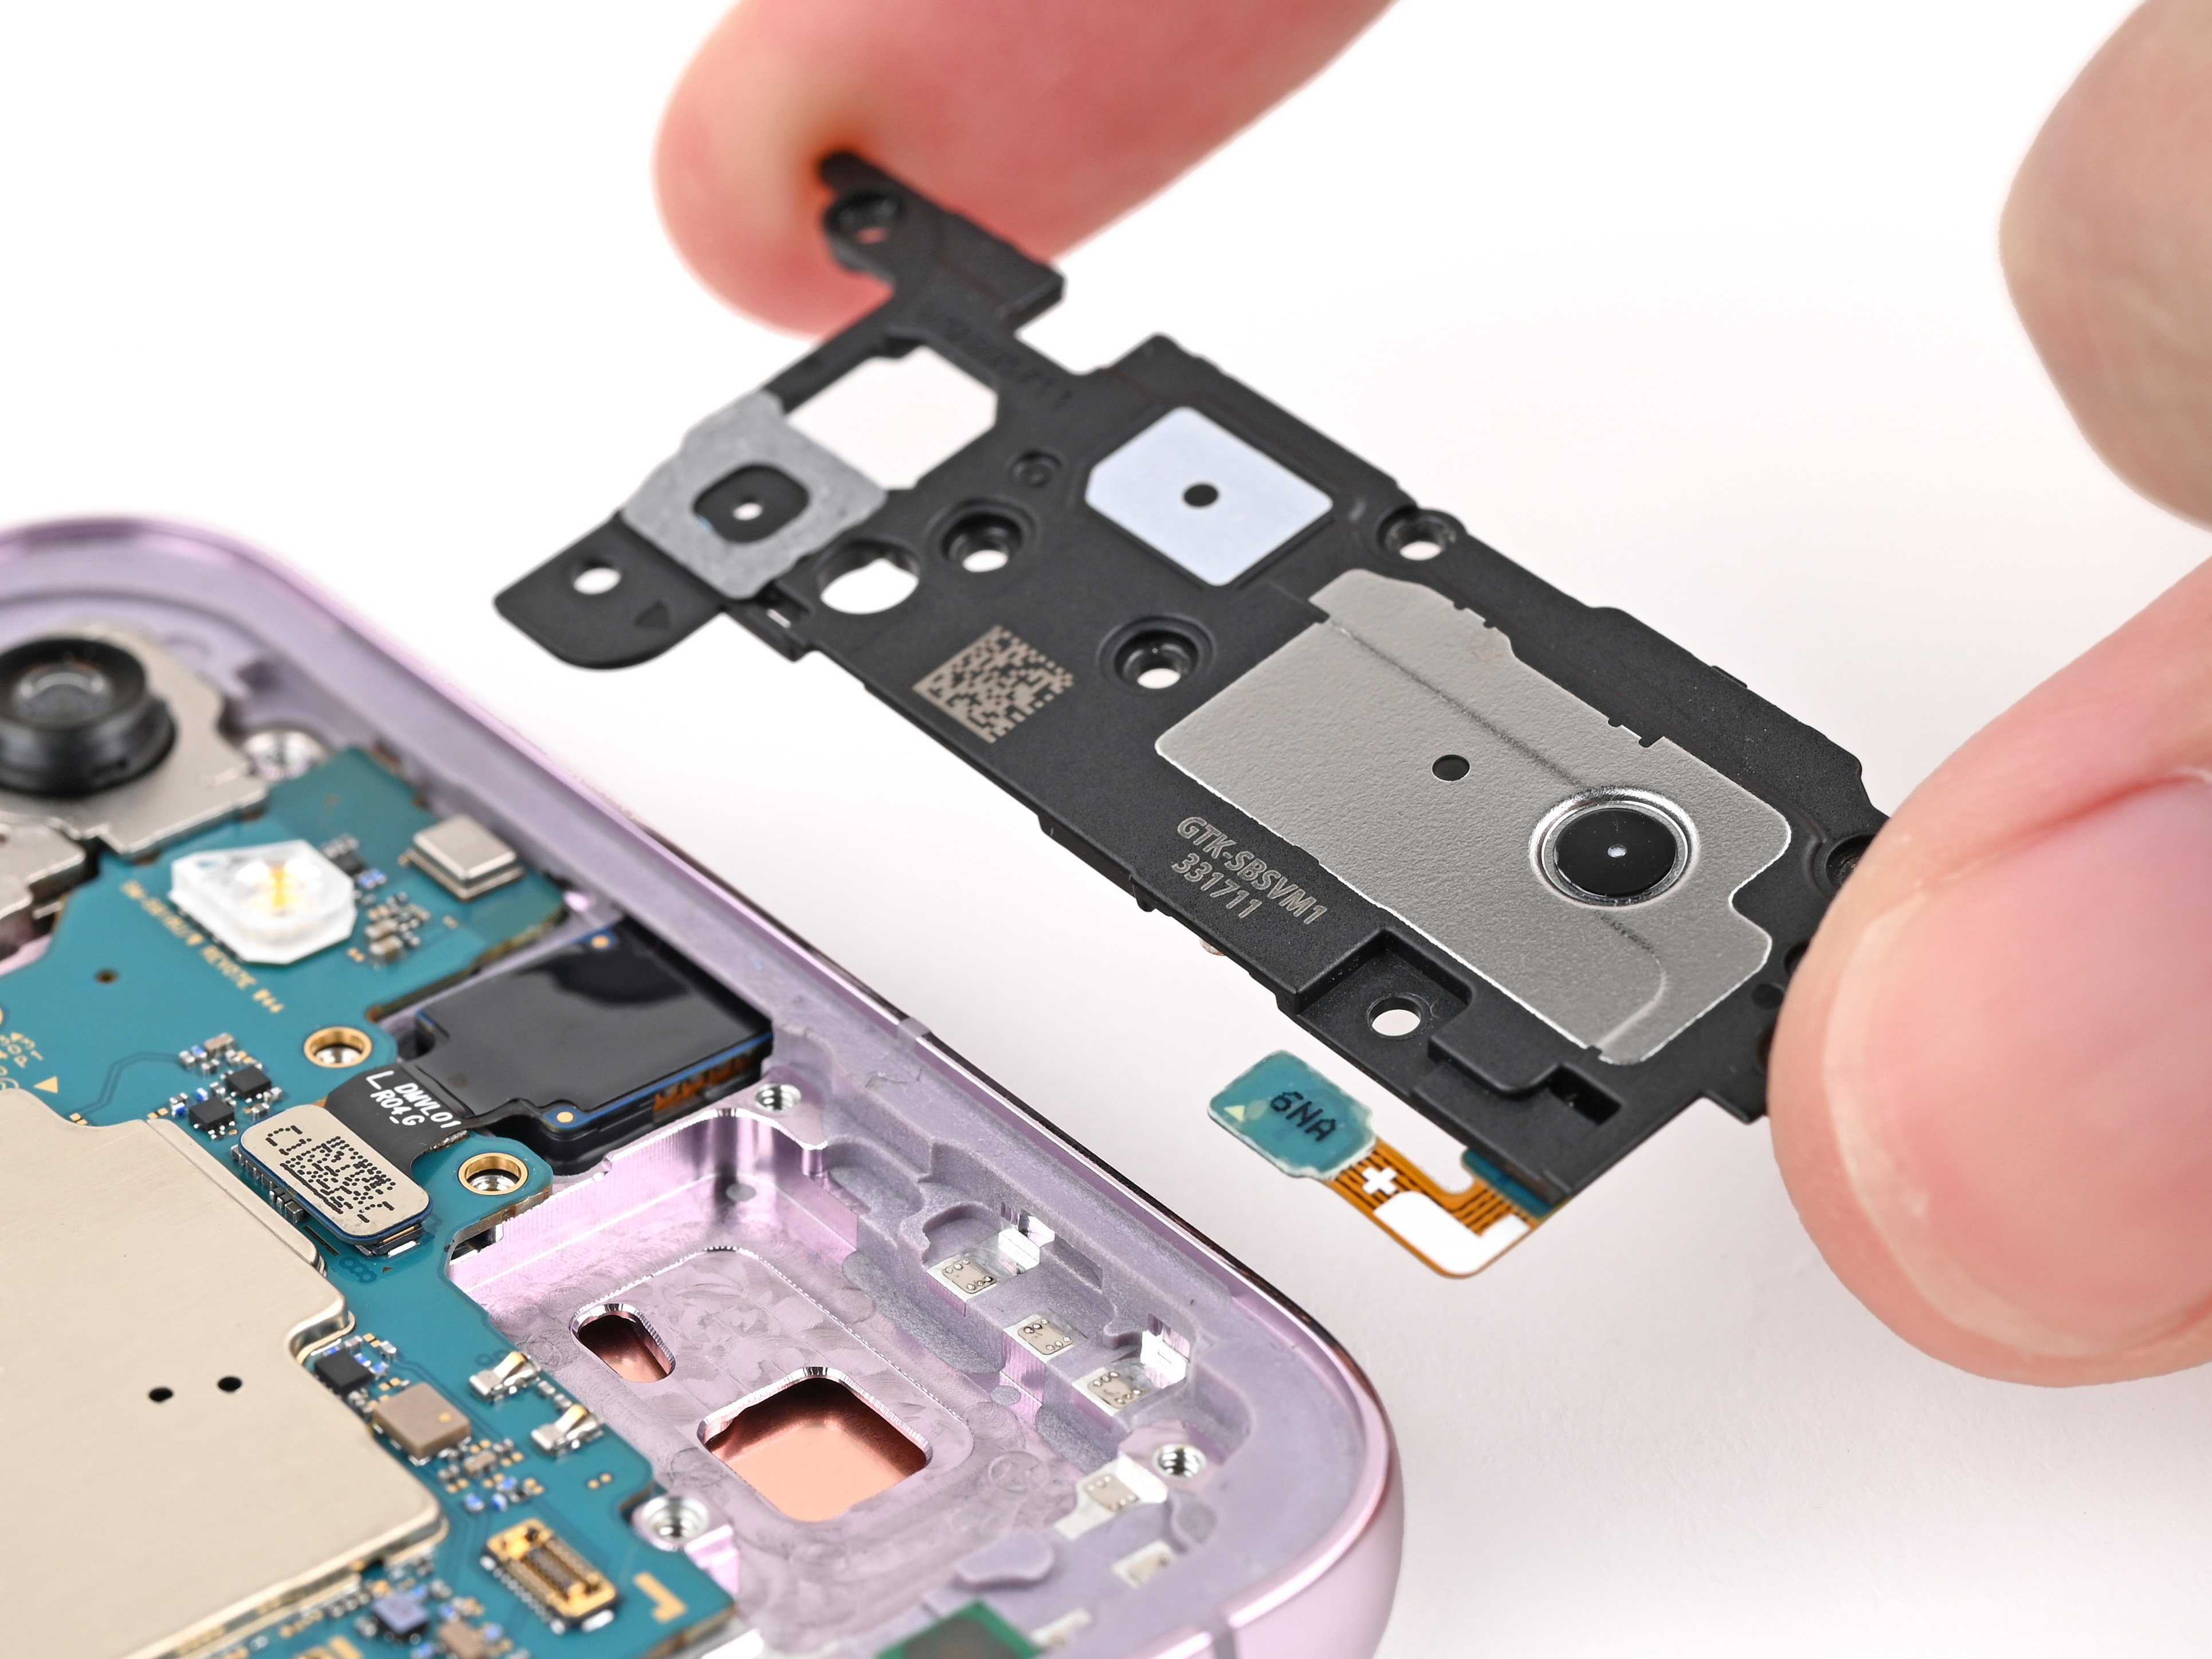
Step 14


Be careful not to touch the rear cameras with your pick, as this can cause damage to the lenses. Handle with care to avoid any unnecessary repairs.
There's still a little patch of adhesive sitting right under the flash. You should be able to spot the opening pick through the flash cutout, making it easier to get under that stubborn glue.
- Position the pointy end of your trusty opening pick right at the flash cutout.
- Gently slide that pick beneath the top edge of the back cover until you can feel it catching on the sticky stuff holding everything together.
- Keep nudging the pick down towards the bottom of the phone until you feel that adhesive give way and the back cover is free to lift off.
Step 15


If that cover is still clinging on for dear life, just keep cruising around the edges with your opening pick until it lets go completely.
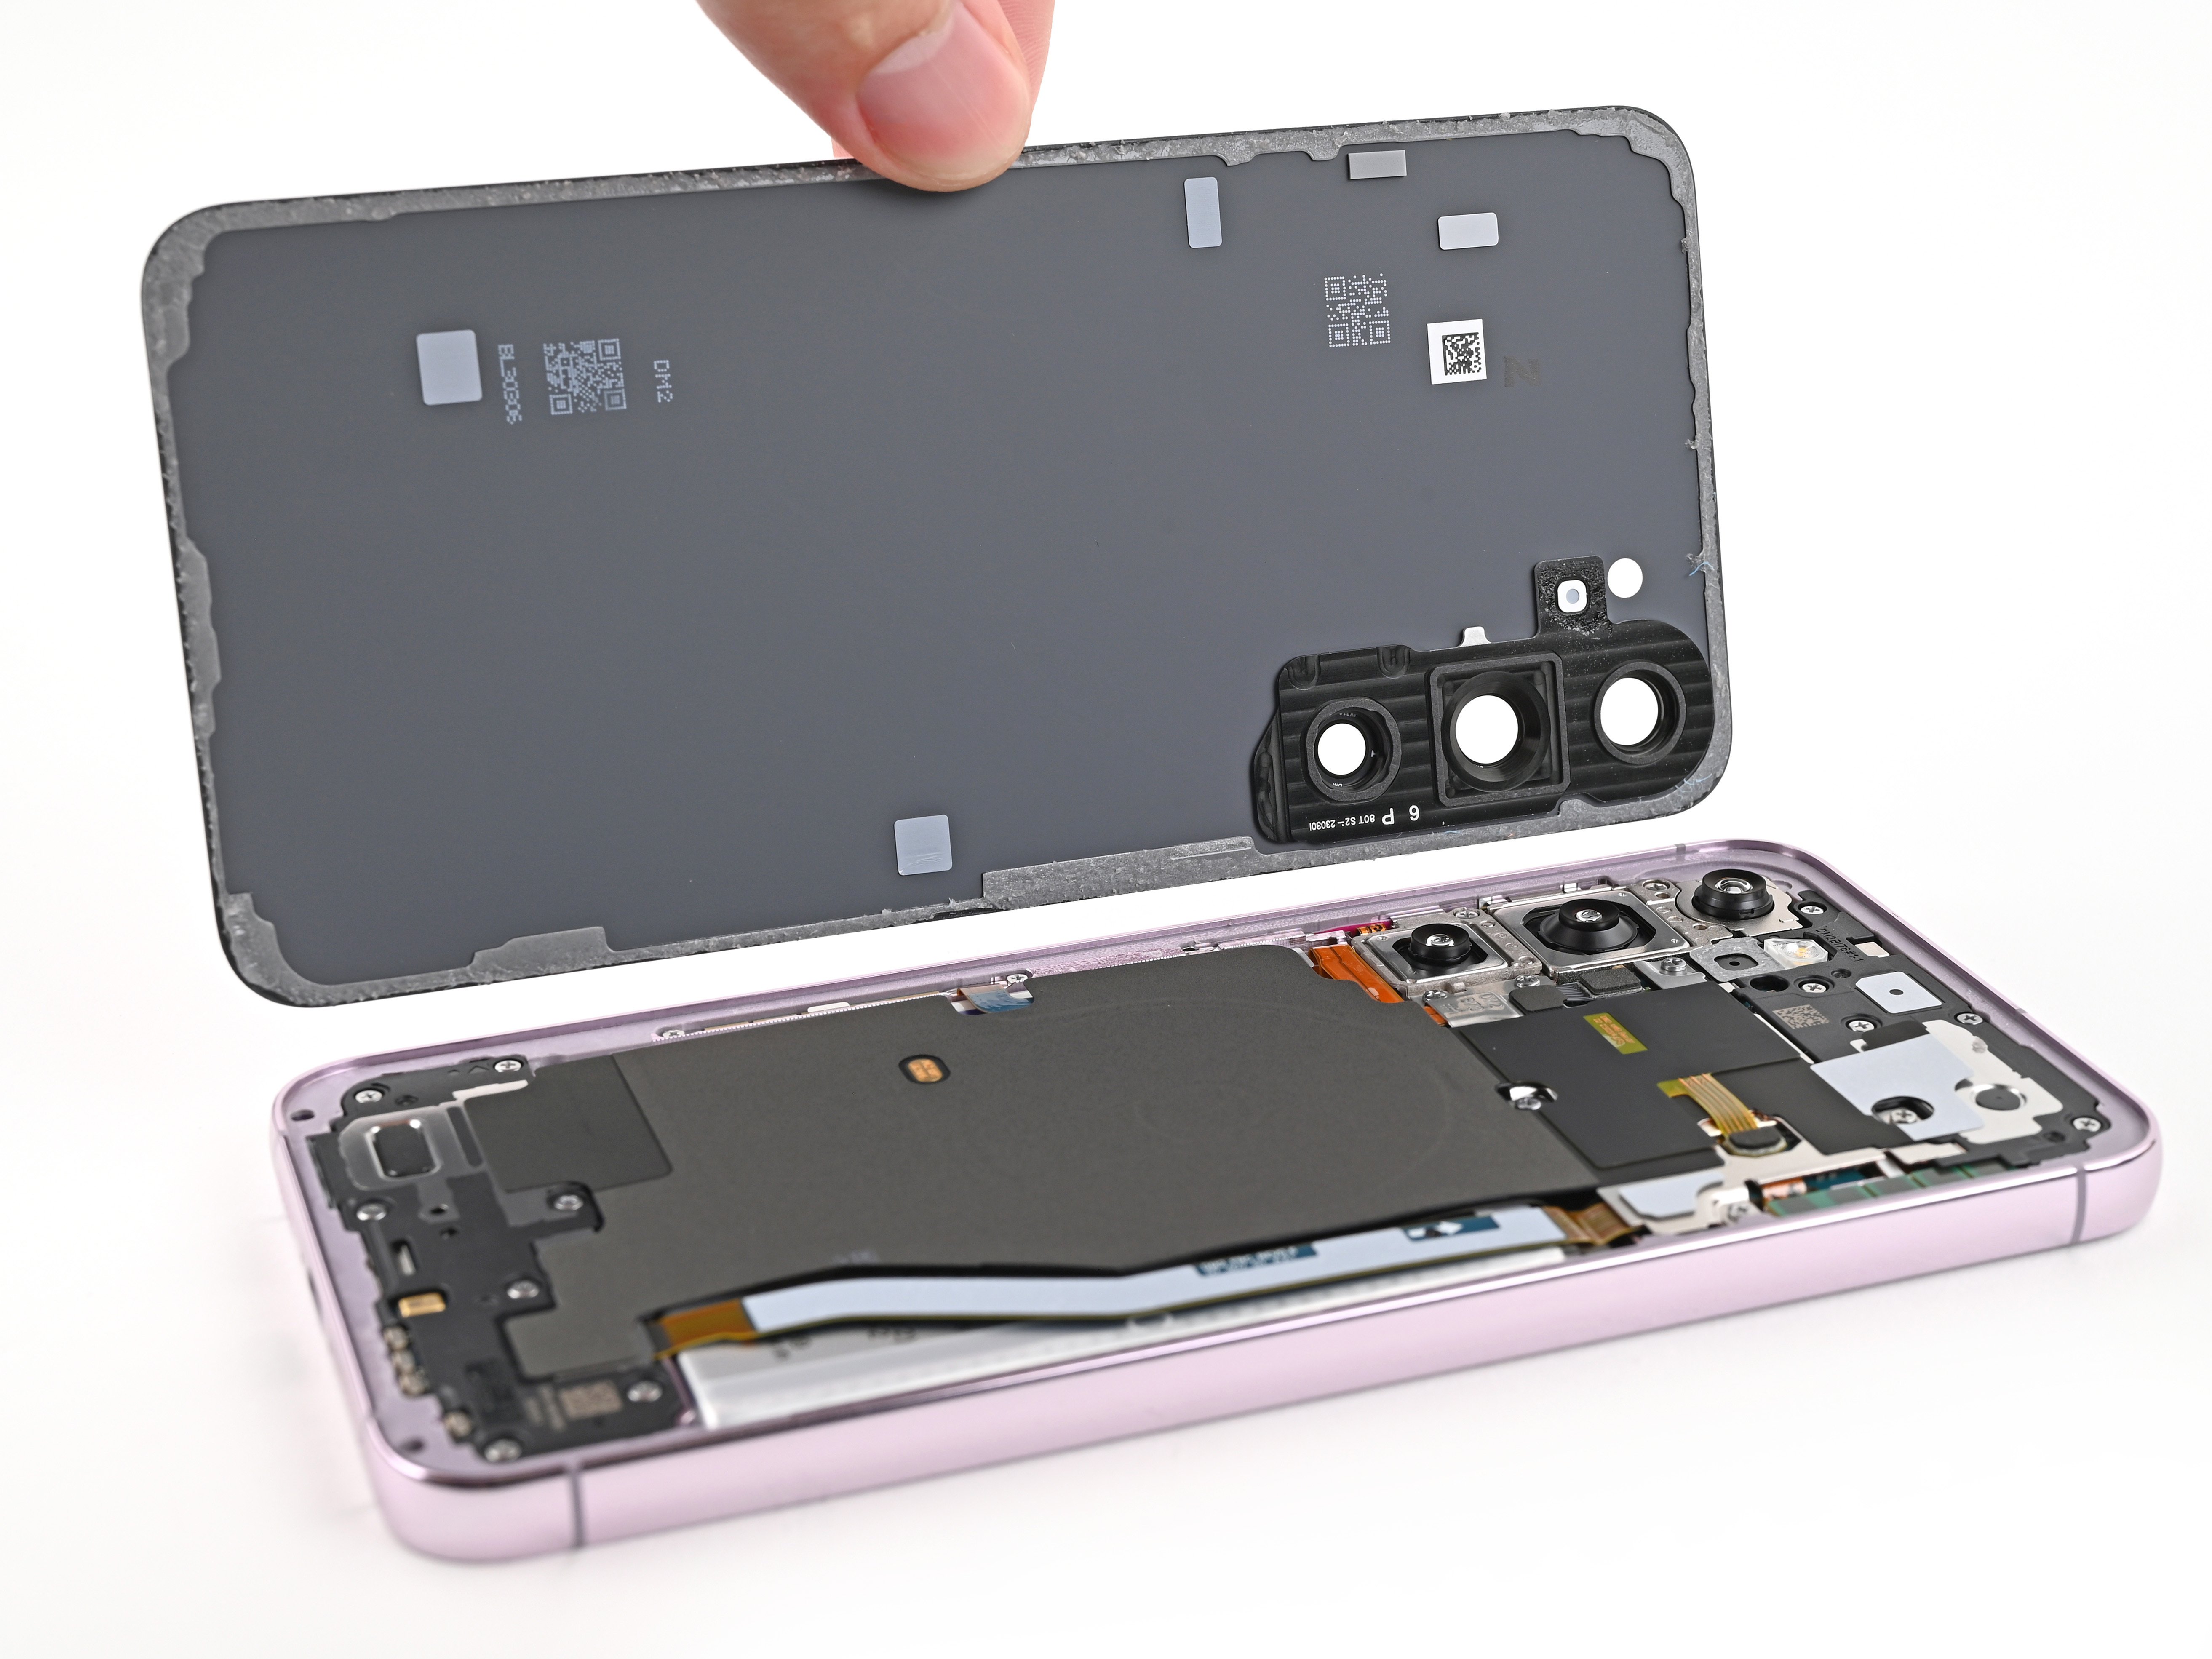
- Pop off that back cover like a pro.
- On your way back to reassembly:
- Now's a great time to turn on your phone and make sure everything works before you lock it all down. Don't forget to power it off again before you keep going.
- Sticky leftovers? Grab your tweezers or fingers and evict those adhesive bits. If they're stubborn, a little heat and some isopropyl alcohol (90%+) will do the trick.
- Using custom-cut adhesives? Check out this guide.
- Rolling with double-sided tape? This guide's for you.